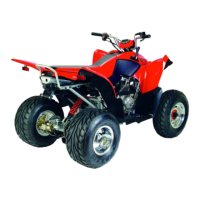
2. Measure the distance from the floor to the center of the
headlight and make a mark on the wall at the same height.
3. Shift transmission to neutral, start the engine and turn the
headlight switch to high beam.
4. Observe headlight aim. The most intense part of the
headlight beam should be aimed 5.1 cm (2”) below the mark
placed on the wall.
NOTE: Rider weight must be included on the seat.
For machines with separate low beam lights, the
drop should be 20.3 cm (8
〃
) in 25’.
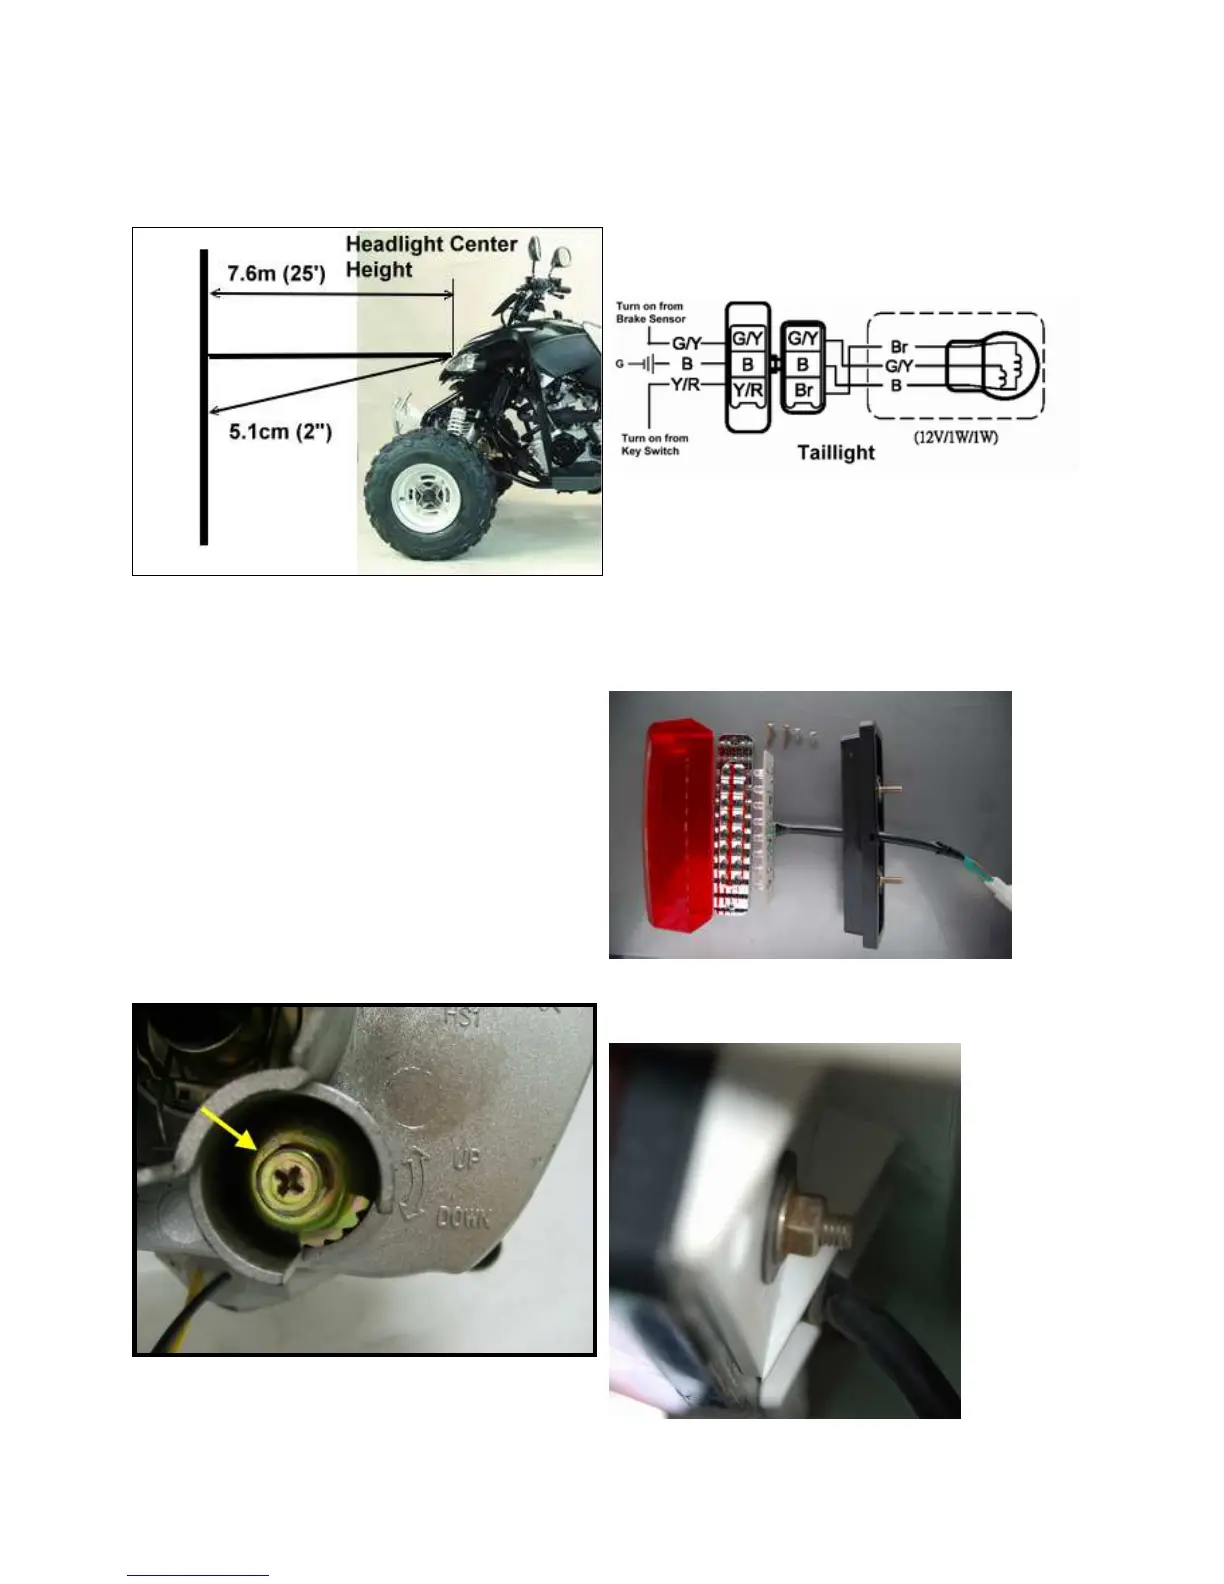
5. Adjust beam to desired position by moving headlight.
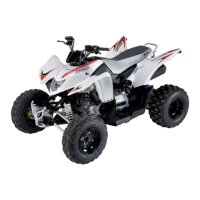
TAILLIGHT
TAILLIGHT LAMP REPLACEMENT
If the tail light lamp does not work, the lamp may need to be
replaced.
1. Remove the two screws securing the lens cover. Remove
the lens cover.
2. Remove the LED lamp and replace it with a new
recommended LED lamp. Apply Dielectric Grease to the
lamp terminals.
3. Test the light for proper operation.
4. Reinstall the lens cover.
 Loading...