BRAKES
8-10
12. Add brake fluid to the proper level.
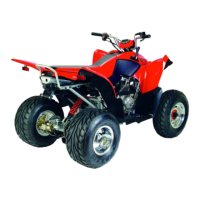
Master Cylinder Fluid Level:
MAX level inside reservoir s
dark, if sight glass is clear, fluid level is too low.
13. Install diaphragm, cover, and screws.
14. Field test machine at low speed before putting into service.
Check for proper braking action and lever reserve. With lever
firmly applied, lever reserve should be no less than 2 cm from
handlebar.
15. Check brake system for fluid leaks and inspect all hoses
and lines for wear or abrasion. Replace hose if wear or
abrasion is found.
NOTE:
1. Check the fluid lever often while bleeding the
brake to prevent air from being pumped into the
system.
2. Repeat the above procedure until air bubbles do
not appear in the plastic hose.
3. If air is entering the bleeder from around the
bleed valve threads, seal the threads with Teflon
tape.
4.
Close the bleed valve and operate brake lever. If it
still feels spongy, bleed the system again.
5. If a brake bleeder is not available, use the
following procedure:
Pump up the system pressure with the brake lever
until lever resistance is felt.
MASTER CYLINDER REMOVAL
1. Clean master cylinder and reservoir assembly. Make sure
you have a clean work area to disassemble brake components.
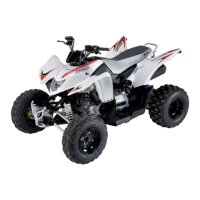
2. Place a shop towel under brake line connection at master
cylinder. Loosen banjo bolt; remove bolt and sealing washers.
Brake fluid will damage finished surfaces. Do not
allow brake fluid to come in contact with finished
surfaces.
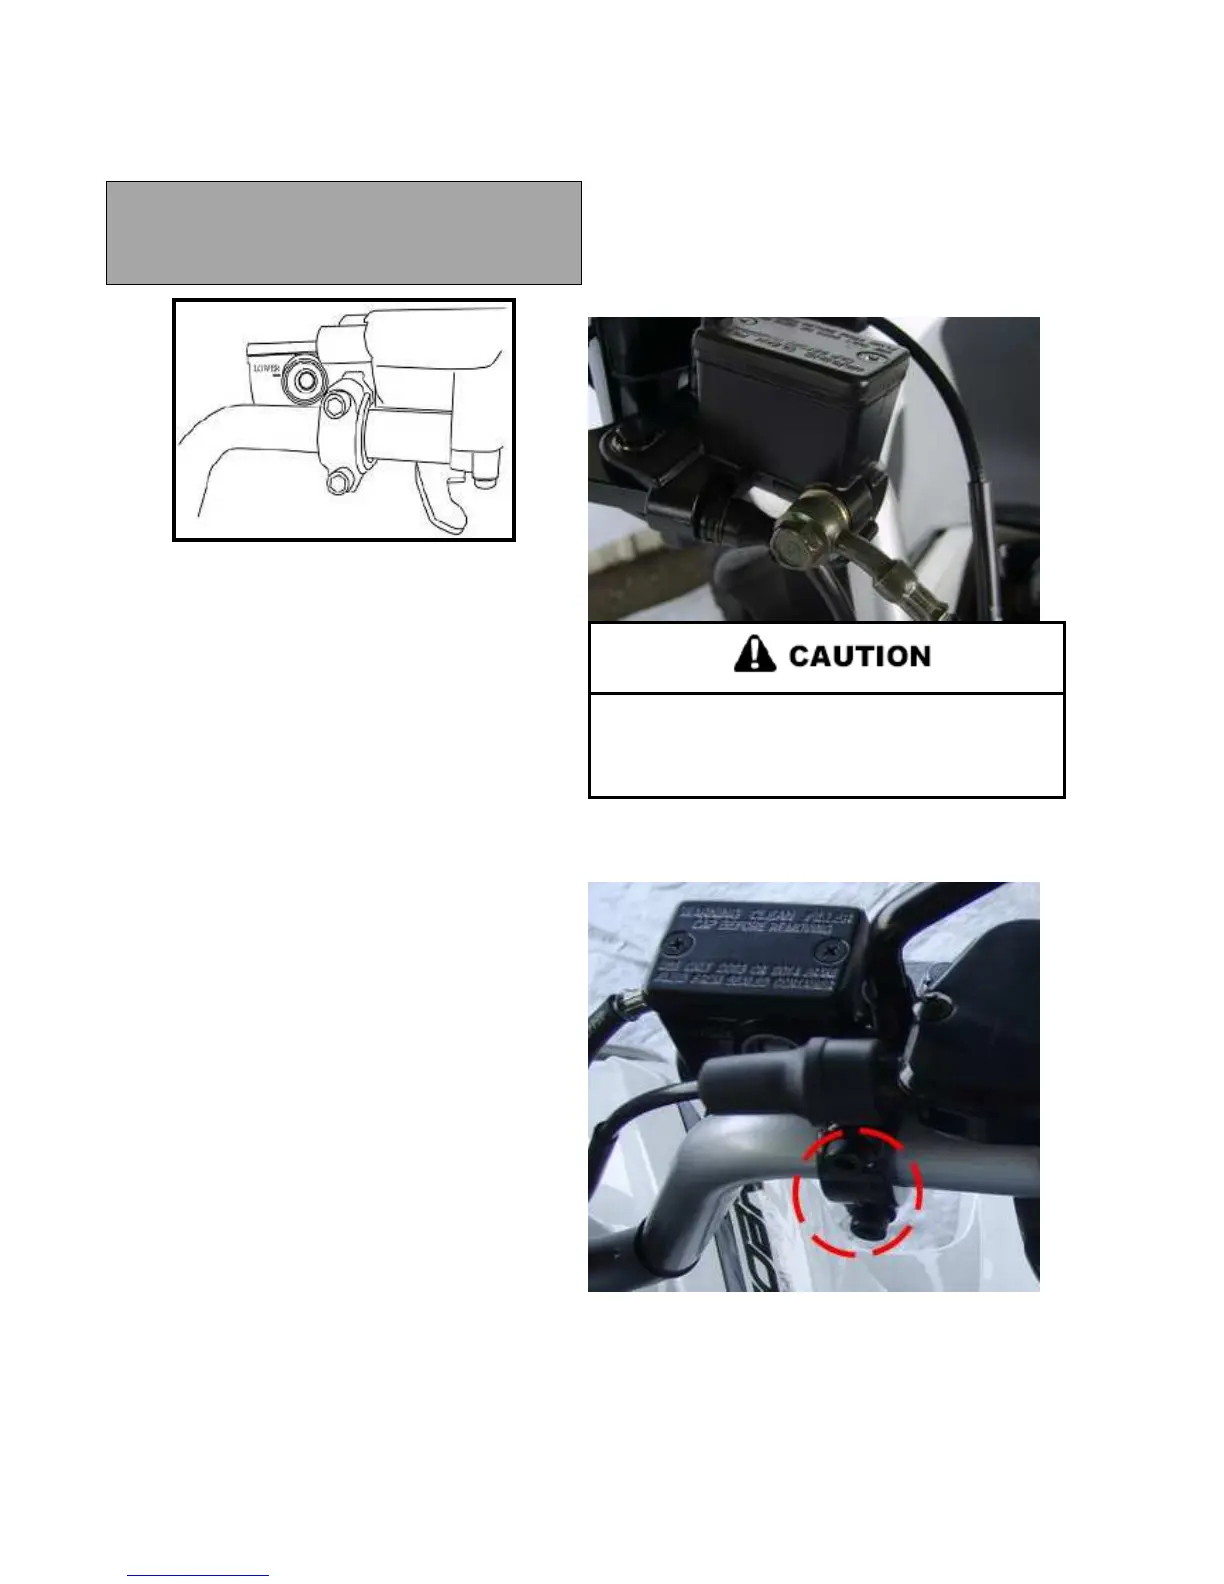
3. Loosen the master cylinder clamp bolts on the handlebar
side of the master cylinder.
4. Remove master cylinder from handlebars.
 Loading...