7-25
7.6 Operation Procedure
7.6.2 Selecting Data File Output Directory
This program enables the data file output destination (displayed in item [3] “Data File
Path” on the “Measured Results Output Destination Selection Screen” shown in Fig. 7-
2) to be changed.
Follow the procedure shown below to change the output destination of measured re-
sults.
(1) Switch the item [2] “Data File Output” (on the “Measured Results Output Desti-
nation Selection Screen” shown in Fig. 7-2) into the selected state. The item [3]
displays the current setting, and the item [6] “Refer” button becomes the select-
able state.
(2) Press the item [6] “Refer” button. The “Data File Path Selection Screen” shown
in Fig. 7-3 is displayed with the current settings.
(3) Select a disk drive on the item [3] “Drive” to store the data file. The item [1]
displays the directory contents of the selected disk drive.
(4) Select a directory from the list of directories in item [1] to store the file.
Enter the output destination in the item [2] “Path” to output the file to a newly
created directory.
(5) Check each the set item, and click the item [4] “OK” button in Fig. 7-3.
This restores the screen back to the “Measured Results Output Destination Selec-
tion Screen” shown in Fig. 7-2.
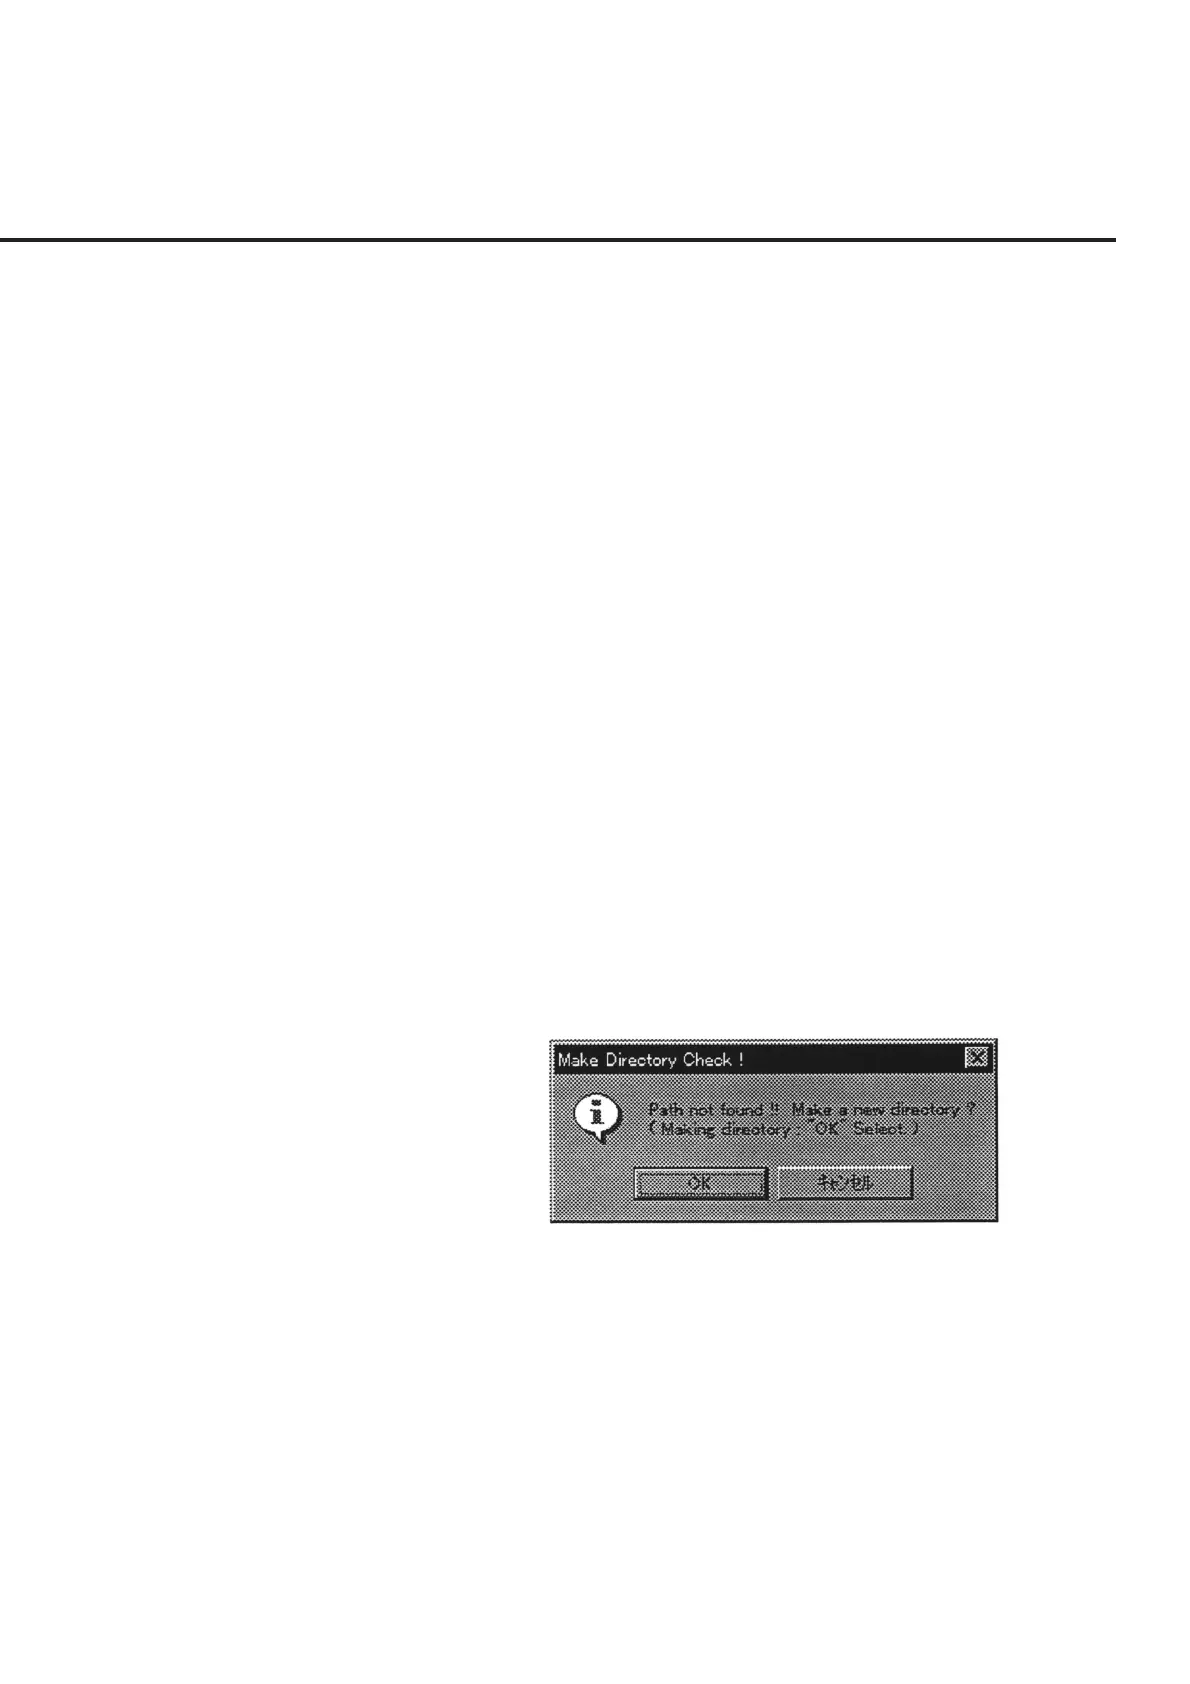
When a new directory is specified in paragraph (4) above, a confirmation mes-
sage as shown in Fig. 7-17 is displayed. Press the “OK” button to create a new
directory. Selection of the “Cancel” button restores the screen back to the “Data
File Path Selection Screen” shown in Fig. 7-3.
Fig. 7-17 Message Prompting Confirmation of New Directory Creation
(6) After the data file path has been selected, the newly set path is displayed in the
item [3] “Data File Path” on the “Measured Results Output Destination Selection
Screen” shown in Fig. 7-2. Check the displayed path, and press the “OK” button
of the item [4].