Section 7 Inspection Software
7-24
7.6 Operation Procedure
This program offers a range of other functions in addition to the measurement func-
tions. See the following sections for more information on the operation procedure for
each function.
7.6.1 Selecting Output Destination of Measured Results
This program enables the measured results of each measurement item to be outputted
to the printer or saved on the disk.
Follow the procedure described below to change the destination output of the measured
results.
(1) Select the item [3] “Output_Select” on the “Initial Menu Screen” shown in Fig. 7-
1. The “Measured Results Output Destination Selection Screen” shown in Fig. 7-
2 is displayed together with the current settings.
(2) Set the item [1] “Printer Output” to the selected state to output the data to the
printer.
(3) Similarly, set the item [2] “Data File Output” to the selected state to save the data
file onto the disk. When the item [2] “Data File Output” is selected; the item [3]
“Data File Path” displays the currently set data file save destination, and item [6]
“Refer” button becomes the selectable state.
(4) Press the item [6] “Refer” button to change the save destination displayed in item
[3] “Data File Path”. See paragraph 7.6.2 “Selecting Data File Output Directory”
for more information on how to change the data file save destination.
(5) Check each the set item, and click the item [4] “OK” button.
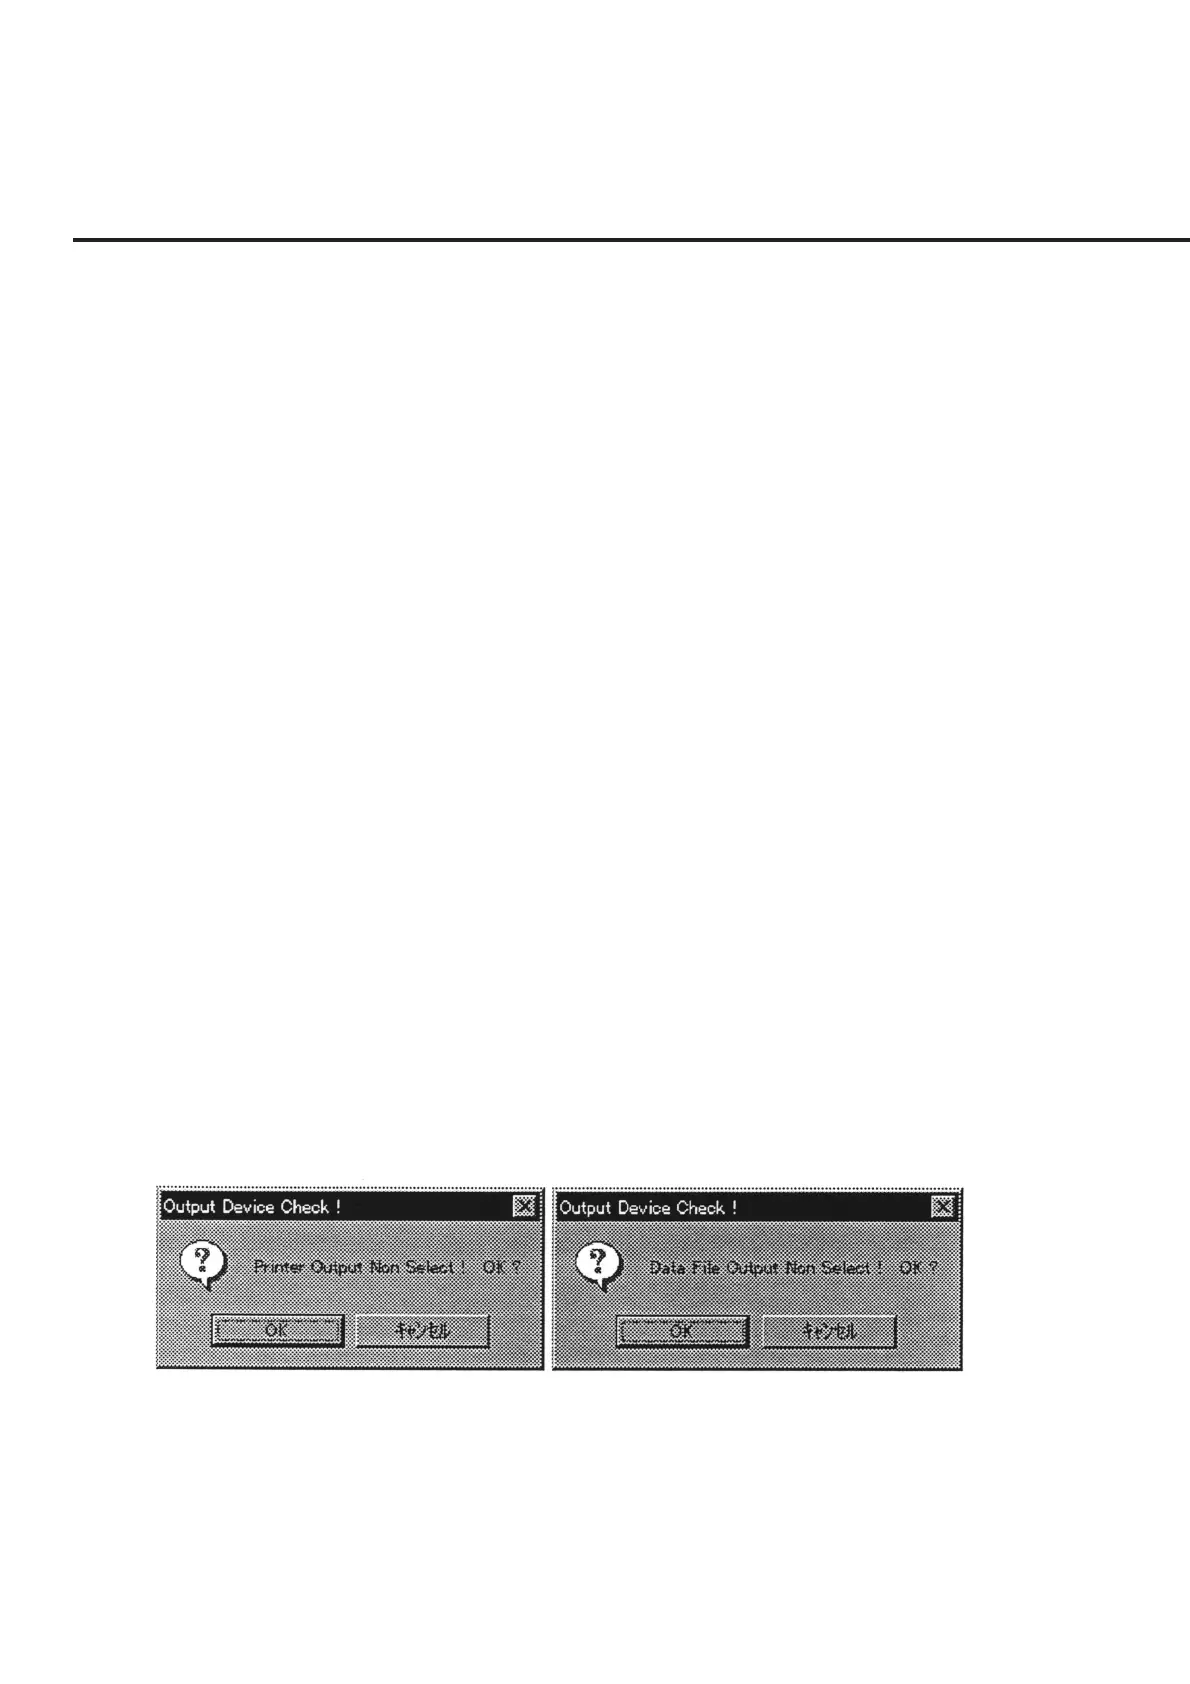
If no devices with output destination in items [1] and [2] are found, a confirma-
tion message as shown in Fig. 7-16 is displayed. Press the “OK” button to per-
form a measurement with no output. Selection of the “Cancel” button restores
the screen back to the “Measured Results Output Destination Selection Screen”
shown in Fig. 7-2.
Fig. 7-16 Message Prompting Confirmation of Measured Results Output Destination
(6) Press the “Quit” button in item [5] to restore the screen back to the “Initial Menu
Screen” shown in Fig. 7-1 with no changes to the settings. The information that
was changed is reset to the information originally set.