Section 6 Correction Software
6-12
Input the serial number by following the instructions below.
(1) Select a measurement item in section [2] on the “Initial Menu Screen” shown in
Fig. 6-4. When “Receiver” is selected in this section and “Channel Selector” is
selected in section [19], the “Connect” box of section [11] is displayed, enabling
setting in the range from one to four. On the other hand, when “Transmitter” is
selected, continuous measurement of multiple DUTs is not enabled. Therefore,
section [11] is not displayed.
(2) Select “Settings” in section [1] and “Serial Number” in section [17] on the same
screen. This causes the “Serial number Input Screen,” shown in Fig. 6-6, to be
displayed. When continuous measurement of multiple units is selected in (1),
sequential numbers starting from 1 are allocated in “Address Number” in section
[1].
(3) Input a serial number that corresponds to each address number in the “Serial
Number Input” box in section [3]. Input of up to 8-digit alphanumeric characters
is only allowed.
(4) Click the “OK” button in section [4] when you have completed inputting all the
serial numbers. This causes the screen to return to the “Initial Menu Screen”
shown in Fig. 6-2. When this button is selected before you complete inputting all
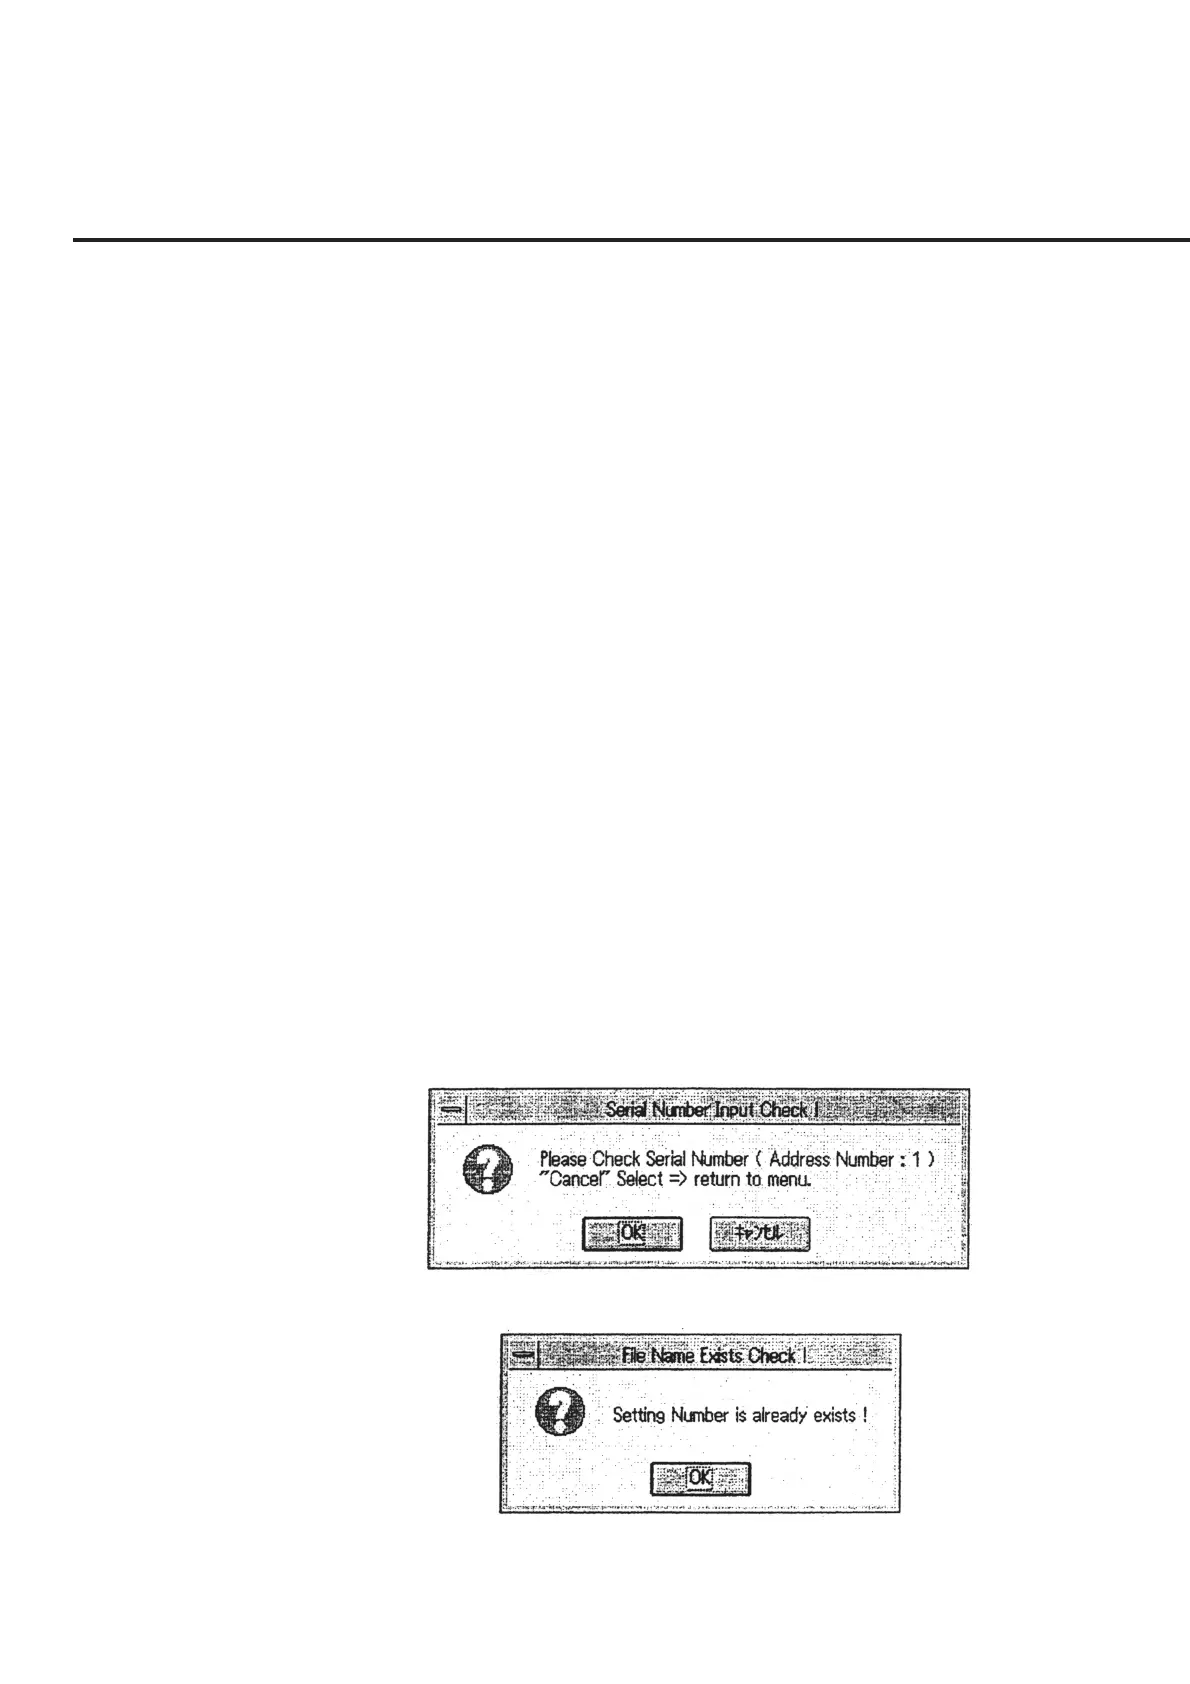
the serial numbers, a message as shown in Fig. 6-7 appears. To exit from this
screen in the process of inputting procedures, select the “Cancel” button. When a
serial number is found to duplicate, a message as shown in Fig. 6-8 appears. In
this case, check the input serial number and correct either one of the duplicated
numbers.
Fig. 6-7 Message Requesting Confirmation of Serial Number Input
Fig. 6-8 Message Requesting Confirmation of Serial Number Duplicated