Section 6 Correction Software
6-14
Set the output destination of the measured results by following the instructions below.
(1) Select “Settings” in section [1] - “Out Device Set” in section [18] on the “Initial
Menu Screen” shown in Fig. 6-4. This causes the “Measured Result Output De-
vice Selection Screen,” shown in Fig. 6-9, to be displayed together with the cur-
rent set values.
(2) Select data output to the printer by checking the “Printer Output” box of section
[1]. When data output to the printer is selected, measurement deviations at all the
frequencies measured are displayed by graph, and the upper and lower worst
values of measurement deviations are output at the same time.
(3) Select data output to the data file by checking the “Data File Output” box of
section [2]. When data output to the data file is selected, the correction values
calculated from measured results are output to a specified file after measurement
of each item is completed. When the number of DUT connected is set at 1 unit on
the “Initial Menu Screen,” shown in Fig. 6-4, the system will check whether or
not a file to permit correction values have been entered prior to measurement
start. When no such file exists, a file is created for this purpose. See 6.7.4 “Items
Confirmed Before Start of Measurement” for more information on the matters
needing confirmation prior to measurement start.
(4) When data output to the data file is selected in (3), the “Data File Path” box of
section[3] is displayed together with the currently set path. To change the path,
select the “Refer” button of section [6]. See 6.6.5 “Selecting of Data File Storage
Directory” for more information on how to change the data file output directory.
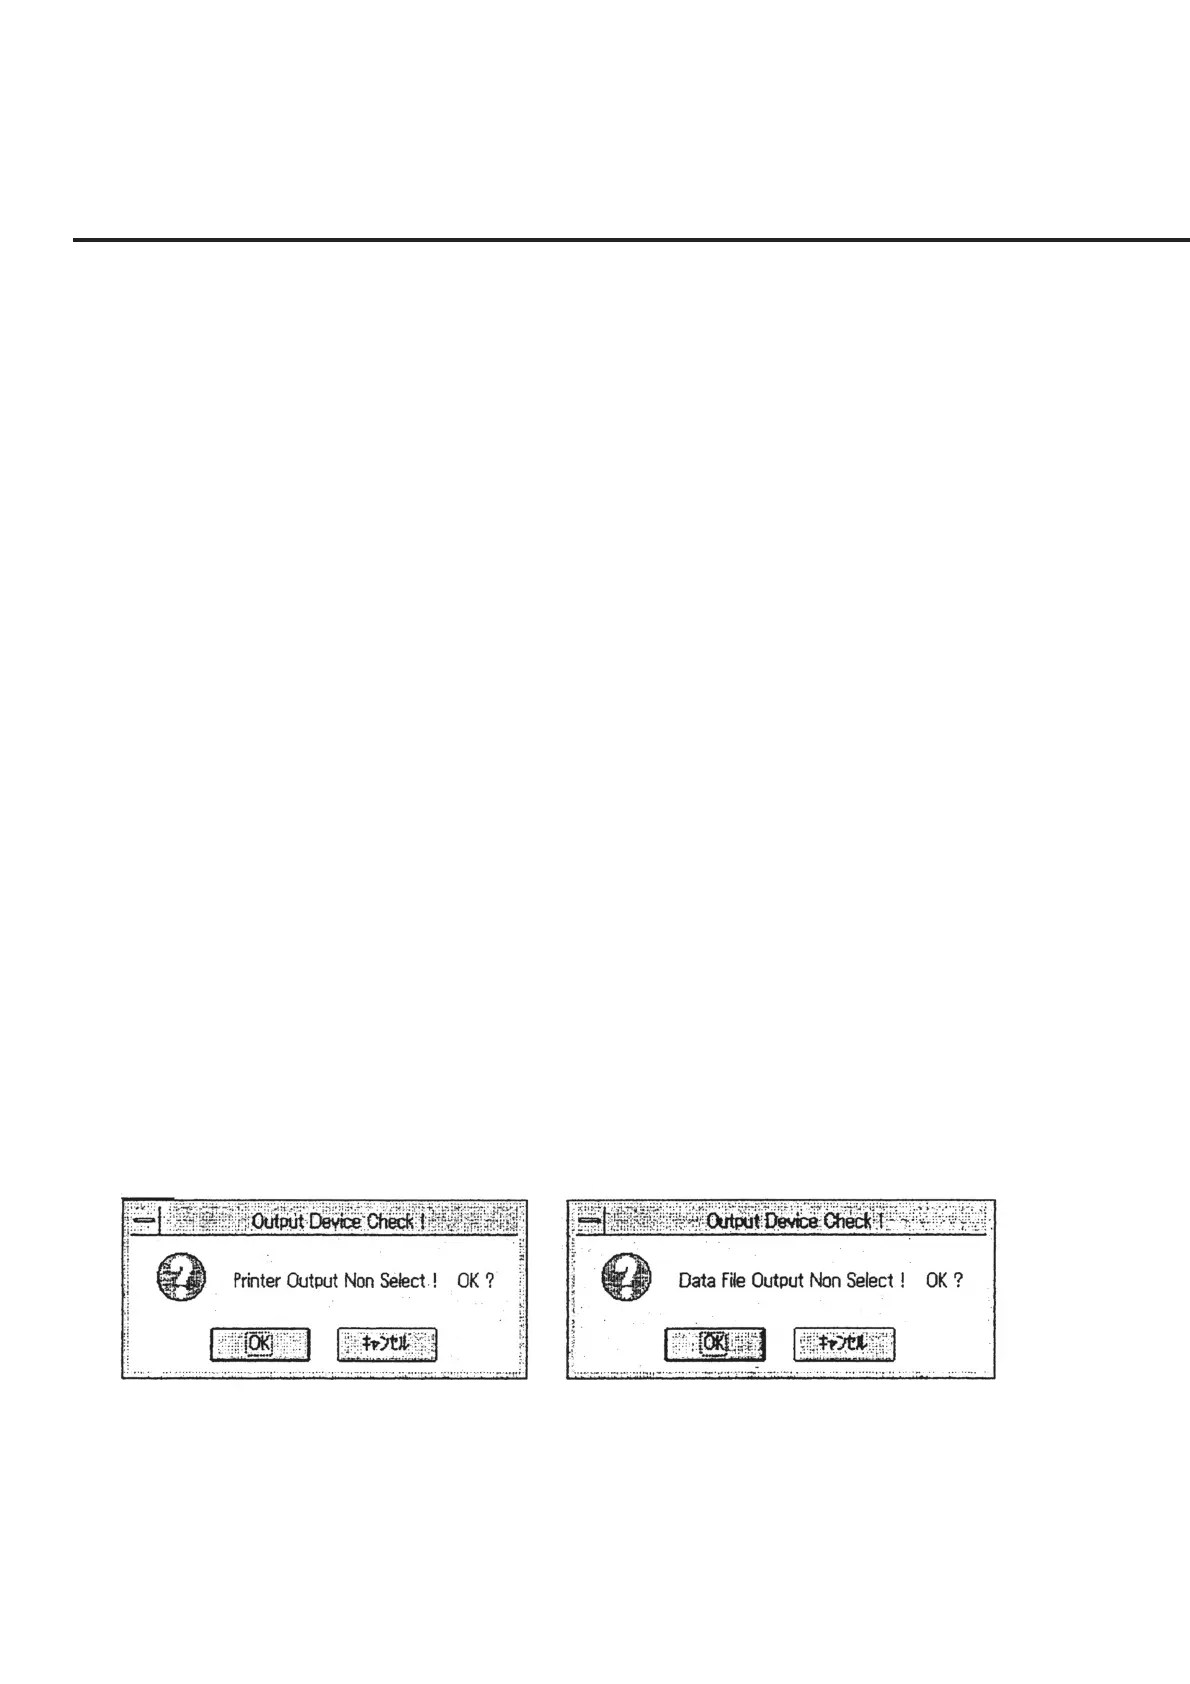
(5) Click the “OK” button of section [4] when you have changed the setting. Mes-
sages requesting confirmation of the devices not selected in sections [1] and [2]
are displayed as shown in Fig. 6-10. Click the “OK” button to perform measure-
ment without outputting the measured results to the devices displayed here.
Fig. 6-10 Message Requesting Confirmation of Devices Not Outputting Measured Results
(6) Select the “Quit” button of section [5] when you have viewed the current setting
only for confirmation. This causes the screen to return to the “Initial Menu
Screen” shown in Fig. 6-4. Incidentally, when this button is selected, any modifi-
cations made on this screen will be returned to the pre-modification information
(stored in the initial file). Make sure to select the “OK” button of section [4] to
perform measurement in accordance with the modified setting.