EasyManuals Logo

ARRI ALEXA Mini User Manual

ARRI ALEXA Mini
162 pages
To Next Page IconTo Next Page
To Previous Page IconTo Previous Page
Page #151 background imageLoading...
Page #151 background image
Assembly and retrofits 151
Deinstallation (here: a PL mount)
2
2
3
1
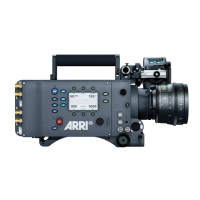
1. Perform task with care to protect optical surfaces.
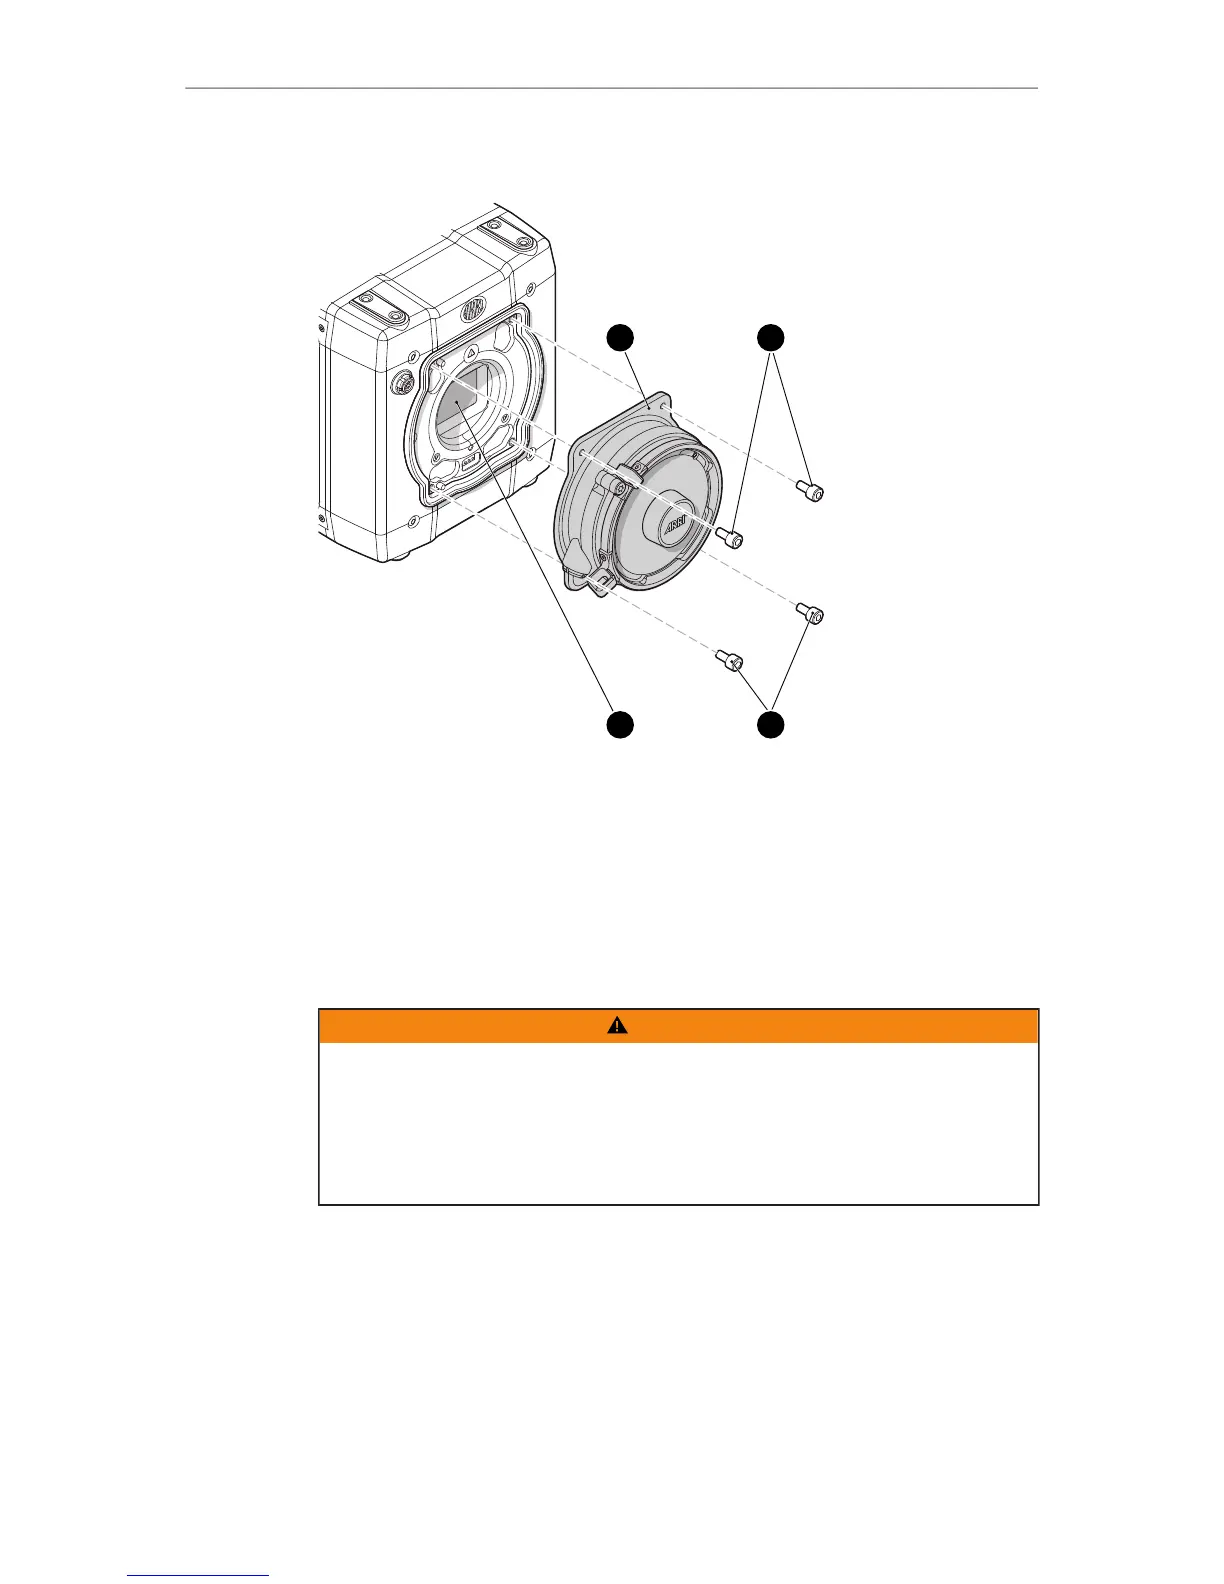
2. Crosswise, loosen all four screws (2) with an Allen key.
3. Carefully remove the mount (1).
4. Store the mount in a case for dust protection.
Note: To protect the sensor (3), immediately install another original ALEXA lens
mount.
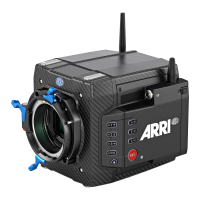
Installation (here: a PL mount)
WARNING!
Condensation! Risk of electric shock and damage!
Humidity may ingress due to misinstalled lens mounts!
When installing a lens mount, always align and attach properly; never apply force.
Hand-tighten all screws crosswise before final tightening.
Always tighten crosswise with the prescribed tool.

Table of Contents

Other manuals for ARRI ALEXA Mini

Questions and Answers:

Question and Answer IconNeed help?

Do you have a question about the ARRI ALEXA Mini and is the answer not in the manual?

ARRI ALEXA Mini Specifications

General IconGeneral
Sensor TypeALEV III CMOS
Dynamic Range14+ stops
Recording FormatsARRIRAW, ProRes
Power Input10.5-34 V DC
Base SensitivityEI 800
Lens MountPL mount
Weight2.3 kg
ISO Range160 to 3200
Frame Rates0.75 - 200 fps (depending on recording format and sensor mode)
Dimensions185 mm x 125 mm x 140 mm
Power ConsumptionApprox. 50 W
OutputsHD-SDI
Sensor SizeSuper 35 format

Related product manuals