Operation
Avaya 374x DECT Telephones - User Guide 02/2016
87
If the default device certificate is missing for the device it will be generated, together with a key
pair, when the IPBS is upgraded to version R3. The default certificate contains the MAC
address of the device and will be valid for 10 years.
If the self-signed certificate is deleted and the device is restarted, a new certificate and key pair
will be generated.
HTTPS is deactivated during the generation (creation) of the certificate.
The default certificate is a self-signed certificate. This means that certificates cannot be verified
and thus the user/administrator will be prompted by the web browser to accept the certificate
before it can be used. From this point on within the browser session (as long as the certificate is
not changed) communication between the browser and the device is possible without further
accept operations from the user/administrator.
If the device certificate is replaced or regenerated the user/administrator has to manually accept
the new certificate.
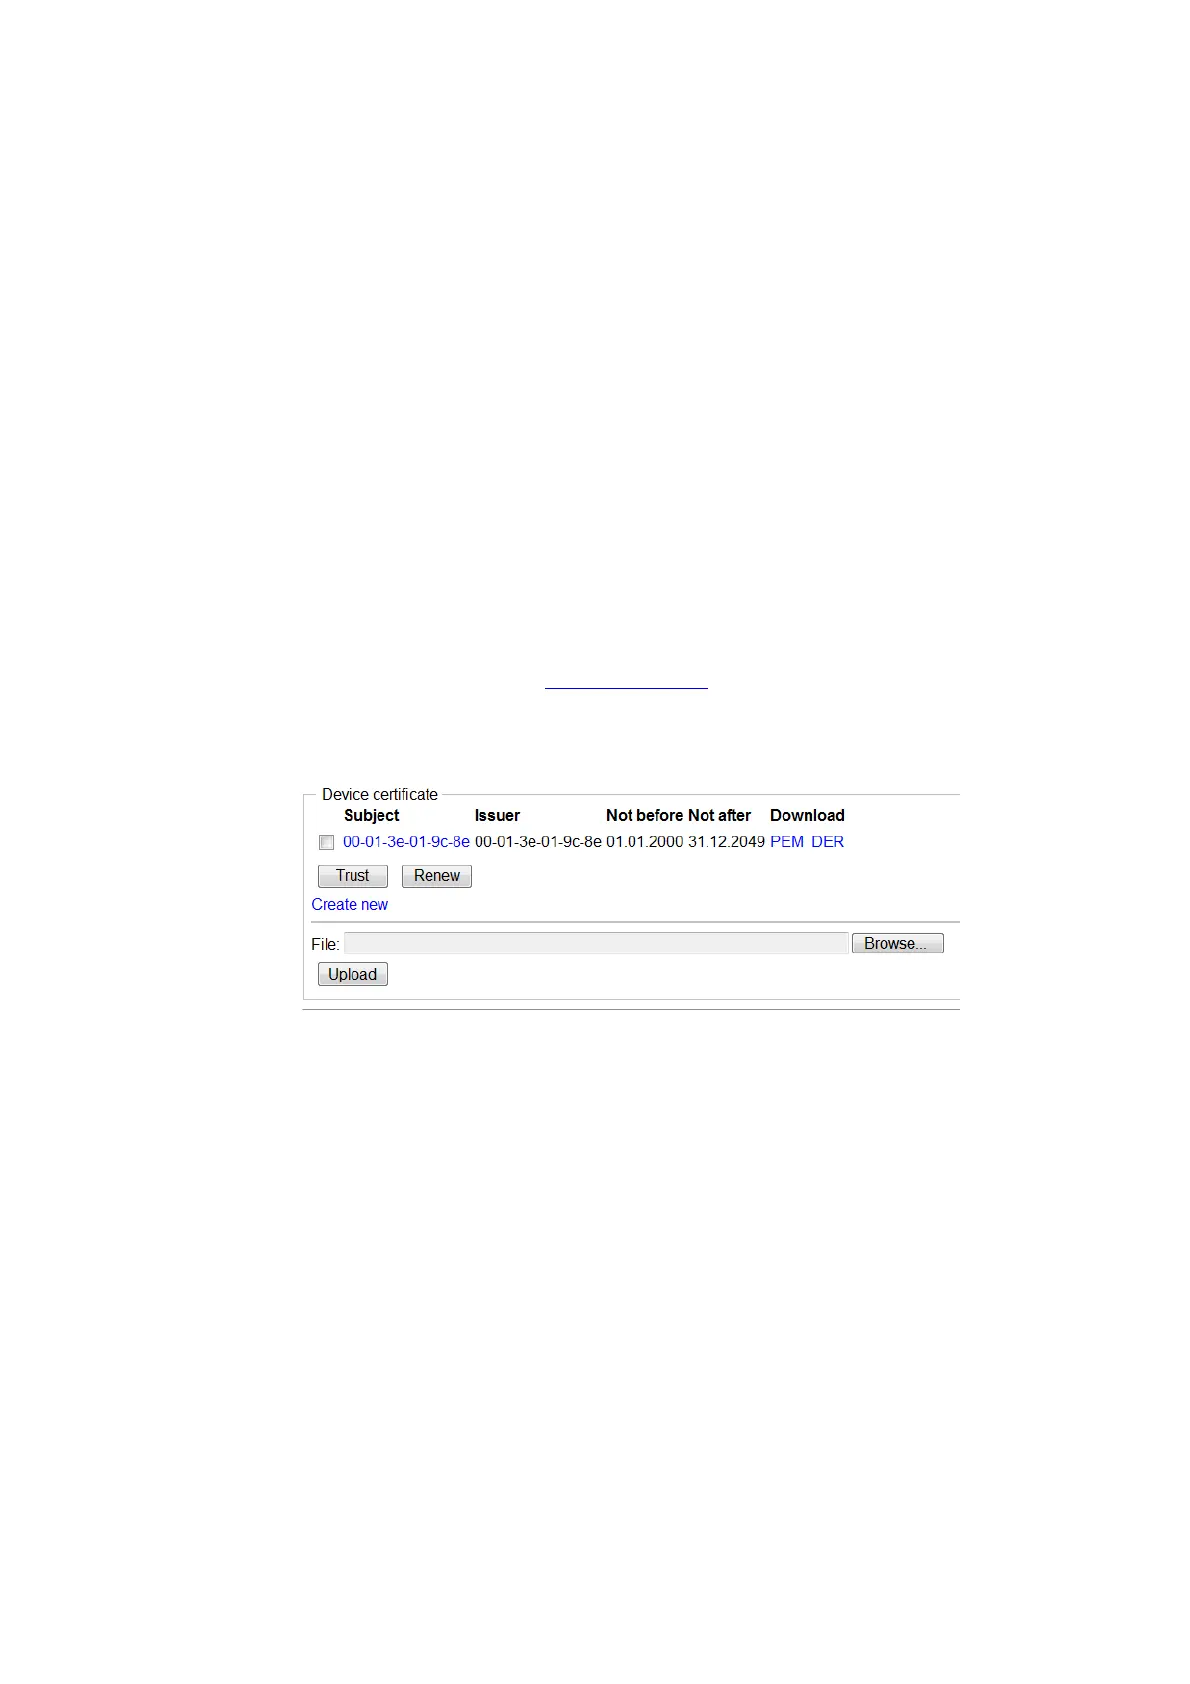
Self-signed Certificates
This section corresponds to option 2 in TLS Certificates on page 33.
1. Select Configuration > General > Certificates.
2. Click the "Create New" hyperlink in the Device Certificate section. A New Certificate
window opens.
3. Select “Self-signed certificate” in the Type drop-down list.
4. Select/Enter the following settings:
Field name Description
Key Select either the desired key strength (1024-bit, 2048-bit,
4096-bit) or select to reuse the old key pair (this is not
recommended).
Signature Select which signature that shall be used for the certificate.
Following signatures can be selected: SHA1, SHA256,
SHA384, SHA512. The last three ones are SHA2 variants.