PAGE 122
Option: MAGIC DC7/AC1 Keypad
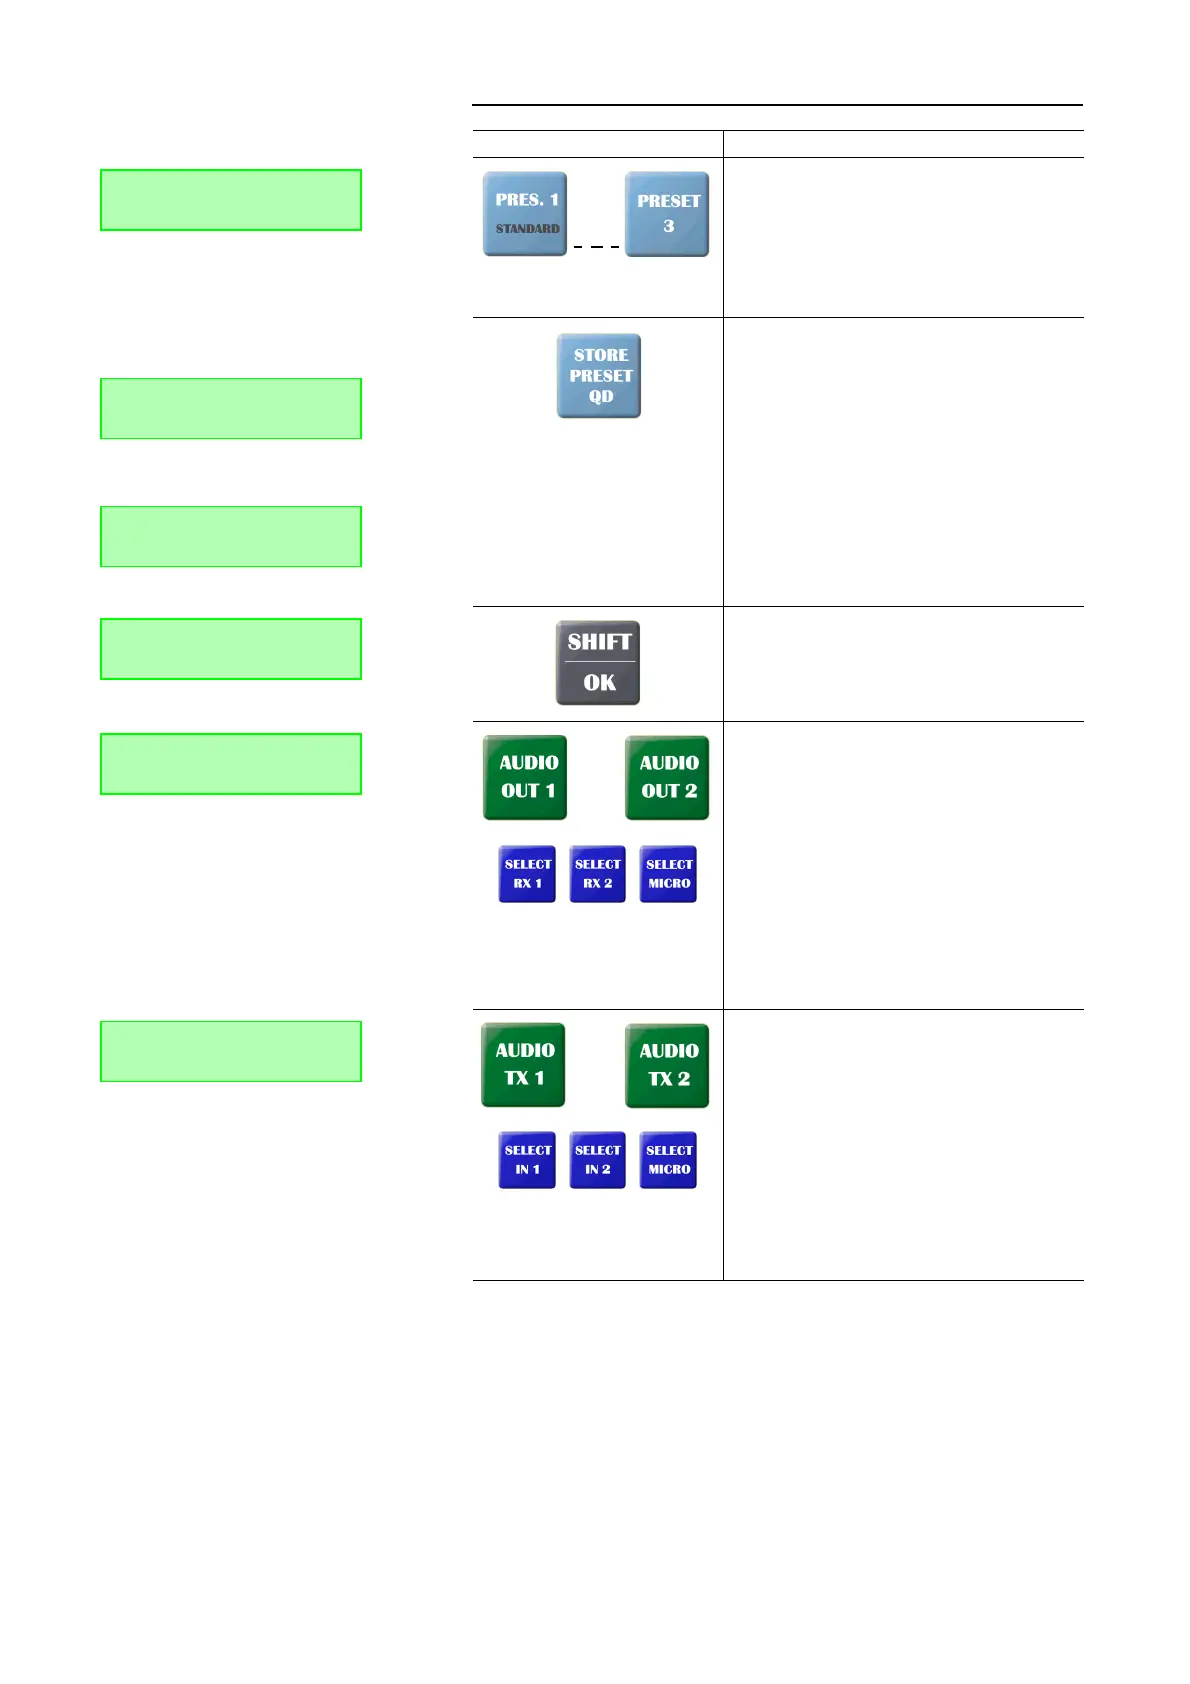
With the Preset 1 ... Preset 3 buttons, predefined Audio
mixer configurations can be loaded (see CHAPTER4.9.3,
Page 102).
When the SHIF button (^ symbol in the display) is pressed,
the Standard configuration for the Audio mixer is loaded
by pressing the Preset 1 button. If no Preset is defined, the
message Cannot load preset! is displayed. The Shift mode
is left automatically after the key is pressed.
To save an Audio mixer preset or a quick dial number, re-
spectively, please use the button Store Preset QD.
Saving a Preset : First please define the desired Audio mi-
xer settings with the buttons for the Audio interface (e.g.
Audio Out 1) and the Audio source (e.g. Select RX1). Press the
Store Preset QD button. The message Store Pres.: Pres./C is
displayed. Now press the desires preset button Preset 1 ...
Preset 3. To cancel the saving process please press the C
button.
Saving a quick dial number (QD): First please enter the cal-
ling number, which you want to sace as quick dial, via the
0...9 buttons. Press the Store Preset QD button. The mes-
sage Store QD: QD/C is displayed. Now, please press the
desired quick dial key QD0 ... QD9. To cancel the saving pro-
cess please press the C button.
With the Shift/OK button you reach the „second level“
funvtions of keys (grey labelling) or you can go back to
the standard display, respectively.
If SHIFT is activated, the ^ symbol is displayed.
Via the Audio Out 1 or the Audio Out 2 button, respectively,
you select the Audio sources which are to be available at
the output of the Audio interface Audio 1 or Audio 2, re-
spectively.
The following Audio sources can be selected via the Au-
dio source keys (dark blue):
• RX1: receive signal connection 1
• RX2: receive signal connection 2
• MIC: local microphone signal
Please note, that several Audio sources can only be selec-
ted at the same time for one Audio interface, if the fee-ba-
sed Option: Mixer Tool Plug-In (see CHAPTER7,
Page 125) is enabled. Otherwise, the Audio source which
you selected most recently is activated.
Via the Audio TX 1 or the Audio TX 2 button, respectively, you
select the Audio sources which are to be activated for the
Audio transmission.
The following sources can be selected via the Audio
source keys (dark blue):
• IN1: Audio input signal Audio 1
• IN2: Audio input signal Audio 2
• MIC: microphone signal
Please note, that several Audio sources can only be selec-
ted at the same time for one Audio interface, if the fee-ba-
sed Option: Mixer Tool Plug-In (see CHAPTER7,
Page 125) is enabled. Otherwise, the Audio source which
you selected most recently is activated.
TAB. 4 FUNCTIONS OF KEYS
Key Function
DISCON. 15KHZ 1B
Preset load ok!
DISCON. 15KHZ 1B
Store Pres.: Pres./C
DISCON. 15KHZ 1B
Store QD: Press QD/C
DISCON. 15KHZ 1B ^
Store QD: Press QD/C
Select Out1 Source:
RX1 RX2
Select TX1 Source:
IN1 MIC
 Loading...