PAGE 114
Operation via Display and Keypad
5.3.4 Configuration of the Audio sources
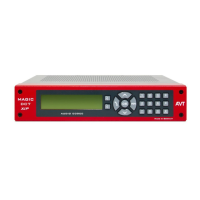
When a connection exists, the
Audio
function is automatically assigned to the
upper softkey via which all Audio sources can be configured. Vie the integra-
ted Audio router, eac Audio input can be routed to each Audio output and the
headset according to your equipments.
After the
Audio
softkey has been pressed, all available Audio configurations
are displayed:
–
microphone amplifying
: The microphone amplifying can be adjusted in a
range from 0 ... 45 dB. Additionally, a level indicator is displayed. If the in-
tegrated limiter responds (if it has been activated(
menu
System settings
Headset
Microphone Limiter
)), on the right besides the level indicator an
exclamation mark is displayed. Note that maybe you have to activate the
phantom supply for the microphone (
menu
system setiings
Headset
Phantom Power
).
–
Ratio RX/TX
: The headset volume ratio of the received and transmit signals
can be adjusted in the range of
RX+16 ... TX+16 dB.
–
source headset
: see below
–
source Audio output 1
: see below
–
source Audio output 2
: see below
–
source transmit ch. 1
: see below
–
source transmit ch. 2
: see below
–
Headset Monitor
. This option allows you to monitor both Audio output
and both transmit signals.
Please select the desired Audio interface with the cursor keys and and
press the softkey
select
.
Afterwards all available Audio sources for the selected Audio interface are
displayed. The Audio interface can be selected by pressing
Shift
button(
#
).
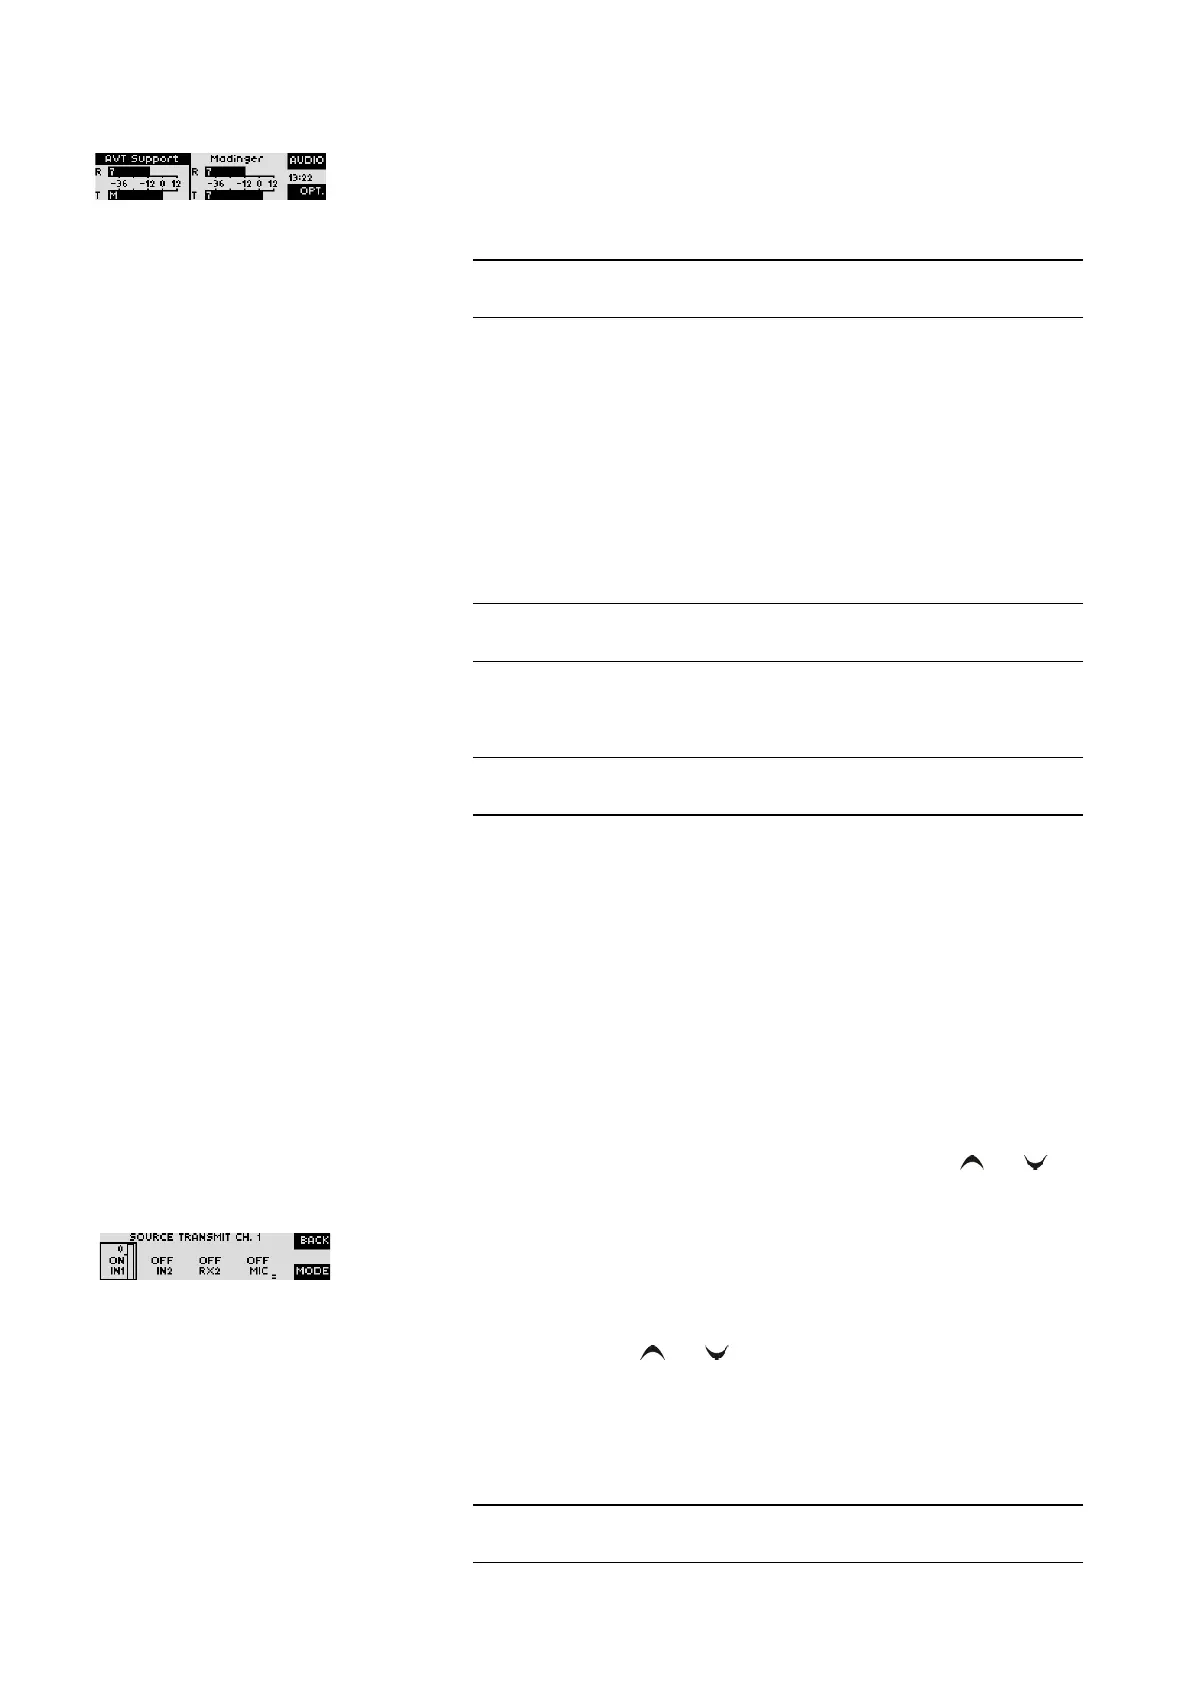
The currently selected interface is marked by a frame. Via the
Mode
softkey
you can activate (
ON
) or deactivate (
OFF
) the interface. If an interface is activa-
ted, the current level of the Audio source is displayed and can be adjusted
with the cursor keys and within the range of -16 dB ... +16 dB.
When one of the transmit signal sources (e.g.
source transmit ch. 1
) the option
Auto Ducking (
DCK
) is additionally available. In this configuration, the Audio
signal of the Audio inputs is treated automatically according to the selected
Auto Ducking Parameters if the microphone input is used.
TIP
The configuration of the Audio sources is especially comfortable via the Au-
dio Mixer of the PC Software (see CHAPTER 4.9.3).
TIP
During a connection the microphone amplifying can be raised and lowered
by the keys
4
and
7
comfortably.
TIP
During a connection the volume ratio
Ratio RX/TX
can be quickly adjusted by
the keys
5
and
8
.
NOTE
If the software option Mixer Tool Plug-In (see CHAPTER 7) is not enabled for
your system, you can always activate only one Audio source at a time.
 Loading...