Chapter 2: BD FACSDiva Software Overview 33
Setup View Components
The Setup view contains controls for designing experiments, running plate-based
acquisition, and monitoring acquisition status. For instructions on setting up an
experiment, see Creating Experiments on page 64. All entries made in the Setup
view can be saved as a template, either for general projects or as a default
experiment for a user-defined project.
The following components are available in the Setup view.
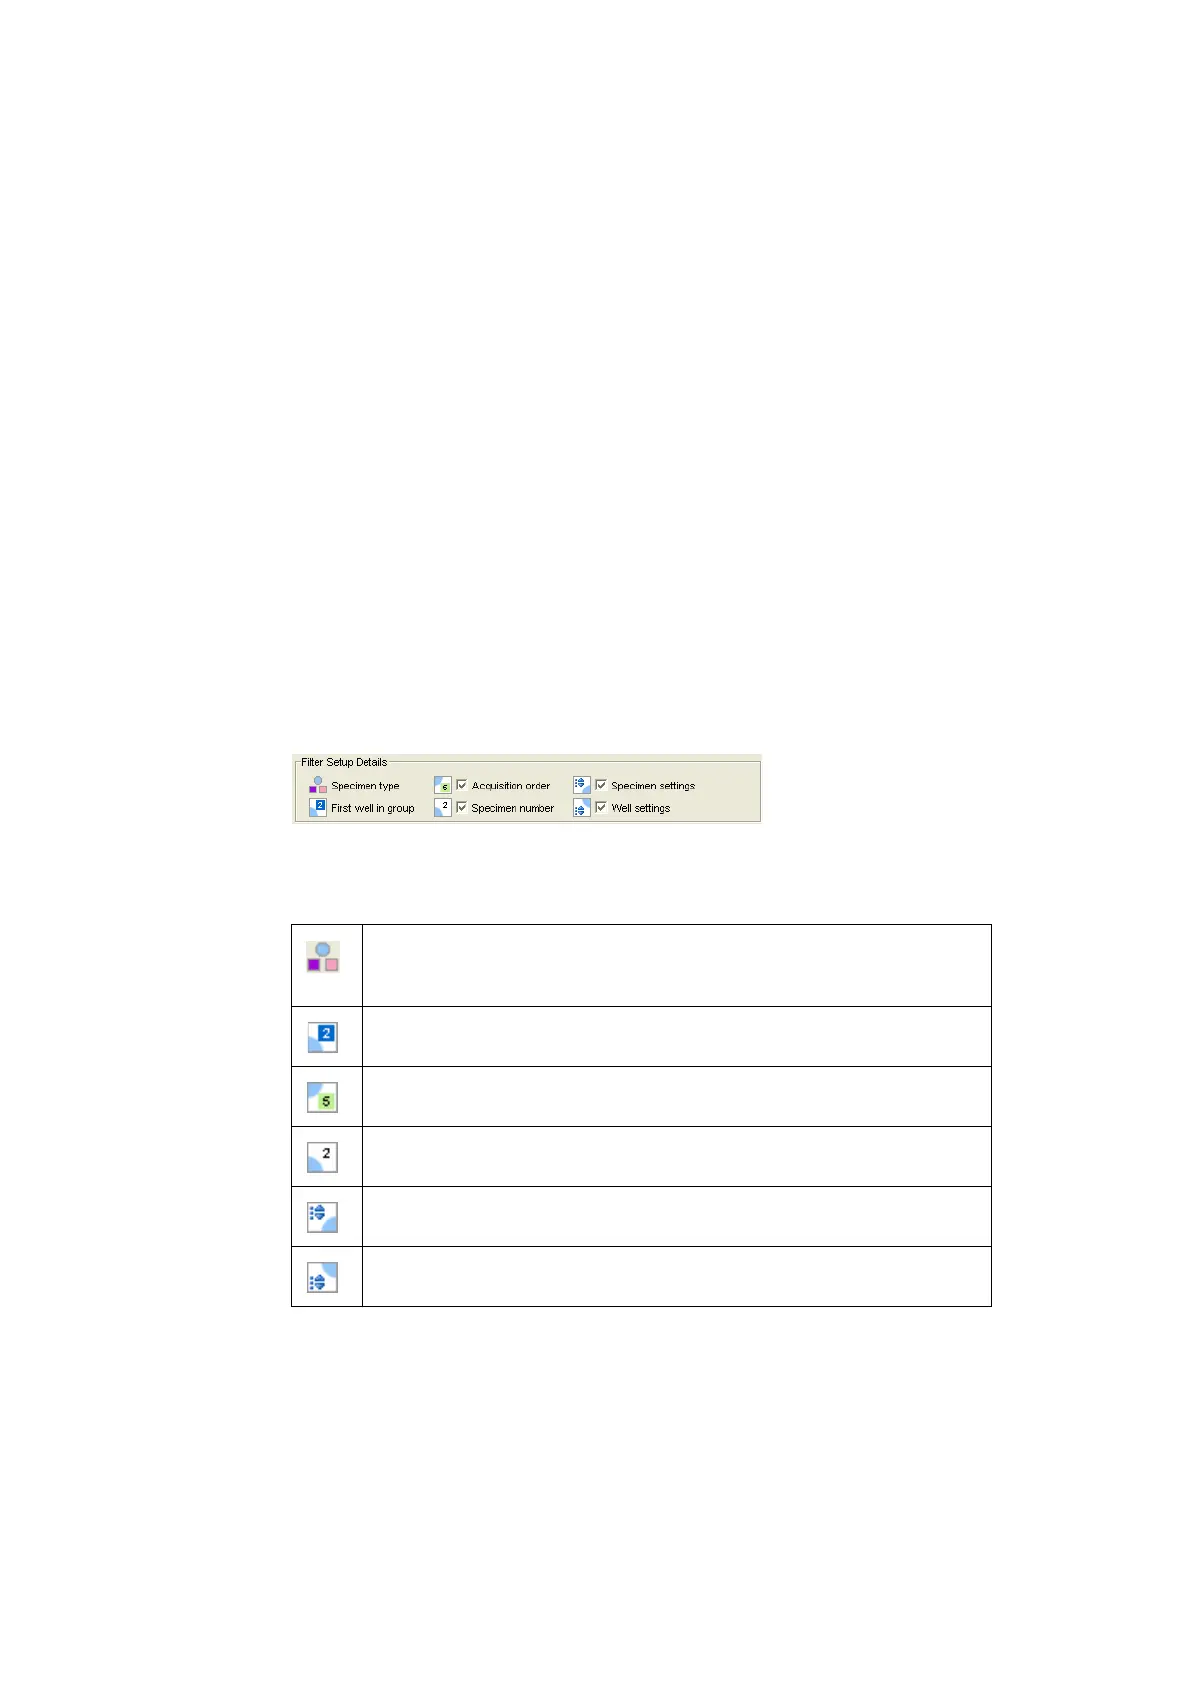
Plate Filter
The Filter Setup Details area provides a legend indicating the type of specimens in
the plate and allows you to filter (hide or show) acquisition order, specimen
number, specimen settings, and/or well settings.
Click the checkbox next to acquisition order, specimen number, specimen settings,
and/or well settings to clear the checkmark and hide the symbol in the plate layout.
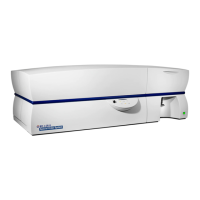
Specimen type – Indicates the type of control or sample assigned to a given
well. The pink square represents a setup control, the purple square a
compensation control, and the blue circle a specimen.
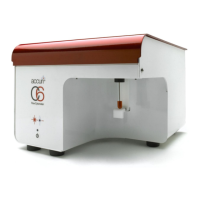
First well in group – A dark blue square appears for the specimen number in
the upper-right corner of the first well for each specimen.
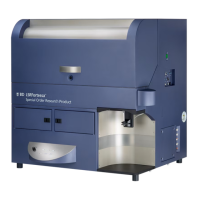
Acquisition order filter – The order (sequence number) in which each well will be
acquired appears with a green background in the bottom-right corner of the well.
Specimen number – The specimen number appears in the upper-right corner.
Each well belonging to the same specimen will have the same specimen number.
Specimen settings – When cytometer settings are added to a specimen, the
cytometer settings icon appears in the upper-left corner of the well.
Well settings – When cytometer settings are added to a well, the cytometer
settings icon appears in the lower-left corner of the well.