2007 Buell P3: Electrical 7-41
HOME
Stator
1. See Figure 7-54. Disconnect stator wiring from voltage
regulator wiring at connector [46] located behind left foot-
rest support.
2. Remove cable straps holding stator wire to oil filter hose.
3. Withdraw stator wiring from behind the gearcase cover.
4. Remove and discard the four TORX screws which secure
stator to left crankcase half.
IMPORTANT NOTE
Stator TORX screws contain a thread locking compound.
Do not reuse existing screws. Always use new screws
with the proper thread locking compound. Loss of torque
on TORX fasteners could result in alternator damage.
5. Remove stator wiring grommet from left crankcase half.
6. Withdraw stator wiring from grommet hole in left crank-
case half. Remove stator.
CLEANING AND INSPECTION
IMPORTANT NOTE
Do not strike or drop alternator rotor or damage to mag-
net adhesive could occur. Magnet adhesive damage can
result in rotor failure.
1. Clean rotor with a petroleum-base solvent. Remove all
foreign material from rotor magnets. Replace rotor if rotor
magnets are cracked or loose.
2. Clean stator by wiping with a clean cloth.
3. Examine stator leads for cracked or damaged insulation.
NOTE
The rotor and stator can be replaced individually if either is
damaged.
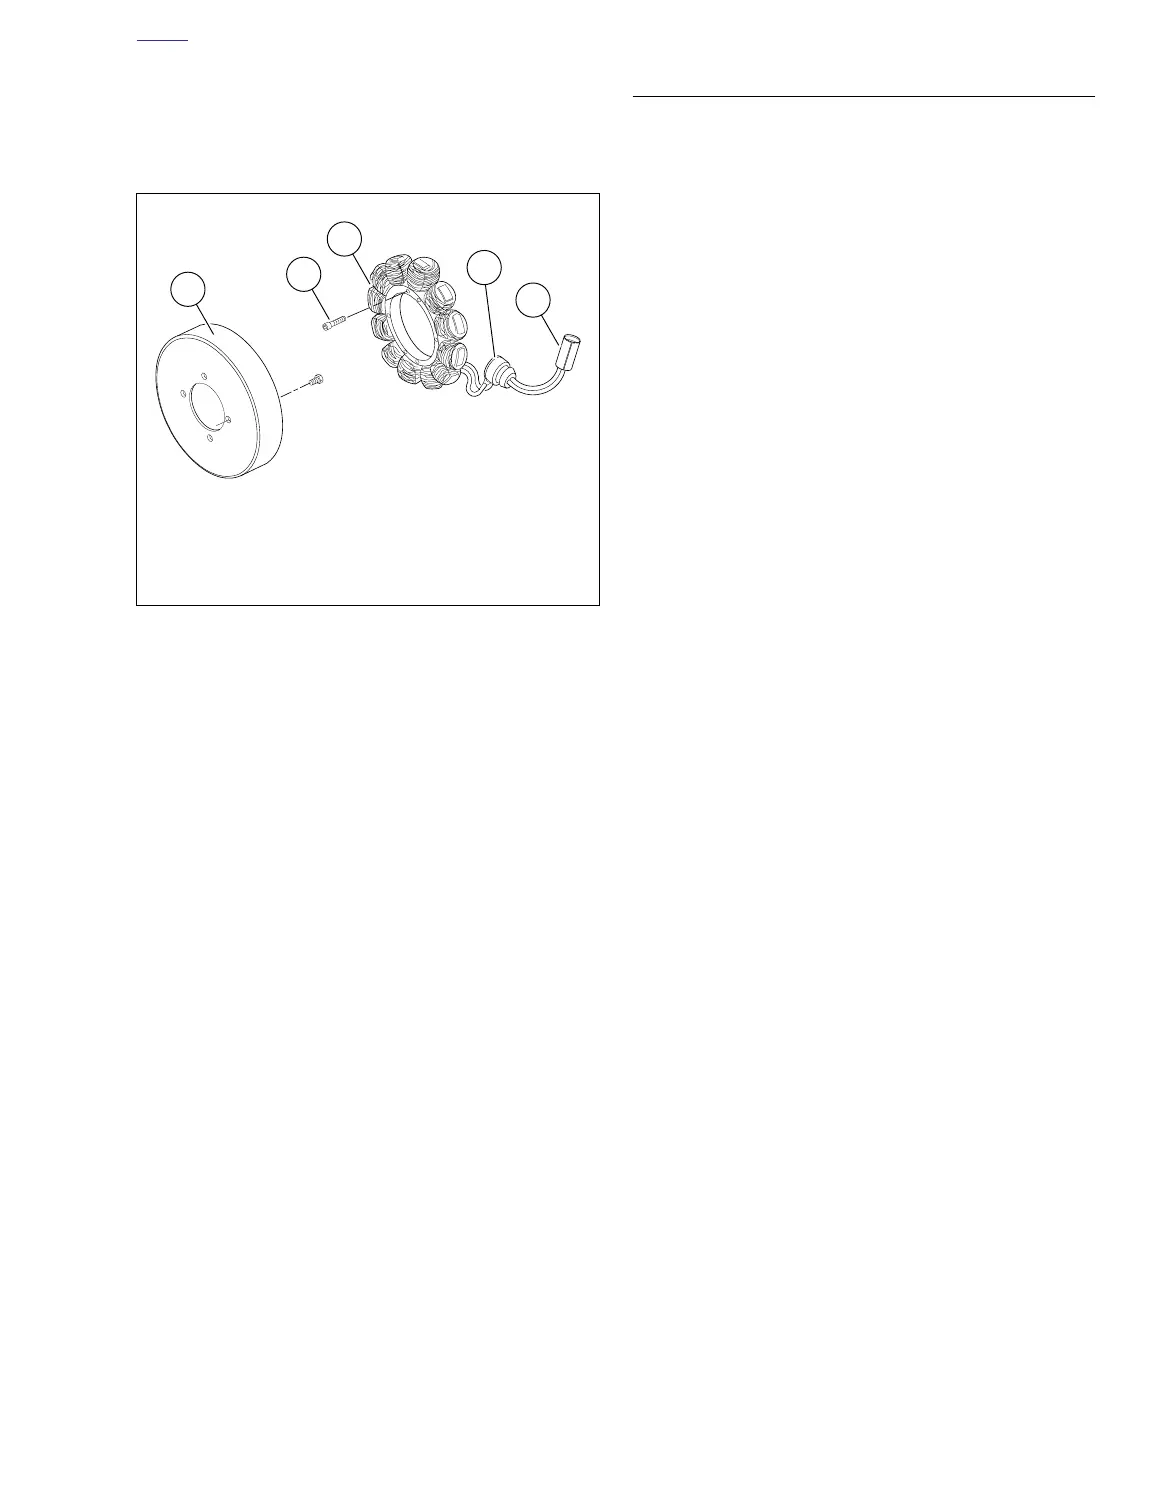
Figure 7-54. Stator Assembly
a0246x7x
1
2
3
5
4
1. Rotor
2. *TORX screws (4) - * Do not reuse
3. Stator
4. Grommet
5. Connector [46]