#2 Phillips Dynamometric screwdriver
Crimping tool
#14 AWG wire and lug
Tools/Equipment
NonePrerequisite
Procedures
As neededRequired/As Needed
OnsiteOnsite/Remote
NoneSecurity Level
Procedure
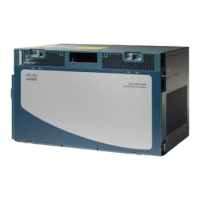
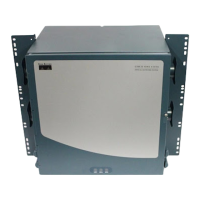
Step 1 The DCU chassis requires 1 RU in a standard 19-inch (482.6-mm) or 23-inch (584.2-mm) rack. Locate the
RMU space specified in your site plan.
Step 2 Two sets of mounting brackets are included with the DCU mounting kit, one set each for 19-inch (482.6-mm)
or 23-inch (584.2-mm) racks. Verify that your chassis is equipped with the correct set of brackets for your
rack. Change the brackets as required.
Step 3 Align the chassis with the rack mounting screw holes; one at a time, insert and tighten the four screws.
Step 4 Connect a frame ground to the ground terminal provided on either side of the chassis. Use minimum #14
AWG wire.
Step 5 Return to your originating procedure (NTP).
DLP-G28 Install the Fiber Patch-Panel Tray
This task installs the fiber patch-panel tray. Install the appropriate L-band or
C-band patch-panel tray as necessary. The sticker on the front of the tray indicates
for which band the tray is used.
Purpose
#2 Phillips Dynamometric screwdriver
Crimping tool
#14 AWG wire and lug
Tools/Equipment
NonePrerequisite Procedures
As neededRequired/As Needed
OnsiteOnsite/Remote
NoneSecurity Level
Cisco ONS 15454 Hardware Installation Guide
124
Installing the ONS 15454 M12 (ANSI and ETSI) Shelf
DLP-G28 Install the Fiber Patch-Panel Tray
 Loading...


