RAID Setup (Windows 8) F - 55
Windows 8
Windows 8
SATA RAID Setup Procedure (Windows 8)
Before setting up the system you will need to copy a driver folder to a USB flash drive or external USB hard
disk. This driver folder is included on the Device Drivers & Utilities + User’s Manual disc but you will need to
go to an operable computer and copy the folder to a USB Flash drive or external USB hard disk.
1. Go to the operable computer and insert a USB Flash drive or external USB hard disk.
2. Insert the Device Drivers & Utilities + User’s Manual disc into the CD/DVD drive of the operable computer.
3. Copy the f6flpy-x64 folder from the location below (D: denotes your DVD drive) on the Device Drivers &
Utilities + User’s Manual disc to the USB flash drive or external USB hard disk.
• For Windows 8 64bit = D:\Options\00_IRST\f6flpy\f6flpy-x64
4. Start-up your notebook computer and press <F2> to enter the BIOS.
5. Go to the Boot menu, select OS Select and press <Enter> (see page 5 - 17).
6. Set OS Select to “Windows 8” and set UEFI Boot to “Enabled”.
7. Press <Esc> to exit the menu and go to the Advanced menu.
8. Select SATA Mode (see page 5 - 9), press <Enter> and select “RAID Mode”.
9. Press <F4> and <Yes> to “Save Changes and Reset”.
10. After computer restarts press <F2> to enter the BIOS again.
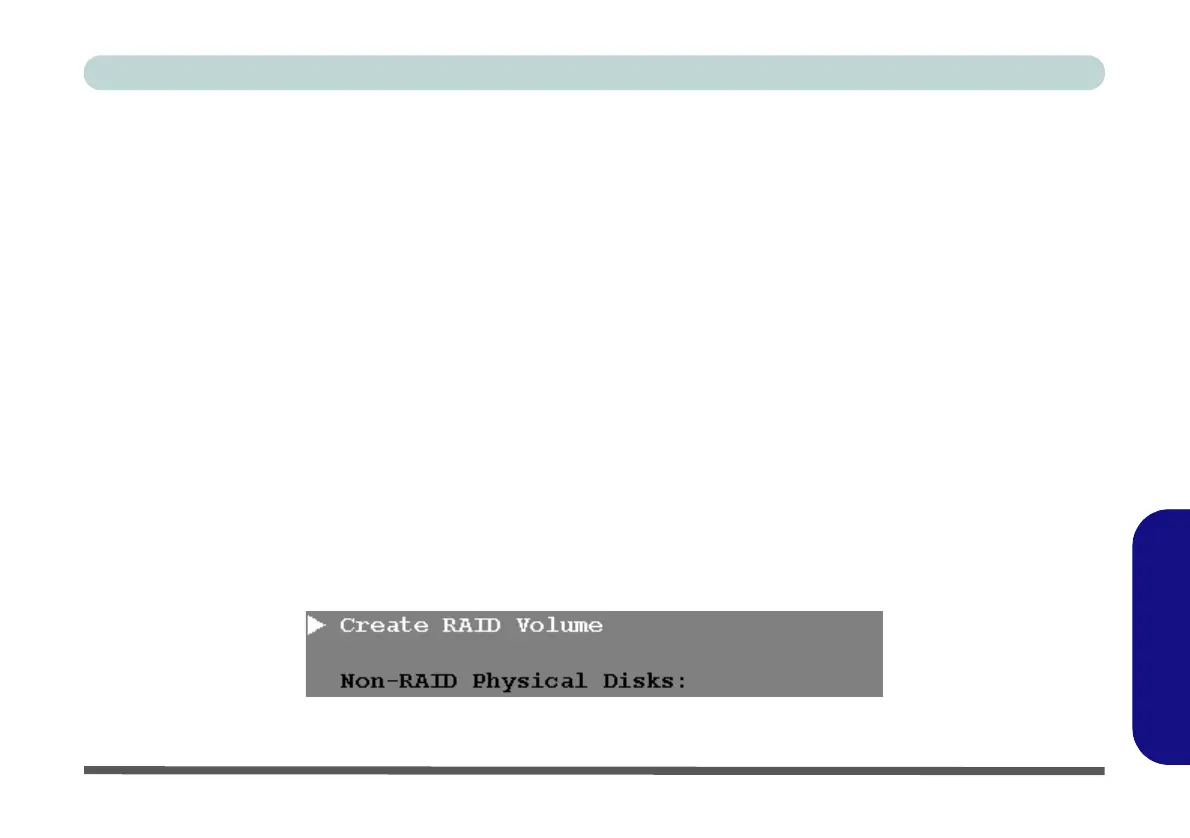
11. Go to Intel(R) Rapid Storage Technology (in the Advanced menu) and press <Enter>.
12. Select Create RAID Volume and press <Enter>.
Figure F - 46 - Create RAID Volume (Advanced > Intel(R) Rapid Storage Technology)
 Loading...