REMOVAL
NOTE: If valve body is being reconditioned or
replaced, it is necessary to perform the Quick Learn
Procedure. (Refer to 8 - ELECTRICAL/ELECTRONIC
CONTROL MODULES/POWERTRAIN CONTROL
MODULE - STANDARD PROCEDURE)
(1) Disconnect the TRS wiring connector. The sole-
noid wiring connector can remain attached to the
case.
(2) Disconnect the shift cable from the shift lever
(at the transaxle).
(3) Move the shift lever clockwise as far as it will
go. This should be one position past the L position.
Then remove the shift lever.
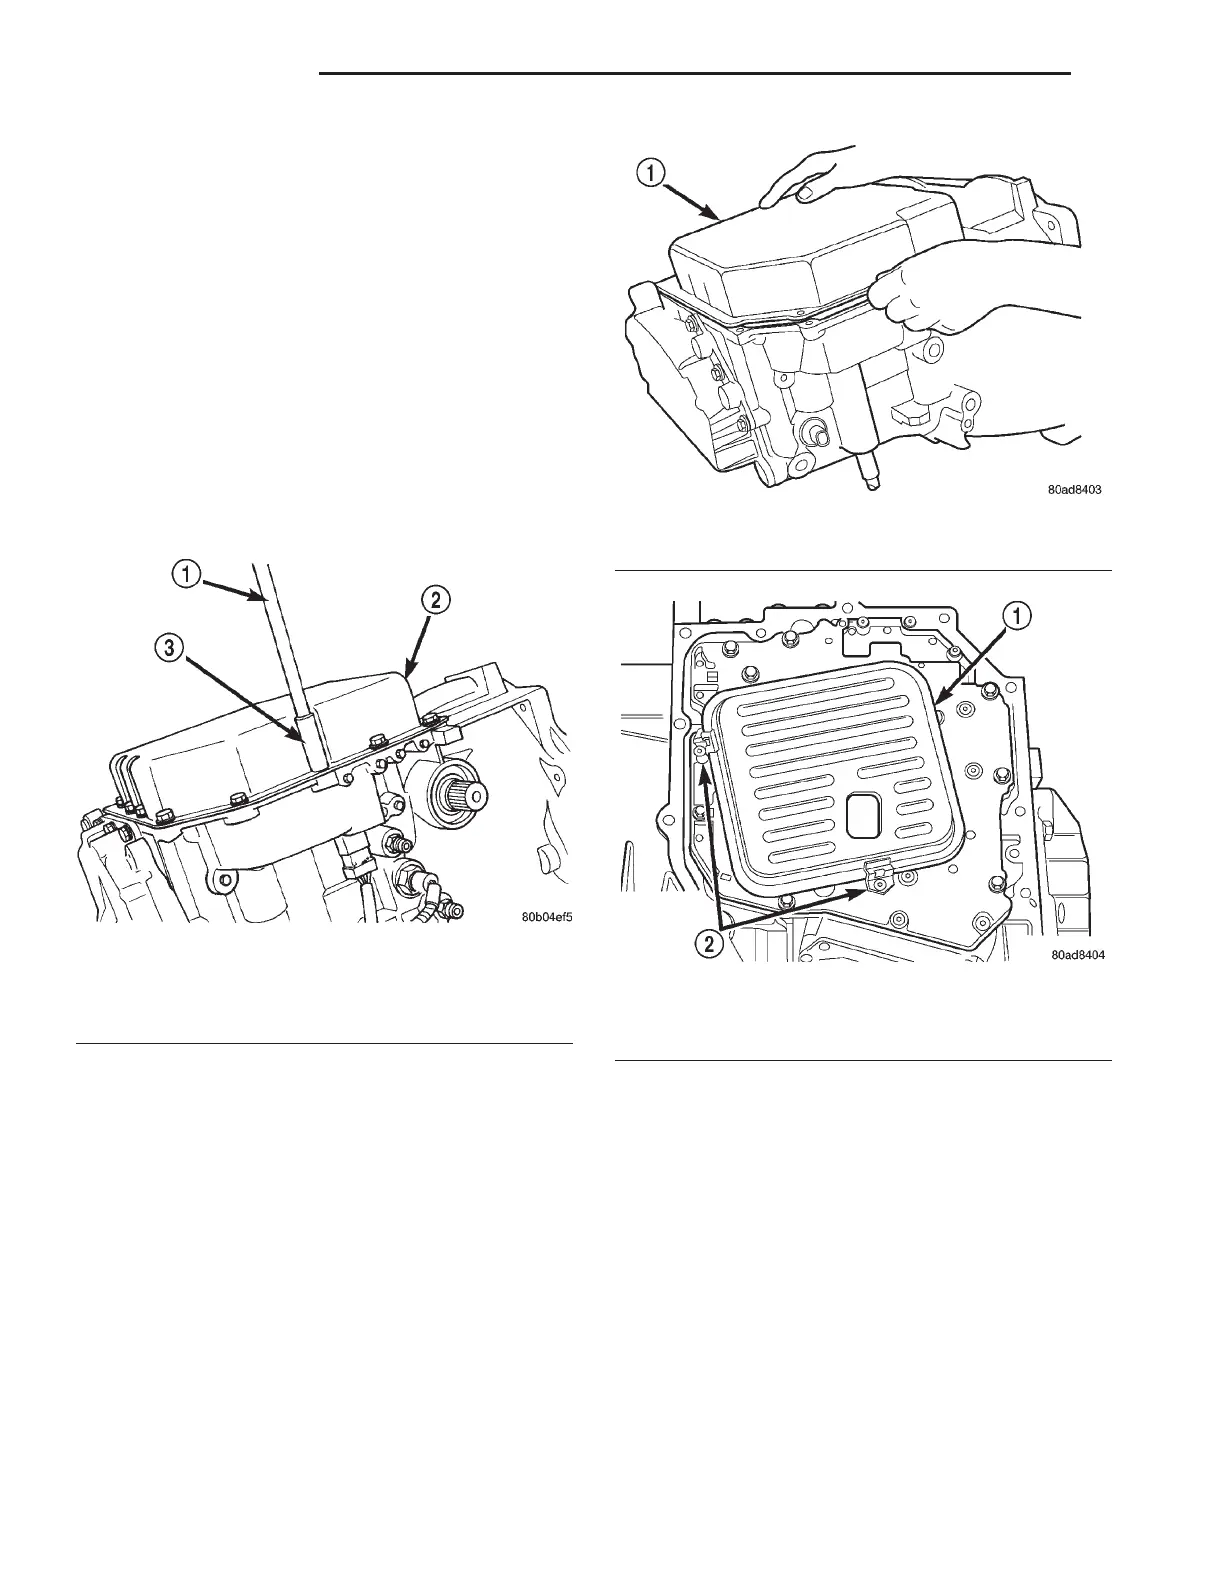
(4) Remove transaxle pan bolts (Fig. 408).
(5) Remove transaxle oil pan (Fig. 409). When
reinstalling oil pan be sure that pan flange is clean
and oil free. Apply a 1/8 inch bead of Mopar Silicone
Sealer onto oil pan flange before installing.
(6) Remove oil filter from valve body (Fig. 410). It
is held in place by two clips.
CAUTION: The 42LE transaxle oil filter is not inter-
changeable with the 41TE transaxle filter. Installa-
tion of a 41TE oil filter in a 42LE may cause
transaxle damage.
Fig. 408 Transaxle Oil Pan Bolts
1 - EXTENSION
2 - TRANSAXLE OIL PAN
3 - SOCKET
Fig. 409 Transaxle Oil Pan
1 - TRANSAXLE OIL PAN
Fig. 410 Transaxle Oil Filter
1 - TRANSAXLE FILTER
2 - FILTER RETAINING CLIPS
21 - 156 TRANSAXLE LH
VALVE BODY (Continued)