51
2
Processing a JOB by Retrieving
Basic Operations
3
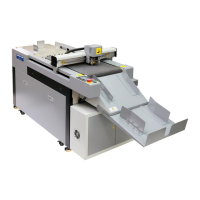
Attach the
side guide
(for the
feed tray
) and the
back guide
(for the
feed tray
) according to the
document size.
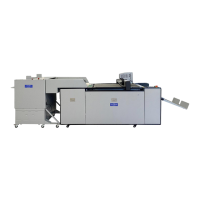
As shown in the fi gure on the right, lift the
exit tray
.
(→P.12 Setting the Exit Tray)
● When the fi nished product size is A3 (11”×17”) or
longer, it is recommended to set the
exit tray
in a
downward position.
● If the fi nished products are adhered to the
exit
tray
due to static electricity, set the
exit tray
in a
downward position.
(→P.11 Loading Documents)
REFERENCE
IMPORTANT
(→P.12 Setting the Exit Tray)
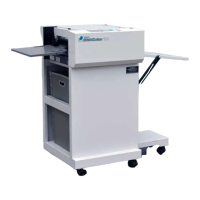
The height of the document stack should not
exceed the
MAX
level.
Prepare appropriate documents for the JOB selected, then loosen
the stack of the documents by fl ipping through the sheets.
JOB log
1:DUPLO
30:DUPLO30
65:DUPLO65
Exit tray
Feed tray
Side guide
Back guide
Side guide
Back guide
● The JOB number of the locked JOB is highlighted.
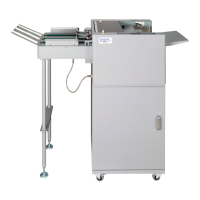
Attach the
back guide
(for the
exit tray
) and the
two
side guides
(for the
exit tray
).
(→P.55 Locking a Saved JOB)
Press the TEST key to process a test run for one
sheet.
Confi rm that the fi nished product is processed as
it is programmed. If not, make a fi ne adjustment in
Function Setting.
(→P.57 Function Setting)