71
Basic Operations
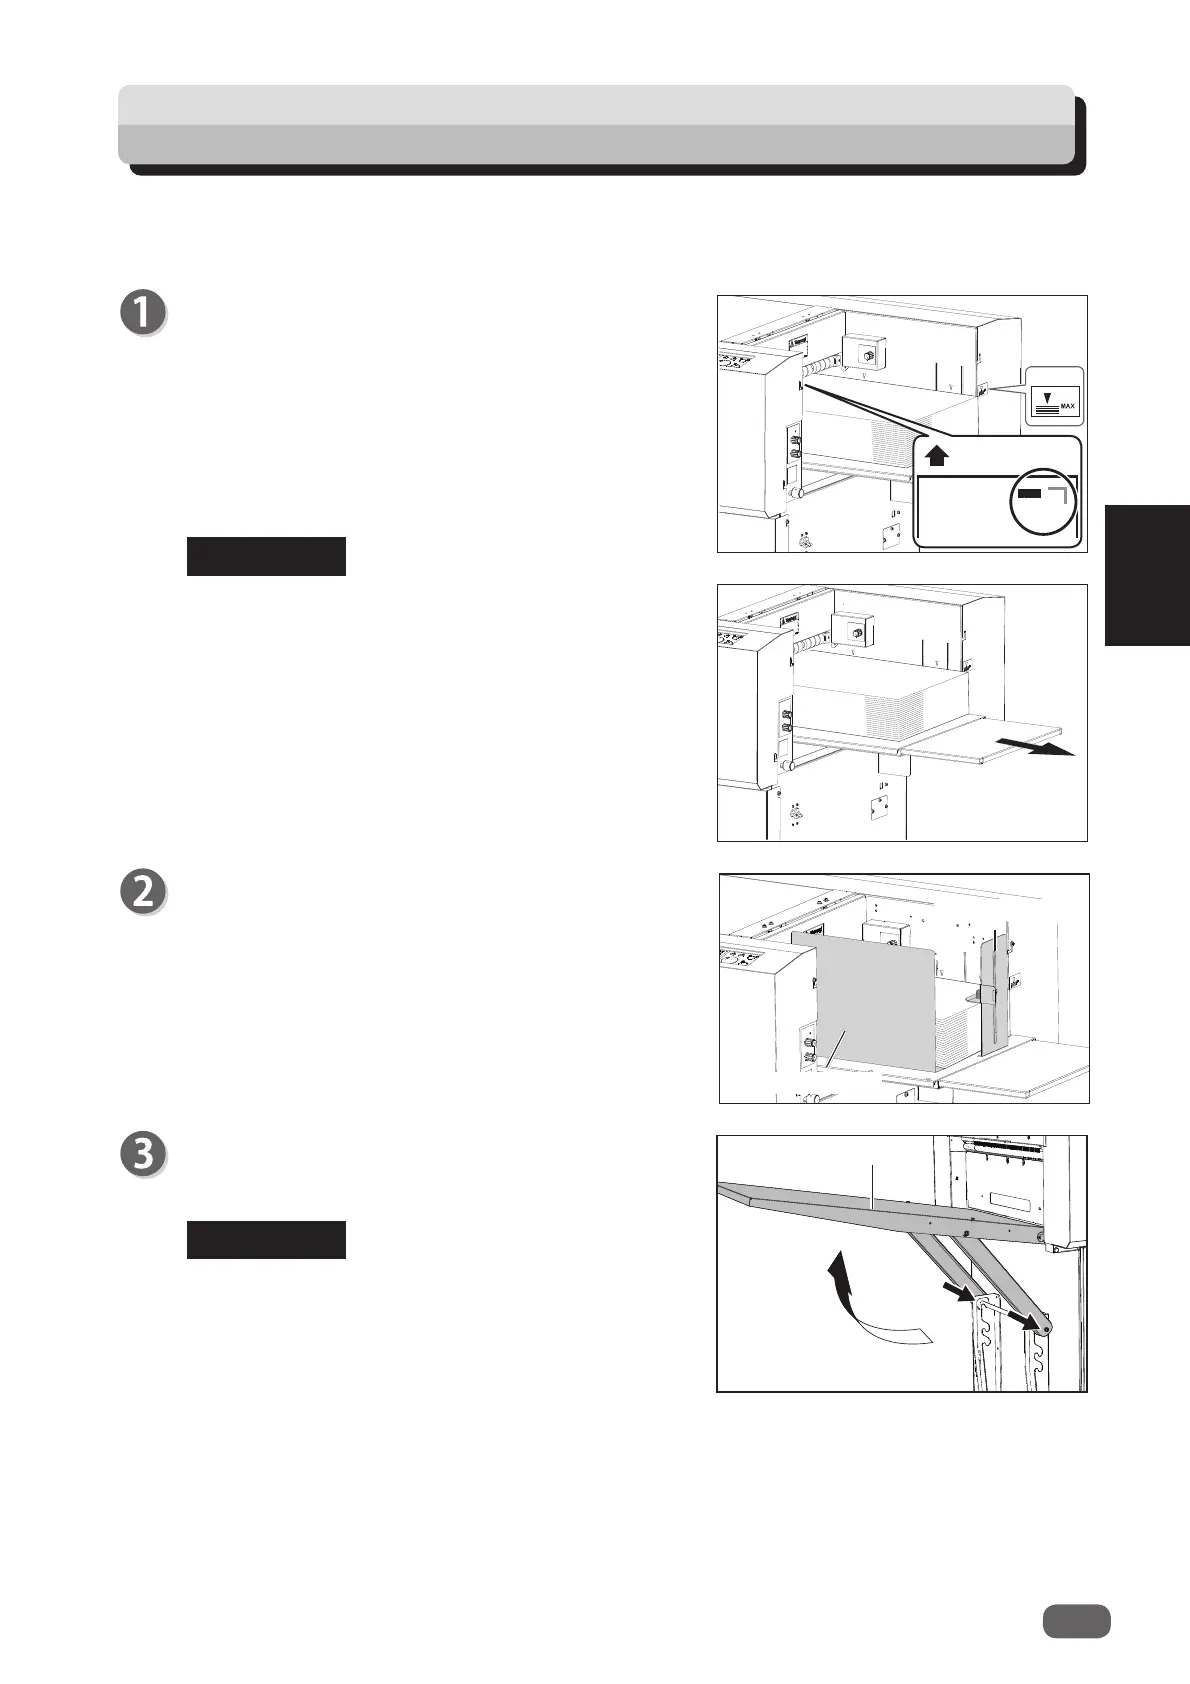
3
Lift the
exit tray
as shown in the fi gure on the right.
Attach the guide to the opening between the
exit
tray
and the machine.
● When the fi nished product size is A3 (11”×17”) or
longer, it is recommended to set the
exit tray
in a
downward position.
● If the fi nished products are adhered to the
exit
tray
due to static electricity, set the
exit tray
in a
downward position.
● The height of the document stack should not
exceed the
MAX
level.
● To set a document that is vertically long, pull out
the
feed tray
to accommodate the length of the
document.
Prepare appropriate documents for the JOB
selected. Loosen the stack of documents by fl ipping
through the sheets and load them on the
feed tray
so that the
barcord
or
REG mark
printed side is
facing upward and is located at the upper right to
the document feed direction.
Processing a JOB with a Barcode
By adding a barcode which indicates a JOB number on each document, the DC-646 automatically
sets up the machine and starts
processing the JOB.
REFERENCE
Document feed
direction
Side guide
Back guide
Attach the
side guide
(for the
feed tray
) and the
back guide
(for the
feed tray
) according to the
document size.
REFERENCE
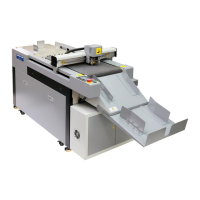
Exit tray