Set-up instructions
Operating manual 867 Version 01.0 - 12/2012 101
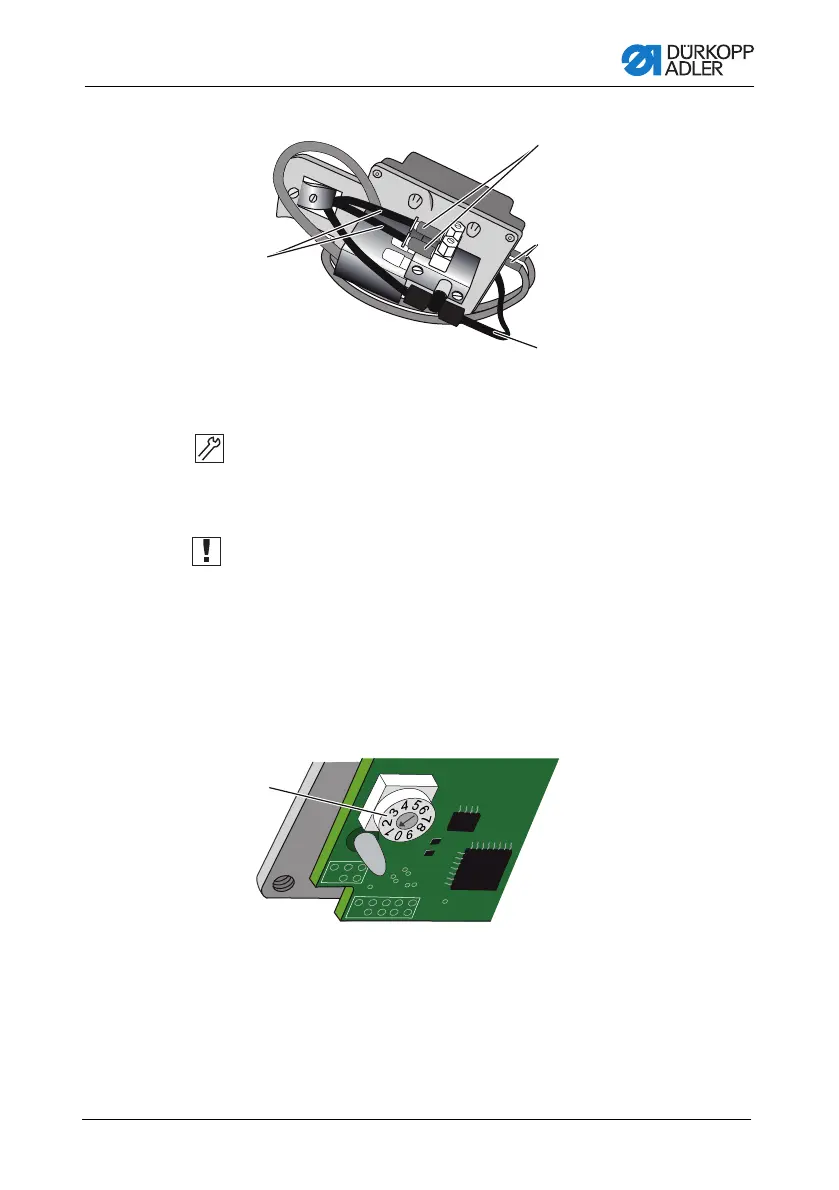
Figure 70: Connecting the circuit board
2. Connect the compressed air supply hose (2) to the mainte-
nance unit.
3. Fasten the upper section compressed air hoses (1) to the throt-
tle valves (4).
Important: If the function of the R and L keys are swapped
over on machines with switchable needle bars then the upper
section compressed air hoses (1) are swapped on the throttle
valves (4).
4. Plug the electrical cable connectors into the connecting
sockets (3).
Switch position on the circuit board
Figure 71: Setting the circuit board switch
The position of the switch (1) depends on the submodel:
• Machines with a binder: Position 1
• Machines with switchable needle bars: Position 2
• Machines with a clean seam start:
Additional manual 0791 867708
1
2
4
3
(1) - Upper section compressed air
hoses
(2) - Compressed air supply hose
(3) - Connection sockets
1
(1) - Switch
 Loading...