Above Ground Model 200iX/250iX Motorcycle Dynamometer Installation Guide
3-26
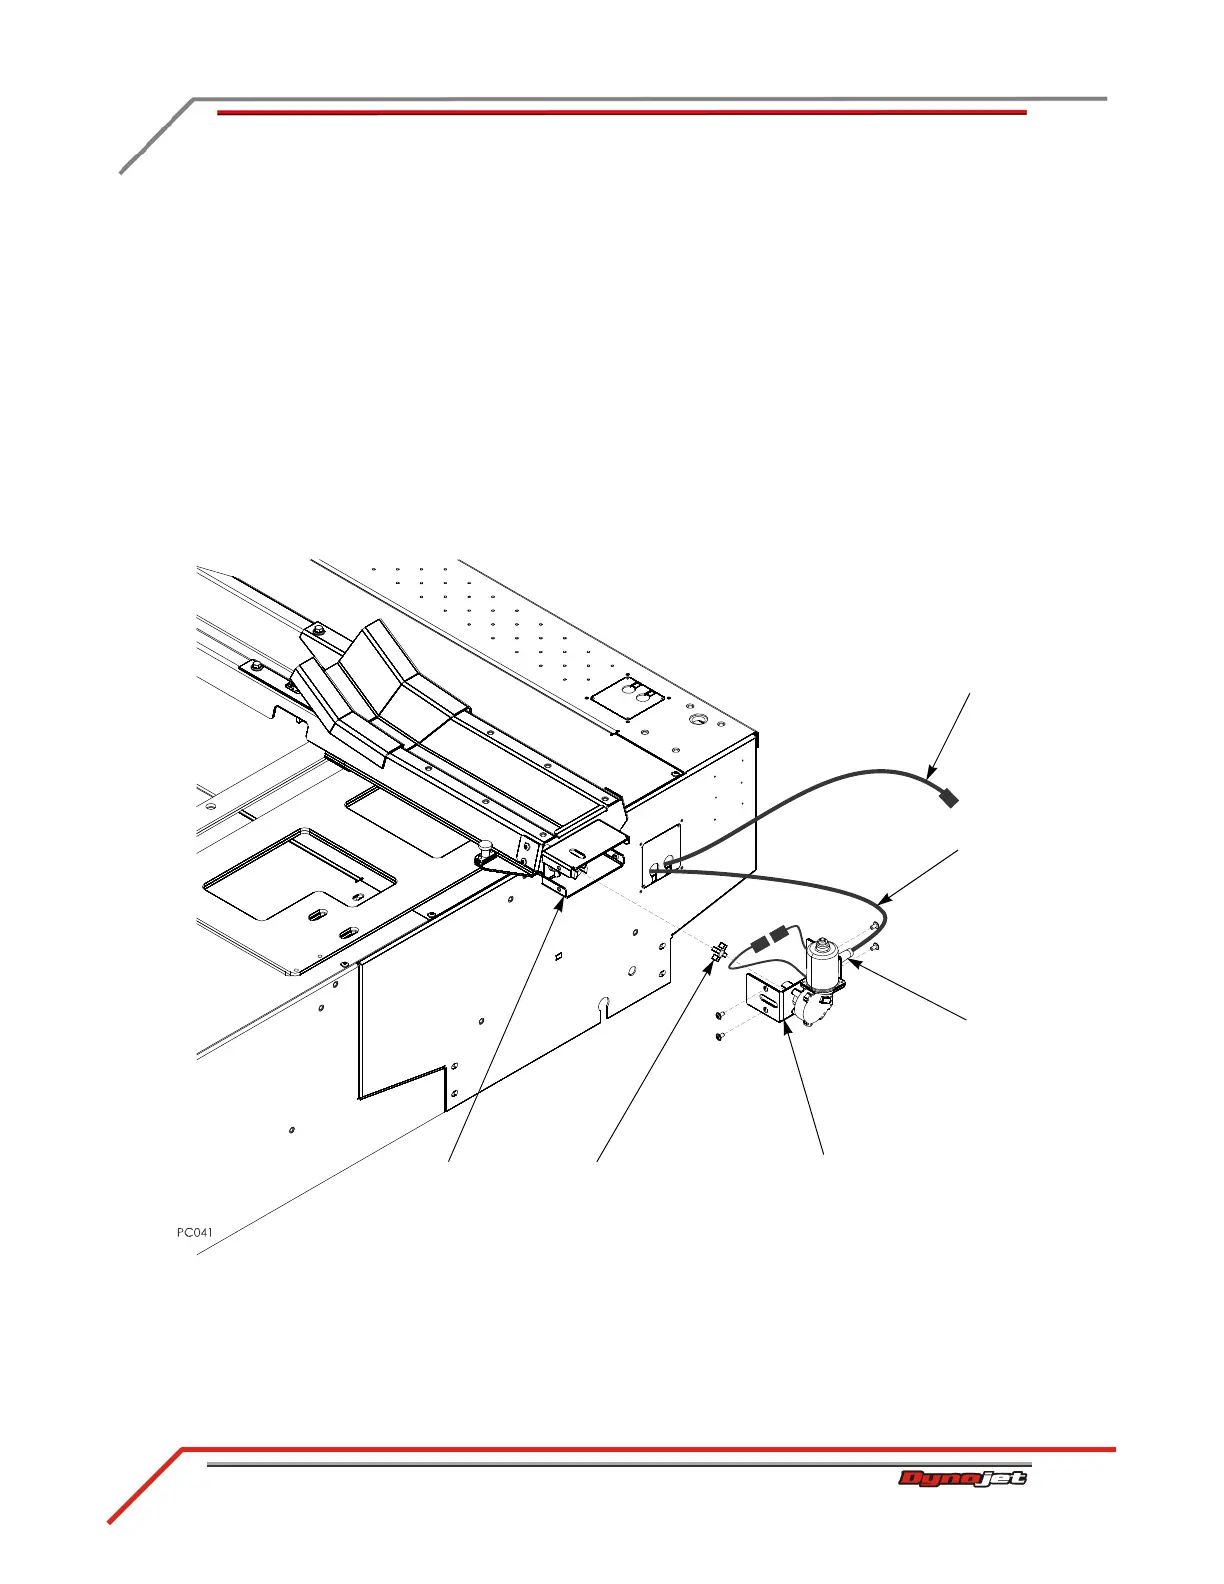
5 Bring the power carriage cable (two-pin connector) from the front of the dyno
over to the motor mount. Refer to “Routing the Power Carriage and Wheel Clamp
Cables” on page 2-38.
6 Secure the power carriage cable strain relief to the side of the motor assembly
cover.
7 Insert the plastic coupler spider on the carriage screw half of the coupler.
8 Place the power carriage motor assembly near the motor mount and plug the
motor connector into the power carriage cable.
9 Turn the carriage screw to align the coupler jaws with each other and slide the
coupler jaws together until the motor assembly cover is flush with the motor
mount.
10 Secure the motor assembly cover to the motor mount with four 1/4-20 x 1/2-inch
button-head screws removed earlier.
Figure 3-26: Assemble the Power Carriage
motor assembly
motor assembly
cover
strain relief
power carriage
cable
coupler spider
wheel clamp cable