2-39
INSTALLATION
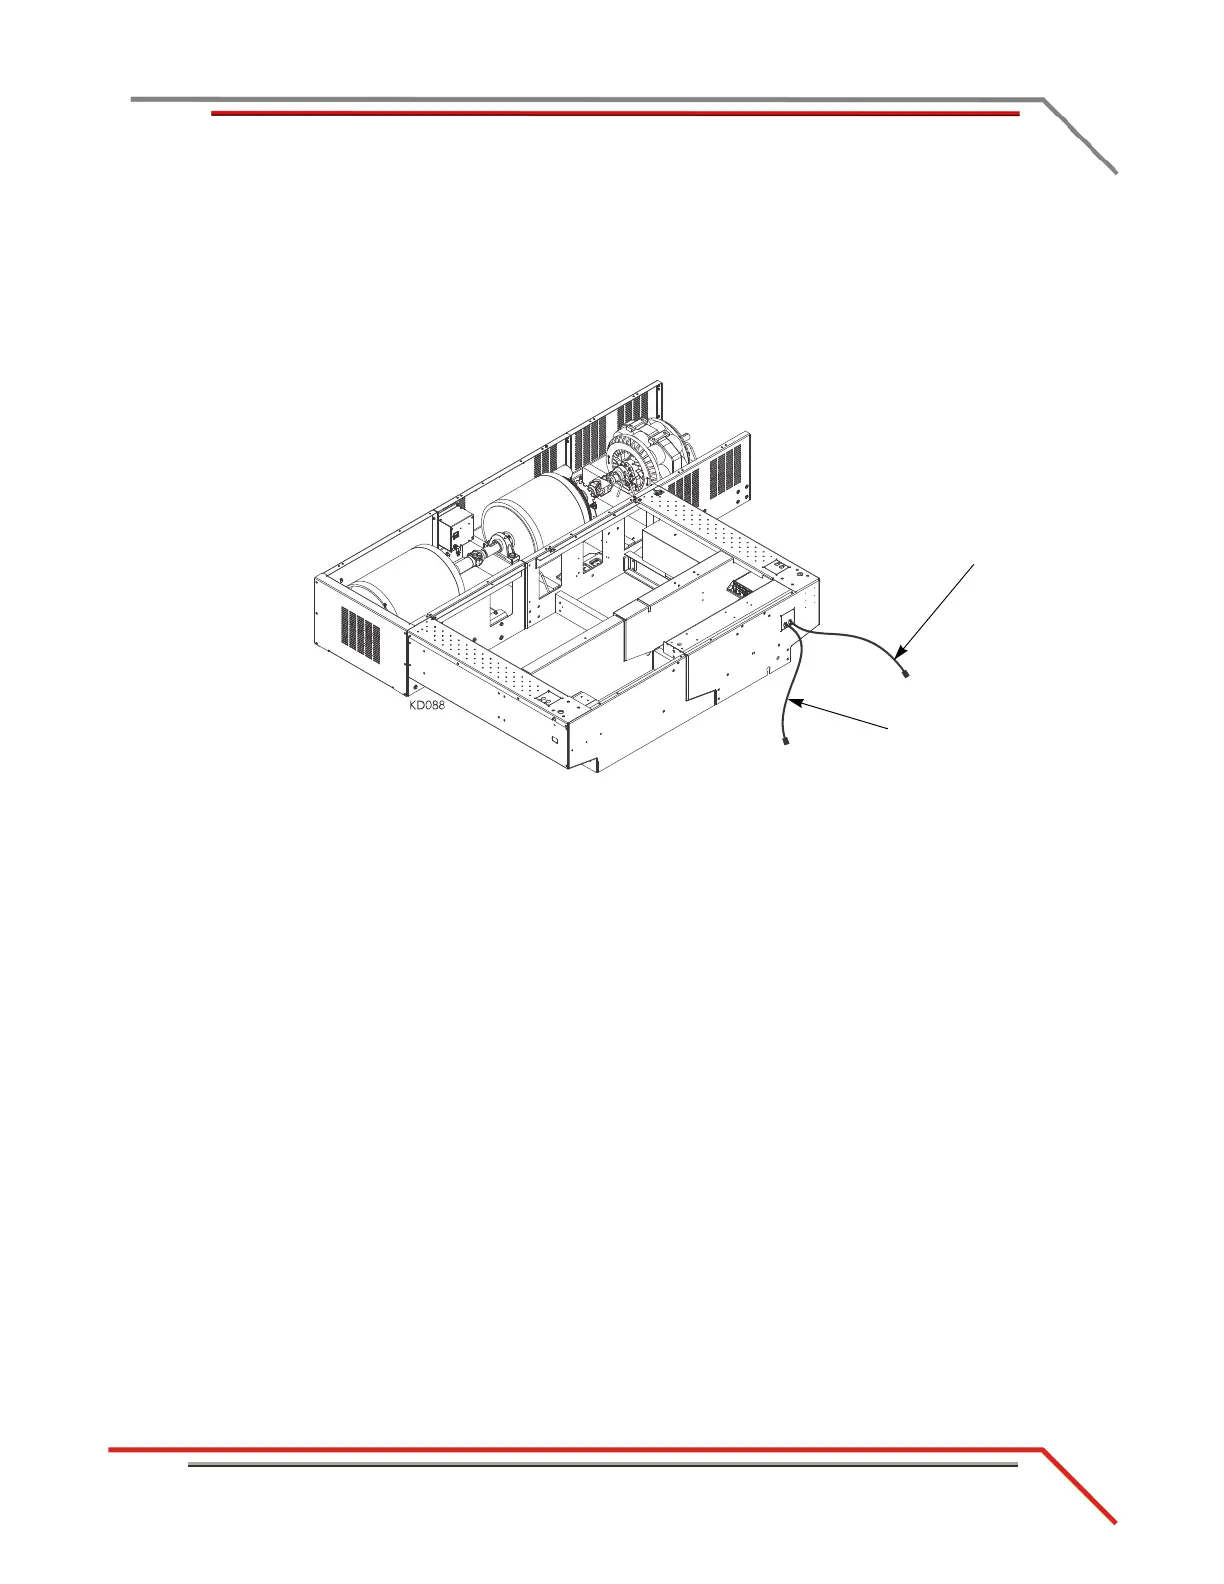
Cable Routing
Version 2 Above Ground Model 200iX/250iX Motorcycle Dynamometer Installation Guide
4 Place a split snap bushing around the wheel clamp cable and secure into place in
one hole on the cable pass through cover.
5 Place a split snap bushing around the power carriage cable and secure into place
in the other hole on the cable pass through cover.
6 Secure the cable pass through cover to the dyno with the two screws removed
earlier.
Figure 2-31: Routing Wheel Clamp and Power Carriage Cables
2-pin power carriage cable, H
3-pin wheel clamp cable, G