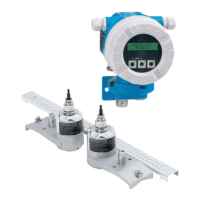
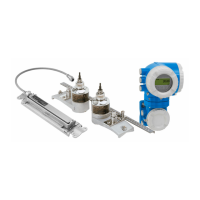
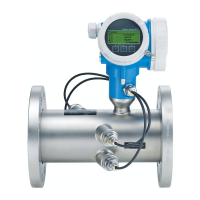
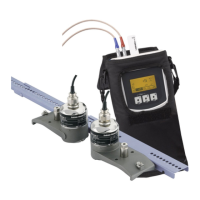
Mounting procedure Proline Prosonic Flow W 400 HART
40 Endress+Hauser
Procedure:
1. Position the strapping bands using the mounting rail [only DN50 to 600 (2 to 24"),
for larger nominal diameters, measure the distance between the center of the strap
bolts directly]: Fit the mounting rail with the bore identified by the letter (from the
Result sensor distance / measuring aid parameter) over the mounting bolt of
strapping band 1 that is fixed in place. Position the adjustable strapping band 2 and
fit the mounting rail with the bore identified by the numerical value over the
mounting bolt.
A0043384
32 Determining the distance in accordance with the mounting rail (e.g. G22).
2. Tighten strapping band 2 so that it cannot slip.
3. Remove the mounting rail from the mounting bolt.
4. Fit the sensor holders over the individual mounting bolts and tighten securely with
the locking nut.
5. Place the coupling pad under the sensor → 172. Alternatively, coat the contact
surfaces of the sensor evenly with coupling gel (approx. 1 mm (0.04 in)). In doing so,
start from the groove through the center to the opposite edge.
A0043382
33 Coating the contact surfaces of the sensor with coupling gel (if there is no coupling pad)
6. Insert the sensor into the sensor holder.
7. Fit the sensor cover on the sensor holder and turn until the sensor cover engages
with a click and the arrows (▴ / ▾ "close") are pointing towards one another.

 Loading...

