C8 Maintenance 8. Joint #4
C Series Maintenance Manual Rev.2 357
8. Apply adhesive to the following parts of the J4 pulley.
Bearing mating part
Inner ring (J4 sleeve)
Outer ring (J4 pulley)
Adhesive: Loctite 641
Install the J4 pulley bearing, and tighten the bearing bolt.
Hexagon socket head cap bolts: 3-M3×8 (with a plain washer)
Tightening torque: 2.0 ± 0.1 N·m
9. Install the Arm #4 to the Arm #3.
To fix all bolts, change the position of the Joint #4 by rotating it.
Hexagon socket head cap bolts: 8-M5×30
Tightening torque: 10.0 ± 0.5 N·m
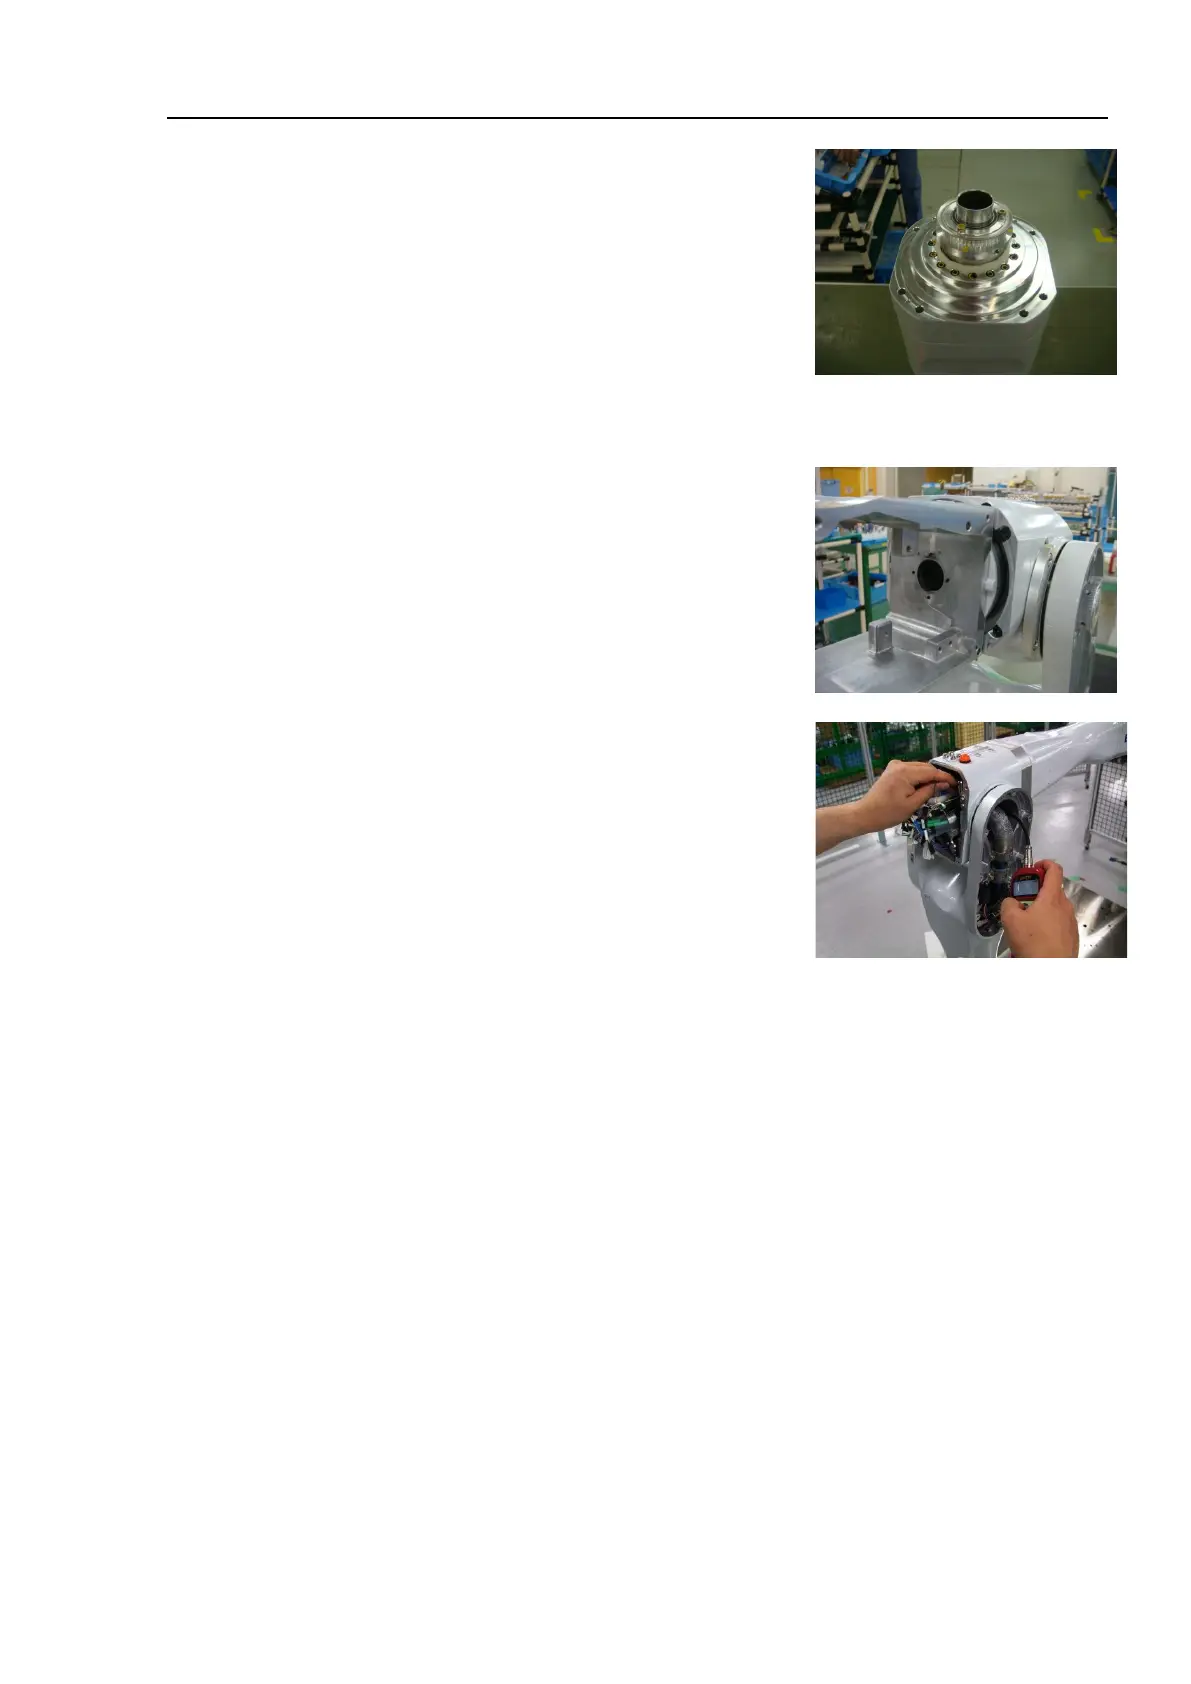
10. Install the Joint #4 timing belt with a proper tension.
For details, refer to C8 Maintenance 8.1 Joint #4 – Replacing the
Motor, Installation steps (5) and (6).
11. Pass the cables to the Arm #4.
For details, refer to Installation steps in C8 Maintenance 4.1 Cable Unit.
12. Install the Joint #5 and #6 motors.
For details, refer to Installation steps of C8 Maintenance 9.1 Joint #5 – Replacing the Motor and C8
Maintenance 10.1 Joint #6 – Replacing the Motor.
13. Install the removed covers.
For details, refer to C8 Maintenance 3. Covers.
14. Perform the calibration.
For details, refer to C8 Maintenance 16. Calibration.