Operating of the Machine
4-2 © Essemtec AG Paraquda Startup & Safety
0000003/11 / November 4, 2014
Checks
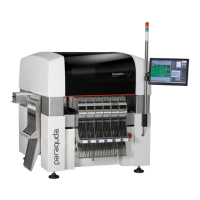
Check for proper pressure of the compressed air.
The air maintenance unit consists of a filter with
moisture separato
r (1), a digital pressure switch
(2) for pressure control and a pressure reduction
valve (3). The compressed air for the machine
(conveyor, toolchanger etc.) passes the pressure
reduction valve while the compressed air for the
head is passed directly. The
pressure for the
head is controlled by the fine pressure regulator
(software adjustable on screen
System -
- Air).
Check the air pressure on the pressure reduction
valve (3) by means of the built in pressure
gauge. It must be set to 0.5 MPa (5
bar) .
Before adjusting the pressure (if necessary), be
sure to unlock the knob and lock it after setting
the pressure. Failure to follow this procedure
can cause damage to the knob and the outlet
pressure may fluctuate.
Pull the pressure regulator knob
to unlock. (You
can visually verify this with the "orange mark"
that appears in the gap.).
Push the pressure regulator knob to lock. When
the knob is not easily locked, turn it left and
right a little and then push it (when the knob is
locked, the "orange
mark", i.e., the gap will
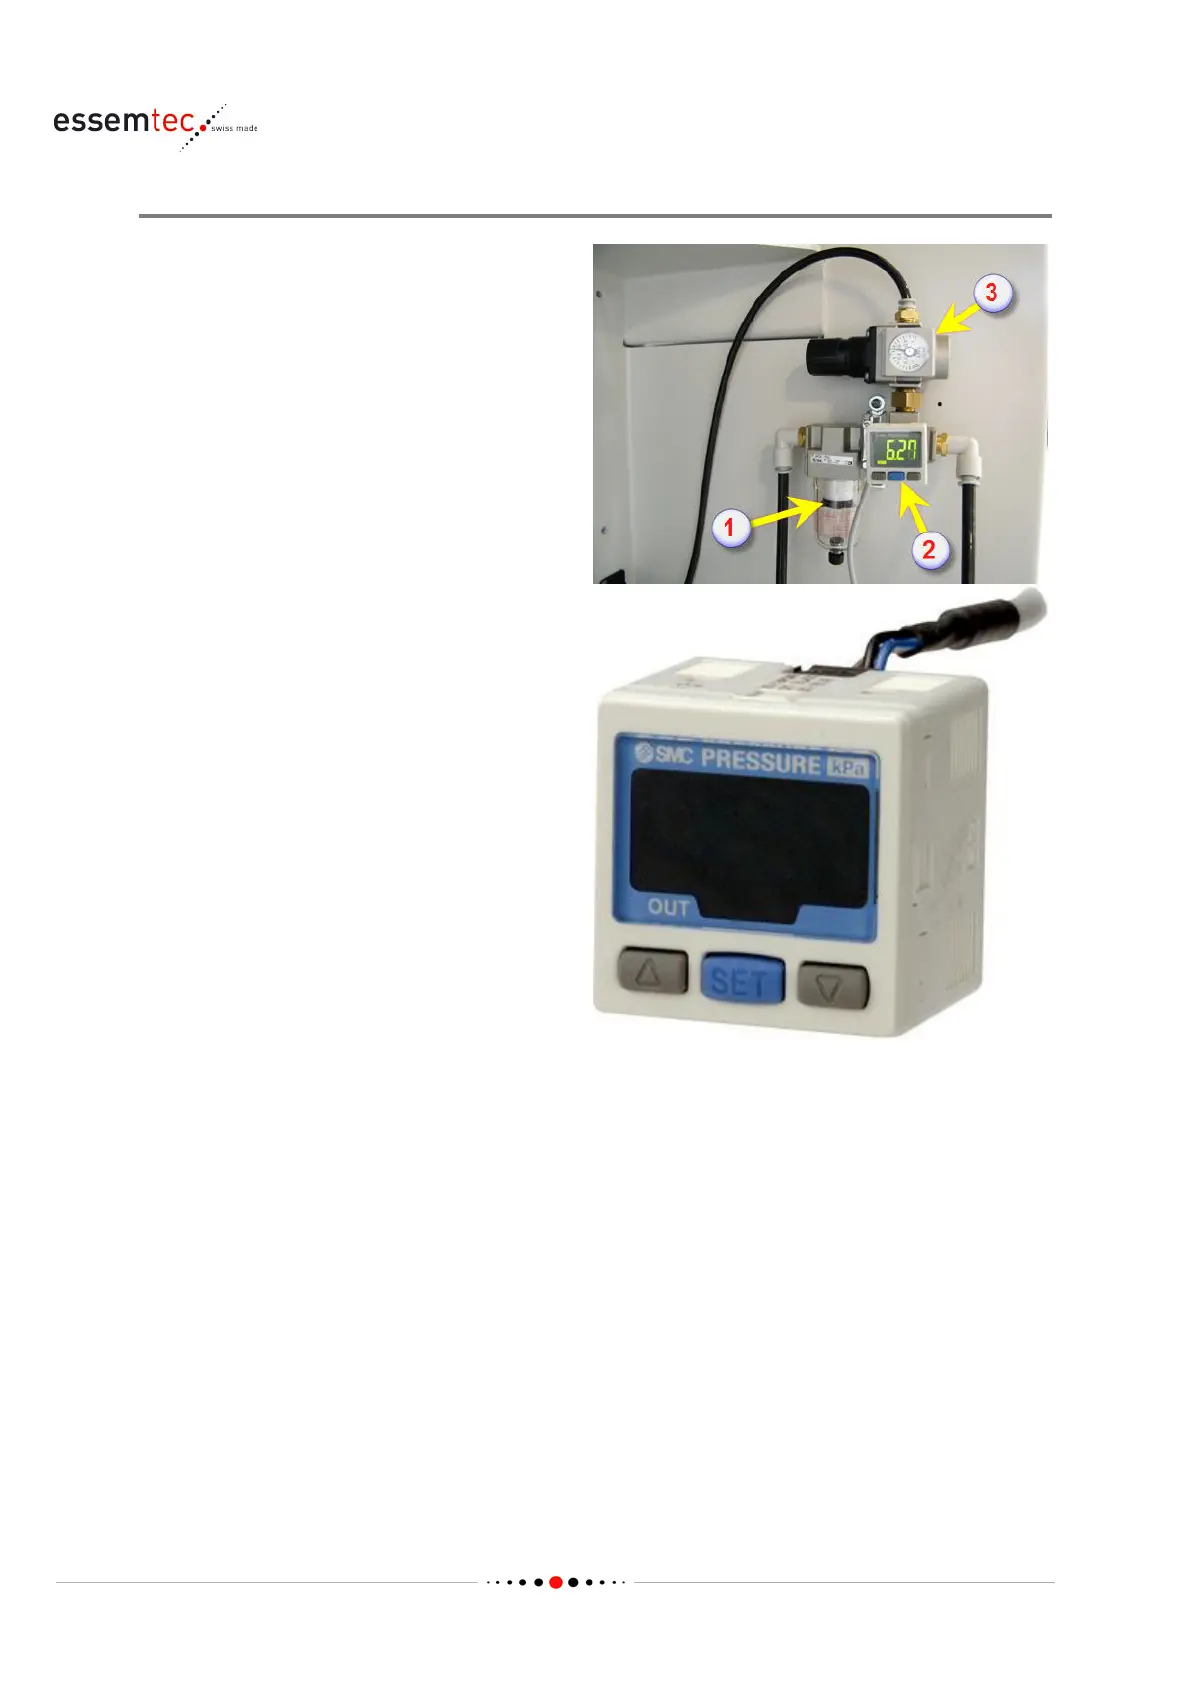
Check the switching threshold on the Digital Pressure Switch (2). It must be set to 0.5 MPa (5 bar)
and should be the factory setting. The hysteresis must be set to zero. In case of a wrong value,
press the blue buttonSet once and adjust the pressure by means of the up and down buttons.
Press Set again to save the new value. Press Set for 2 seconds, [F0] is displayed to set the unit. By
means of the up and down button, the indication unit can bechanged (Pa / bar / PSI). Press Set a
few times until [H_1] is displayed to set the hysteresis. It must be set to '0'. Press Set again to save
the hysteresis, afterwards press Set for 2 seconds to finalize the adjustment and change to the
measurement mode.