Page 16 Copyright FlyThisSim LLC 2013
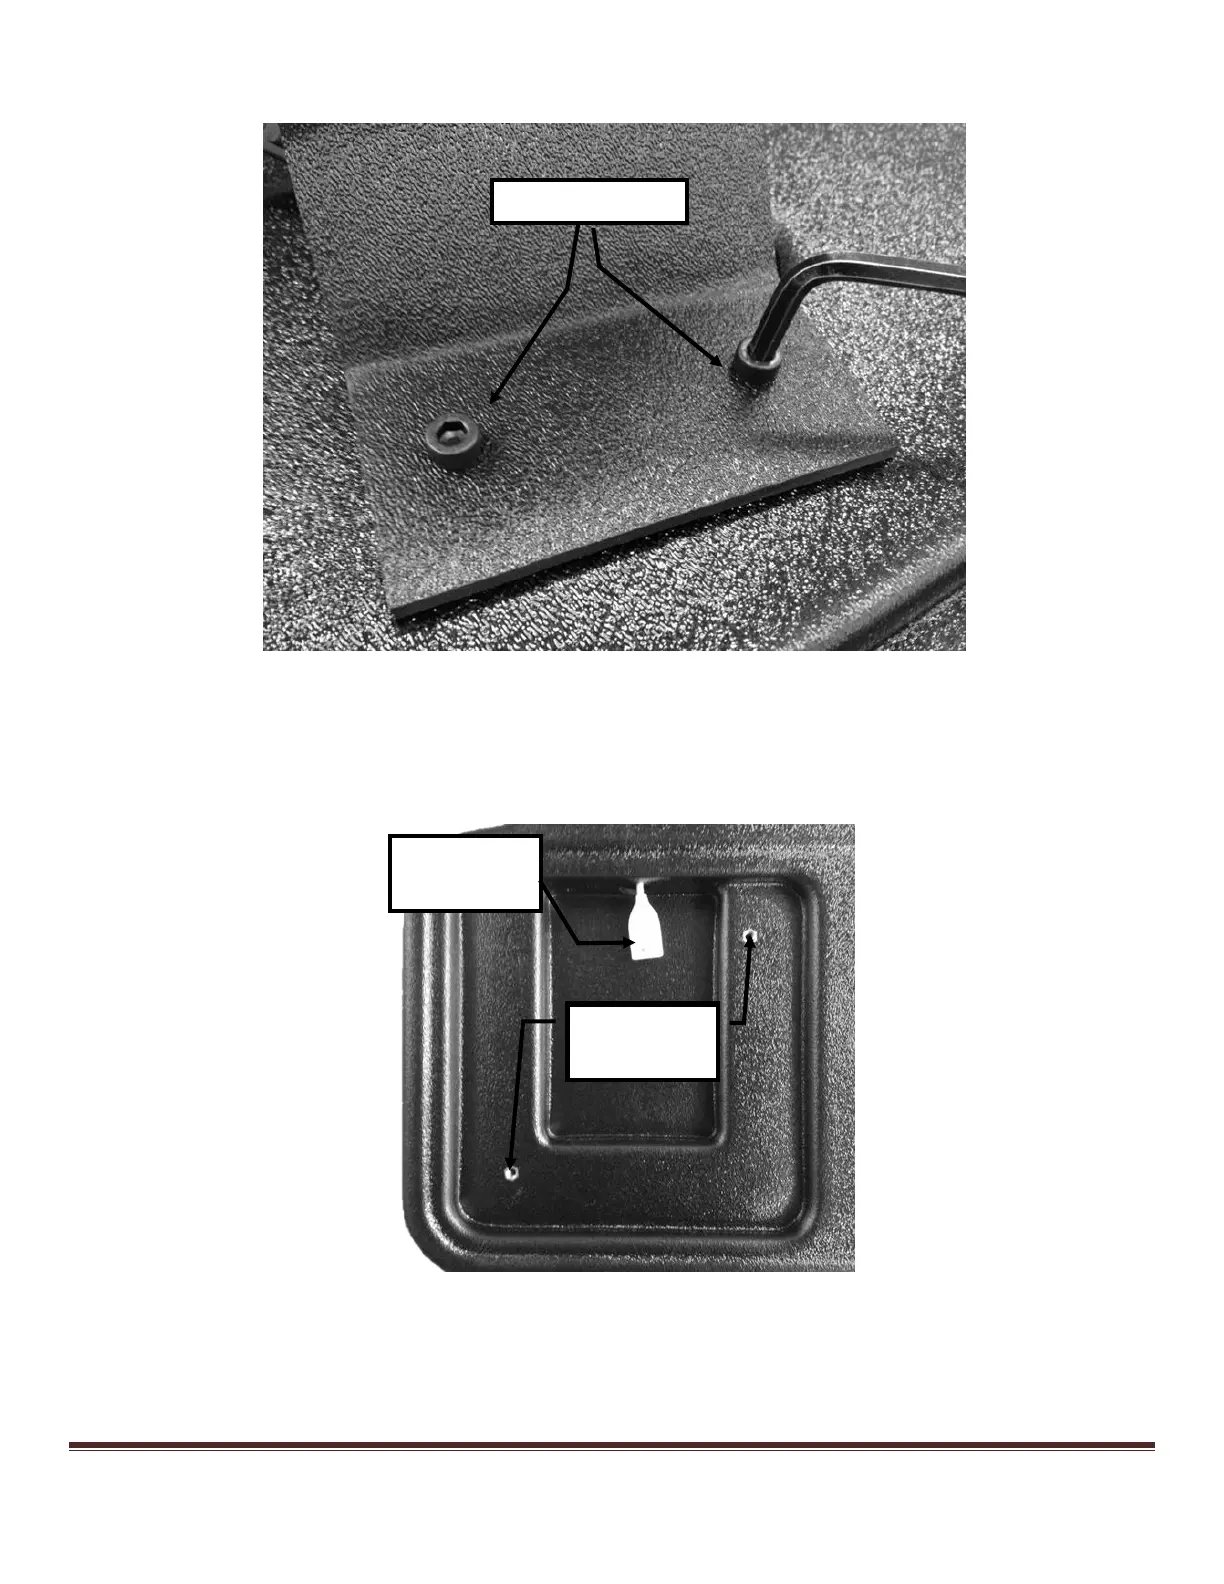
2) Use the supplied Allen wrench to attach the AUX monitor to the base using M6x15 bolts (Figure 13).
Figure 13: Affixing the AUX monitor to the base
TouchTrainer® Joystick
If your TouchTrainer® comes with a yoke and not a joystick, skip ahead to the yoke section.
1) The hole for the joystick is pre-cut and pre-drilled (Figure 14).
Figure 14: Joystick location overview
2) Attach the joystick USB cable to the joystick harness, feed the remaining cable through the hole, and place the
joystick into the slot (Figure 15).