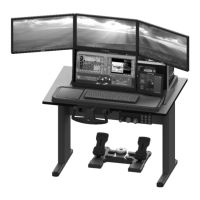
FlyThisSim TouchTrainer® Set-up Guide
Copyright FlyThisSim LLC 2013 Page 43
8) Release the parking brake and apply full throttle.
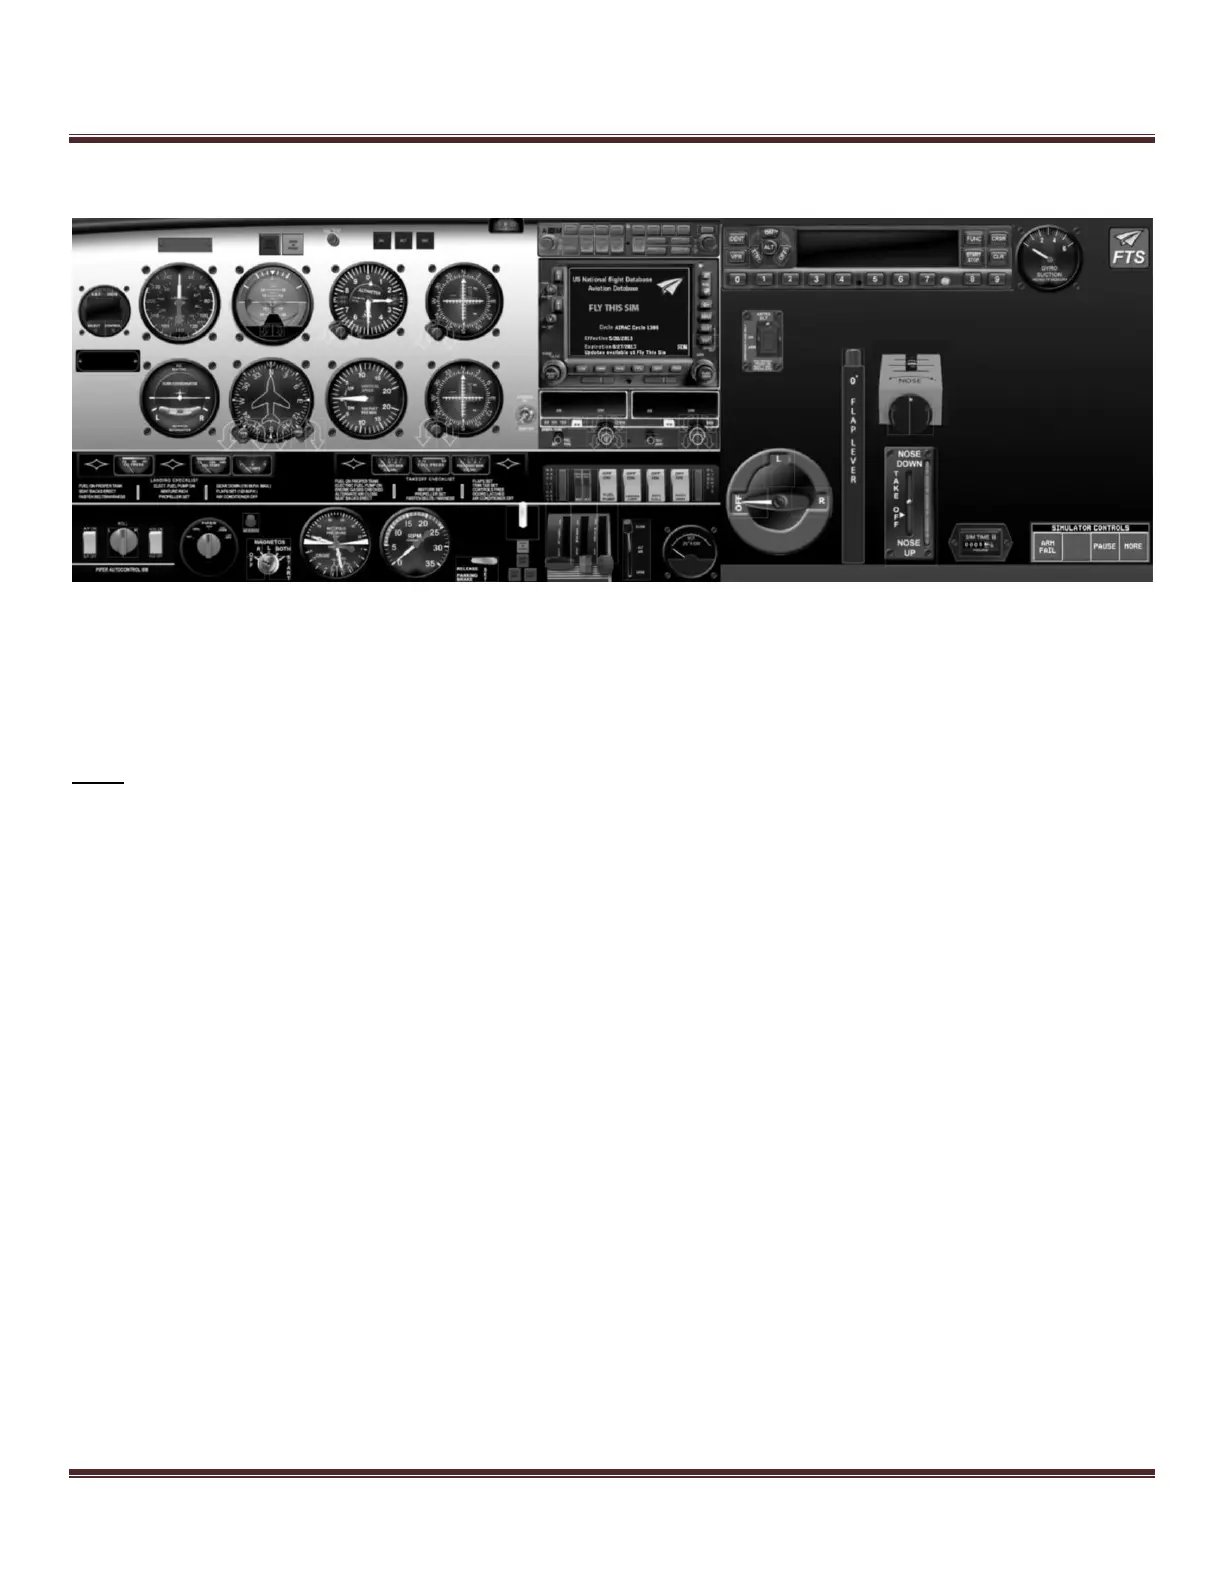
Figure 62: Piper Arrow after Engine Start
Piper Avidyne Startup Procedure
Follow the guide step-by-step, pressing the button that matches the corresponding step in the procedure (i.e. press the
button labeled “1” in the picture below when working on step 1).
Note: Because the button layouts are not exactly the same across all systems, the following pictures may not match your
layout. The correct buttons will still be available, just not necessarily as shown in the pictures.
1) Using the hardware controls, open the THROTTLE 1/8
th
from the bottom. Verify the position on the auxiliary
monitor as you move the lever.
2) Turn on BAT MASTER, ALT MASTER, LEFT & RIGHT MAGNETO, AND FUEL PUMP switches
3) Turn on the RADIO MASTER switch to engage radio.
4) Using the hardware controls, prime the MIXTURE by adjusting it to FULL RICH (all the way top), and then
IDLE CUT-OFF (all the way to the bottom). Verify the position on the auxiliary monitor as you move the levers.
5) To start the engine, Tap the START once (do not press and hold. If engine does not start, check your
throttle/mixture settings and tap the START touch area again).
6) Immediately after start adjust MIXTURE to FULL RICH.
7) Turn on the AVIONICS MASTER switch.
8) Complete the GNS-430 startup by pressing the ENT key once on each, verifying the CDI indications, and then
pressing the ENT key once more on each.
9) Turn on NAV and STROBE switches.
10) Wait for AHRS alignment or tap either of the two PFD brightness buttons to “Fast Erect” the ARHS alignment
(not available in the actual aircraft, Avidyne only).
11) Confirm the start-up and Fuel Totalizer on the MFD (Avidyne only).
12) Confirm the start-up on GPS #1. Enter a flight plan if needed (See the Garmin manual for more information).
13) Confirm the start-up on GPS #2.
14) Set flaps to 50%.
15) Use the hat switch on the yoke to move the trim to the takeoff position.
16) Release the parking brake. Open throttle to full forward.