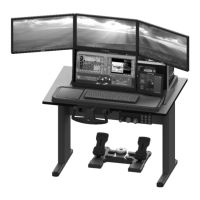
FlyThisSim TouchTrainer® Set-up Guide
Copyright FlyThisSim LLC 2013 Page 9
Section 2: Assembly
This section will walk you through the complete assembly of your TouchTrainer® system from start to finish.
TouchTrainer® Table and Base
If you purchased a table along with your TouchTrainer®, then your plastic base will arrive fastened to the table. If you did
not purchase a table, you may skip to the next page.
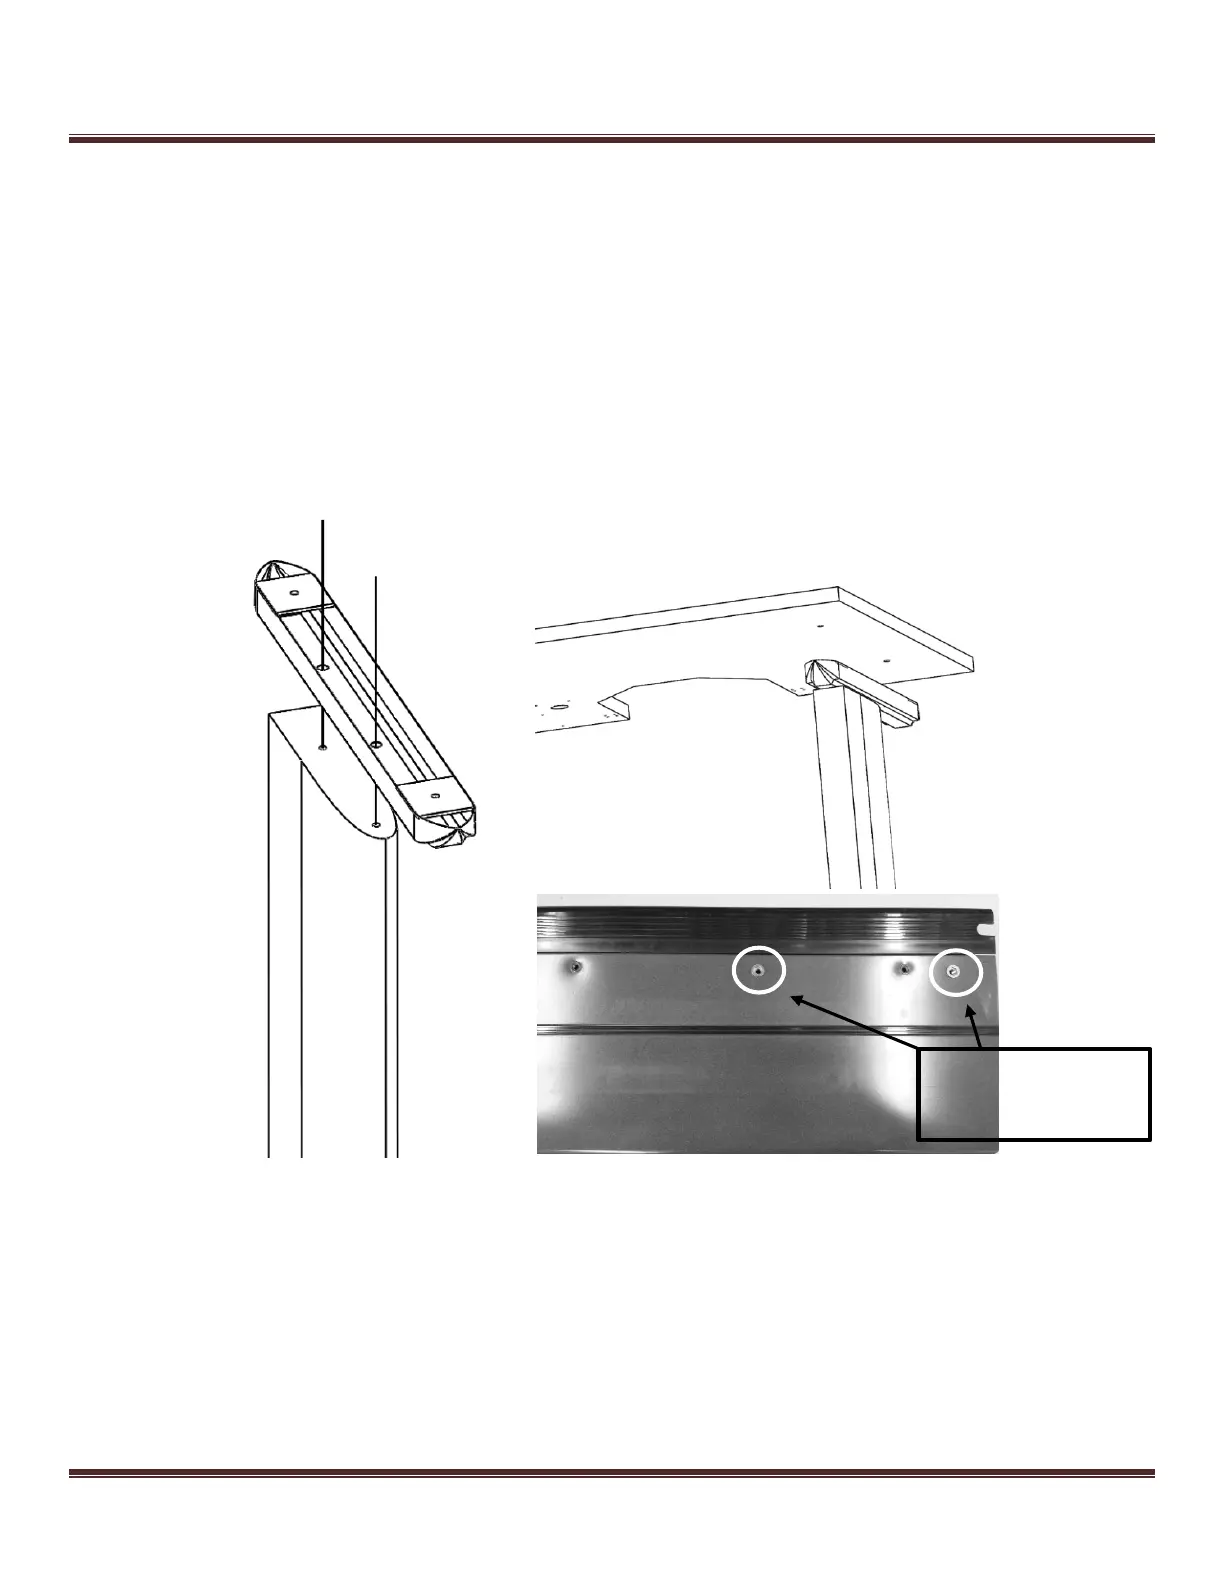
To construct the table, unpack the two table legs and table, and place the table upside down on a flat surface.
1) First attach both legs to the bottom of the table using the M6 screws and your included Allen Wrench.
2) Next, attach the modesty plate to the inside of the legs using the 4 supplied screws
3) Attach the “feet” of the legs using the Philips Head large screws onto the leg pieces.
Figure 3: Leg Assembly for the TouchTrainer Table
Your TouchTrainer® comes pre-wired and your TouchTrainer® wires and components also come pre-labeled. The only
thing you need to do is connect like-numbered cables to their respective ports.
There are five main wire harnesses that connect all the components of your TouchTrainer®, shown in Figure 4 on the next
page.
Modesty Plate
Attachment Inserts