44
3. Select [MENU]/4. Offset, or press F3: [OFST] at
P3 of basic measurement menu.
4. Select “
1. Occ. orientation” to input the
instrument occupied data, see Ҥ6.1 Input the
occupied point data”.
5. Select “
2. Offset/Dist”.
6. User could press F1: [
MEAS] to re-measure the
offset point or press F4: [
OK] to the next step.
7. Input distance and direction of offset point:.
① Dist: horizontal distance from the target point to
the offset point.
② Direc: direction of the offset point.
←: on the left of the target point
→: on the right of the target point
↓: in front of the target point
↑: at back of the target point
8. Press F4: [
OK] to calculate and display the distance
and angle of the target point.
9. Press F1: [
REC] to save;
Press F2: [
NEZ] to display NEZ coordinate;
Press F3: [
NO] back to step 6;
Press F4: [
YES] back to offset mode.
9.2 Angle Offset Measurement
Sighting the direction of the target point to find it from the included angle. Set offset
points for the target point on the right or left sides of and as close as possible to the target
point and measure the distance to the offset points and the horizontal angle of the target
point.
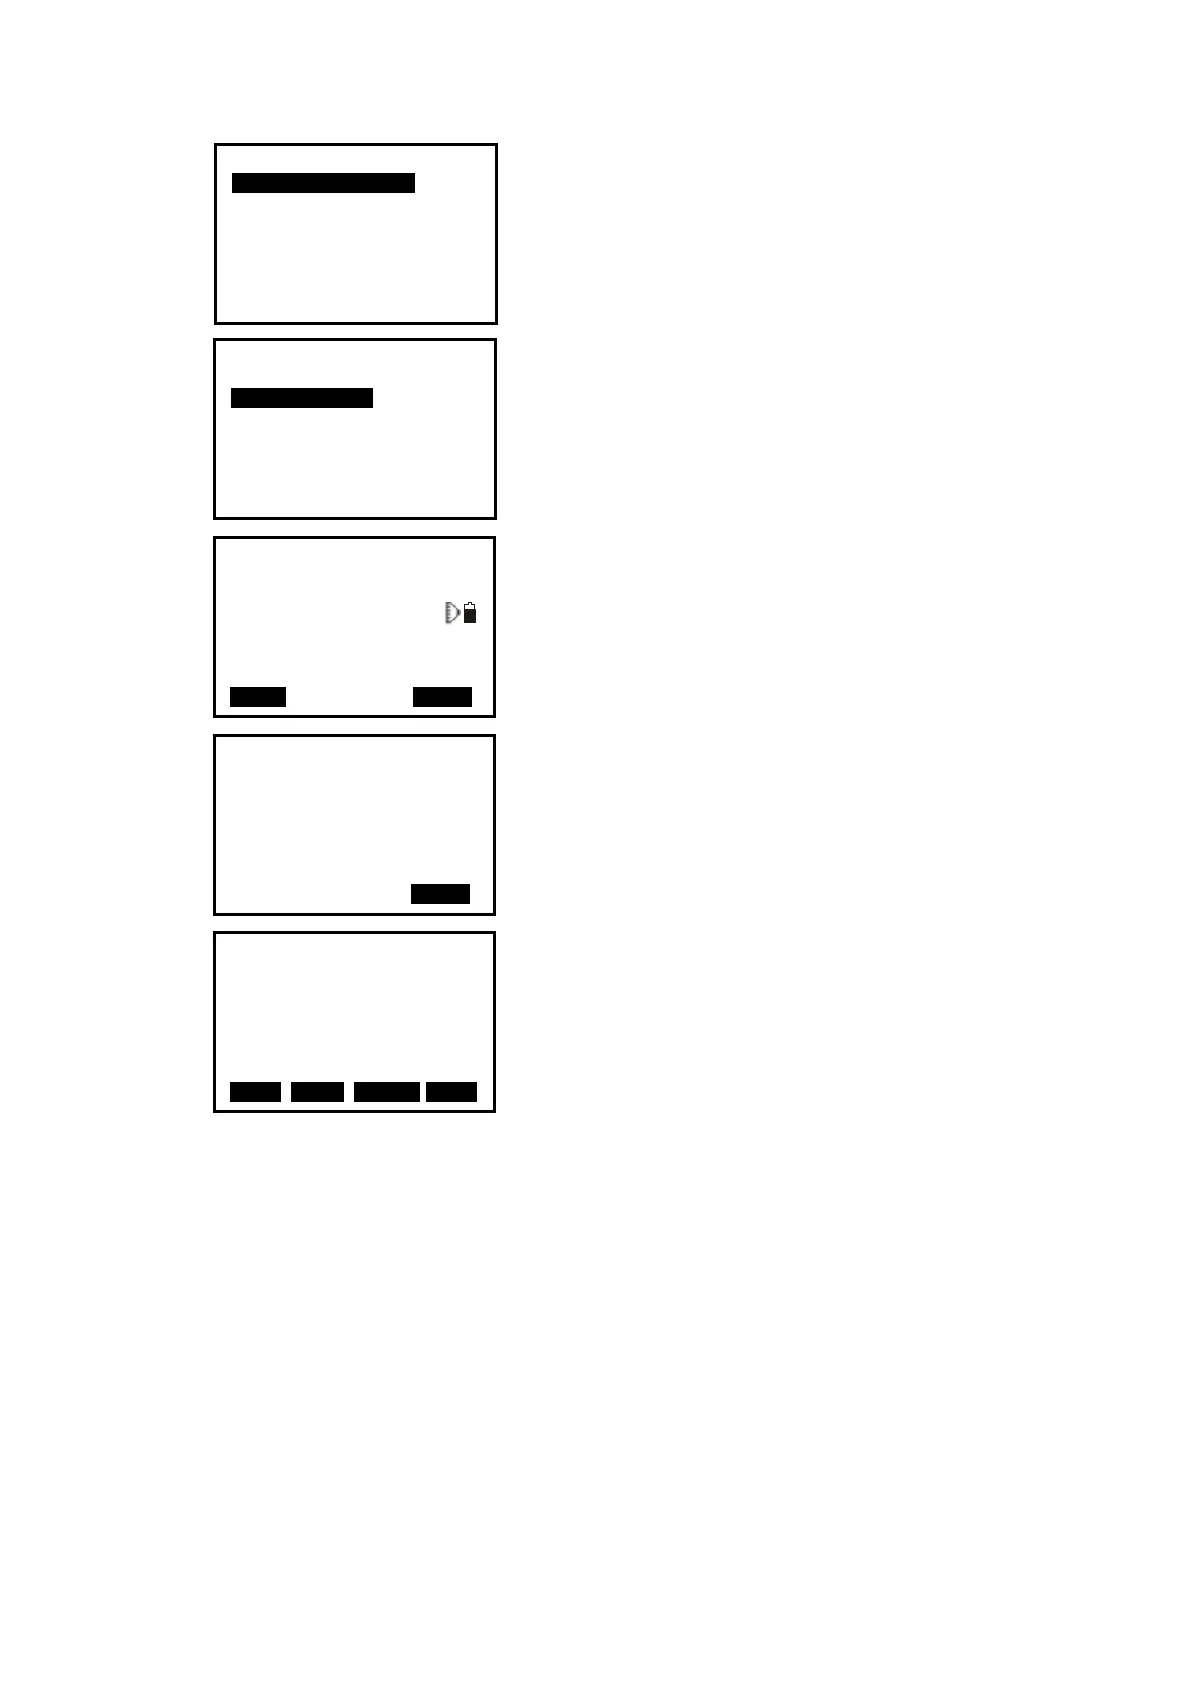
Offset/Dist
Dist 10.000m
Direc ↓
MOKS
Offset/Dist
SD 10.186m
VA 90.0000gon
HA 64.5154gon
II
MEAS MOKS
Offset
1.Occ. Orientation
2.Offset/Dist
3.Offset/Angle
4.Offset/2Dist
Offset
1.Occ. Orientation
2.Offset/Dist
3.Offset/Angle
4.Offset/2Dist
Offset/Dist
SD 13.511m
VA 346.9636gon
HA 249.0298gon
REC NEZ M NOS YES
 Loading...