93
5. Set the backsight information, and back to Rec menu.
NOTE
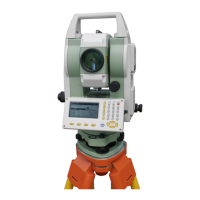
◆If the inputted Pt# is the same as an existed one, the
instrument will display as shown left.
Press F3: [
NO] to re-input;
Press F4: [
YES] to overwrite;
Press F1: [
ADD] to save, and the original one will not be
deleted.
◆ The max length of Pt# is 14 characters.
◆ The instrument height range: -9999.999~9999.999.
◆ The max length of code and user is 16 characters.
◆ Date and time are not allowed to change here.
◆ Weather options: Fine, Cloudy, Flurry, Rain, Snow.
◆ Wind options: Calm, Gentle, Light, Strong, Gust.
◆ The temperature range: -30 ~ 60℃.
◆ The pressure range: 500 ~ 1400 hPa(mbar)/ 375 ~ 1050 mmHg /14.8~41.3 inch Hg/
7.3~20.3 Psi.
◆ The ppm range: -499 ~ 499 ppm.
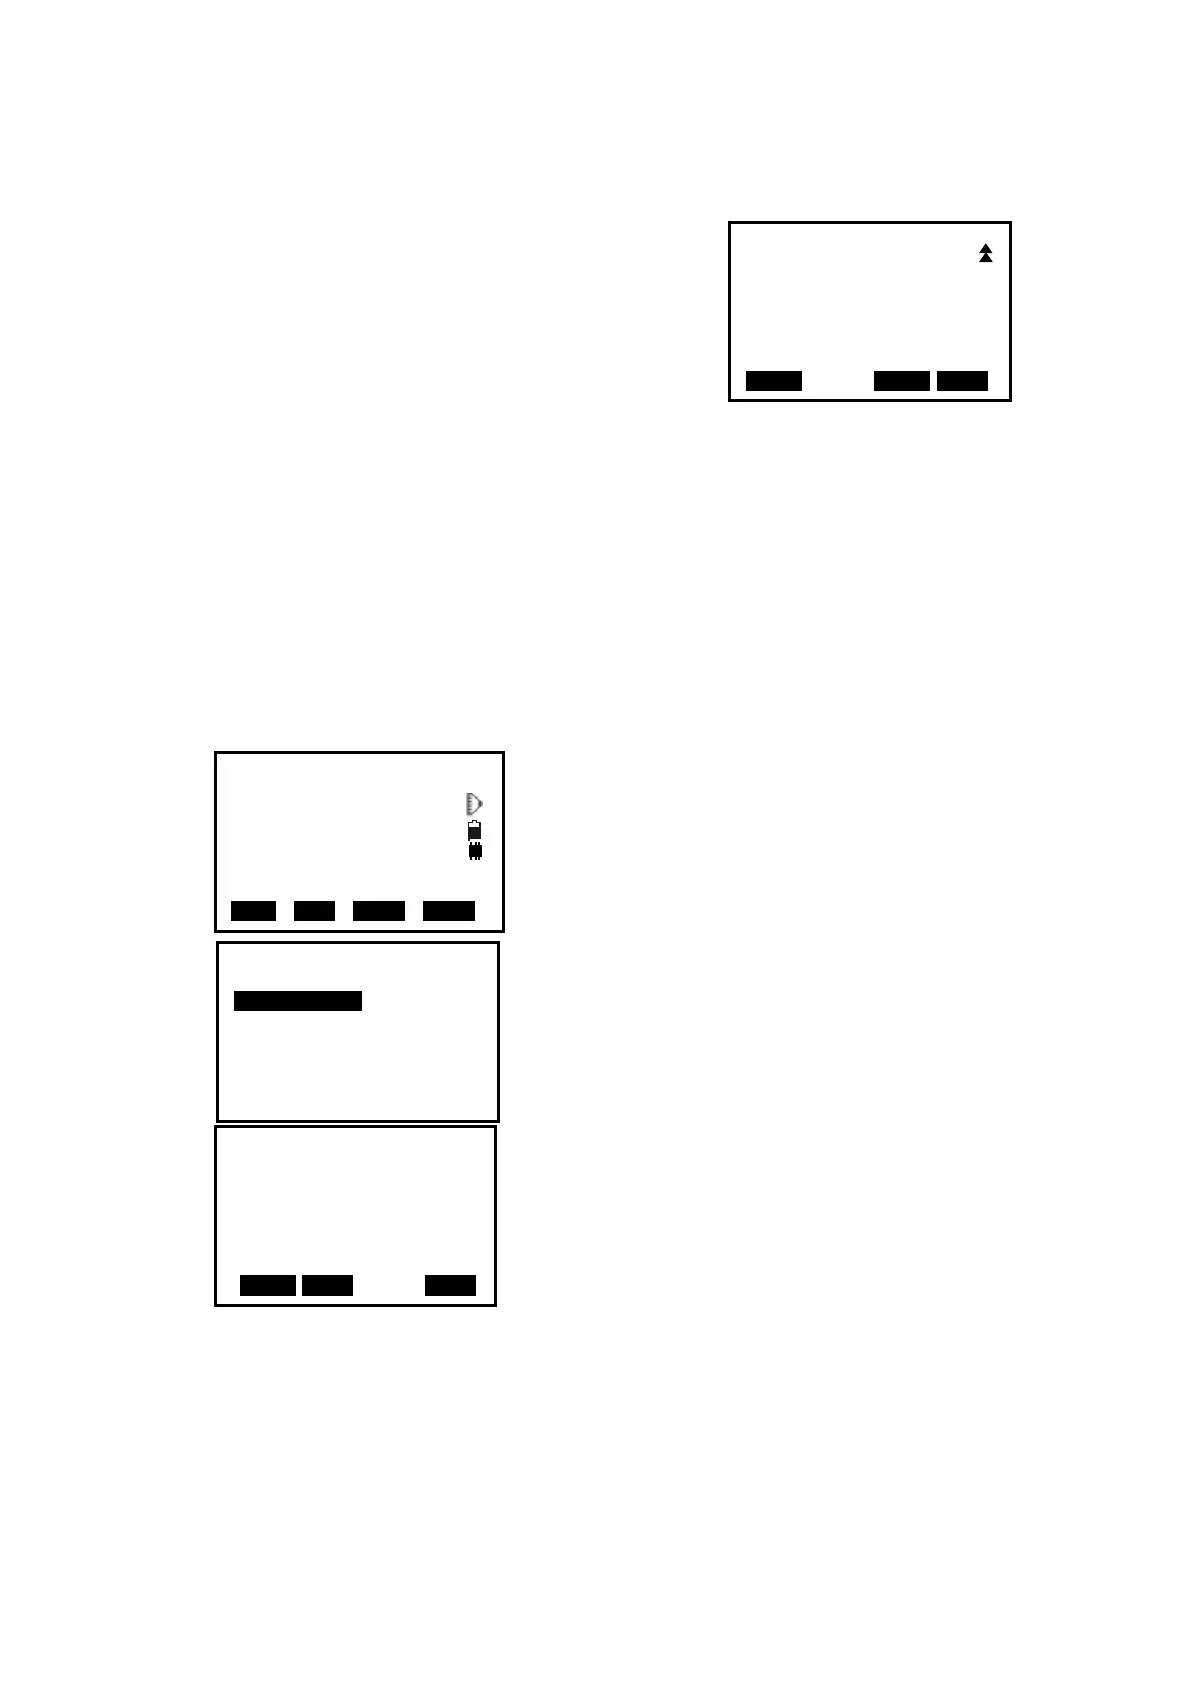
21.2 Collect Angle Data
1. Enter into record mode. The active JOB will
display.
2. Select “2. Angle data”, then aim at the target, the
angle will display in real time.
3. Press F4: [
REC] to input the following items: point
number, target height and code, press F1: [
OK] to
save data.
You could press F1: [
AUTO] to perform this process
directly if PT#, code and tgt.H are unnecessary to
re-set.
Press F2:[0SET] to set horizontal angle as 0
4. Repeat step 3 to collimate and collect other points
angle data..
Pt# J2
Inst.H 0.000m
Code ROAD
N0: 0.000
E0: 0.000
Z0: 0.000
Overwrite ?
ADD 0NO0 YES
REC JOB-MY
1.Occ. data
2.Angle data
3.Collect Points
4.Note
5.View
6.JOB select
Meas PC 0.0
ppm 0
SD
VA 302.5432gon II
HA 0.0000gon P3
EDM OCC OFST REC
REC/Angle Free 44000
VA 148.7080gon
HA 352.4228gon
Pt# PP01
Tgt.H 1.45ft
Code NO
AUTO 0SET REC
 Loading...