1.1 Main Components 17
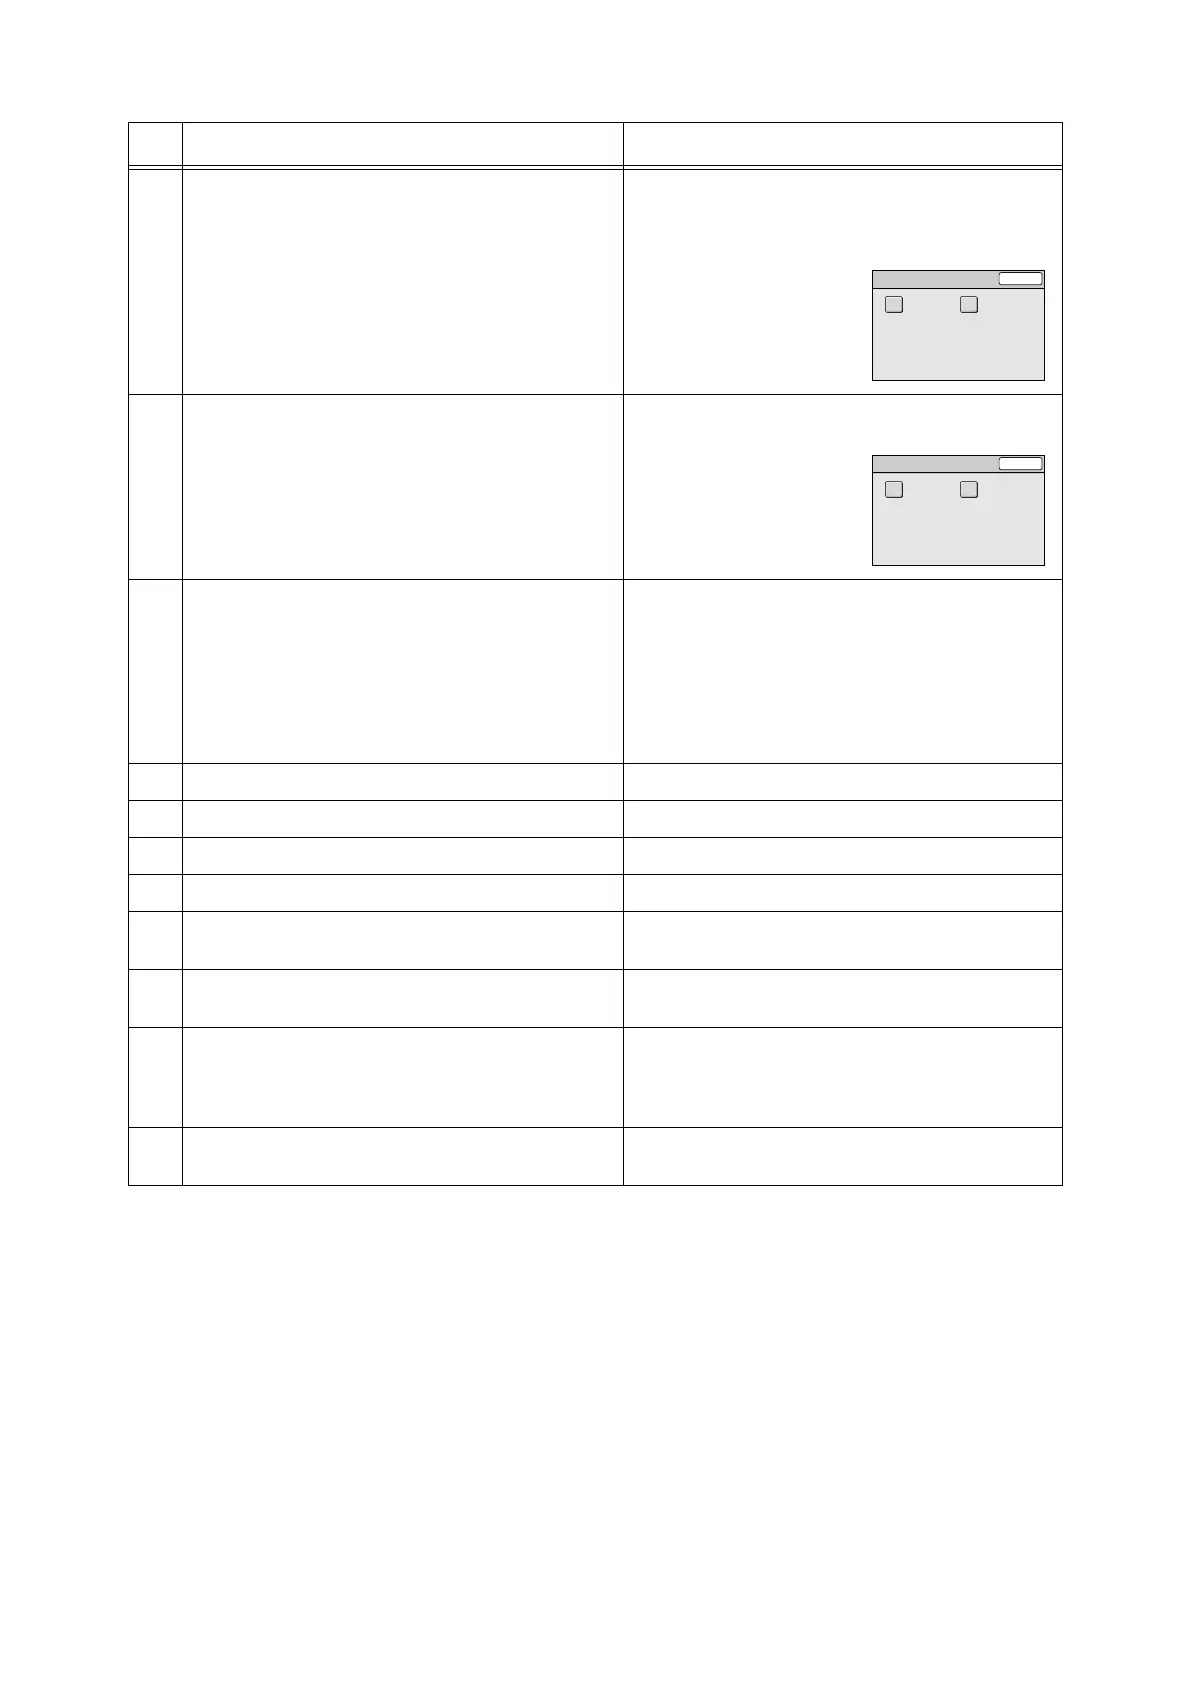
4 <Address Book> button Pressed to display the [Address Book] screen. Pressing
this button takes you first to the following screen. Select
the type of [Address Book] screen from [Scan to E-mail]
and [Scan to PC].
5 <Tools> button Pressed to display the [Tools] screen that allows you to
set the defaults.
6 <Power Saver> button Pressed to exit the Power Saver mode.
The scanner switches into the Power Saver mode to
reduce the power consumption during periods of inac-
tivity. This button lights when the scanner is in the
Power Saver mode.
Refer to
• "1.4 Setting/Exiting the Power Saver Mode (P. 22)"
7 <Clear All> button Pressed to reset the features to the defaults.
8 <Stop> button Pressed to stop scanning or copying.
9 <Start> button Pressed to start scanning.
10 <Error> lamp Lights when an error occurs.
11 <OK> button Used when entering characters. Pressing this button
confirms your entry.
12 <J> button Used when entering characters. Pressing this button
moves the cursor or confirms your entry.
13 <C> button Cancels the copy quantity entered (Resets the quantity
to 1).
Used also when entering characters. Pressing this but-
ton deletes characters or cancels confirmed entries.
14 <I> button Used when entering characters. Pressing this button
moves the cursor or reverses the order of characters.
Name Function
Select Service
Close
Scan to PCScan to E-mail
Tools Close
Screen ContrastSystem Settings
 Loading...