7.4 Editing Images Simultaneously 187
The image is displayed in the Document area.
7.4 Editing Images Simultaneously
This section explains how to edit images with DocuScan Manager. This corresponds to
“Step 3 Edit Images simultaneously” in “Image Editing Procedure”.
Creating an Edit Images Icon
Before editing images on DocuScan Manager, create an Edit Images icon of the desired
editing function.
Note
• By default, the Edit Images icons for Denoising (Low), 90 deg. Counterclockwise Rotation, and Tilt
Correction (Auto Correction) are provided.
1. In the [DocuScan Manager] window, select [ (New)] on the toolbar, and select an
image editing option. The option can be selected also from the [File] menu > [New] >
[Edit Images]. In this example, we will select [Denoising].
The properties dialog box appears.
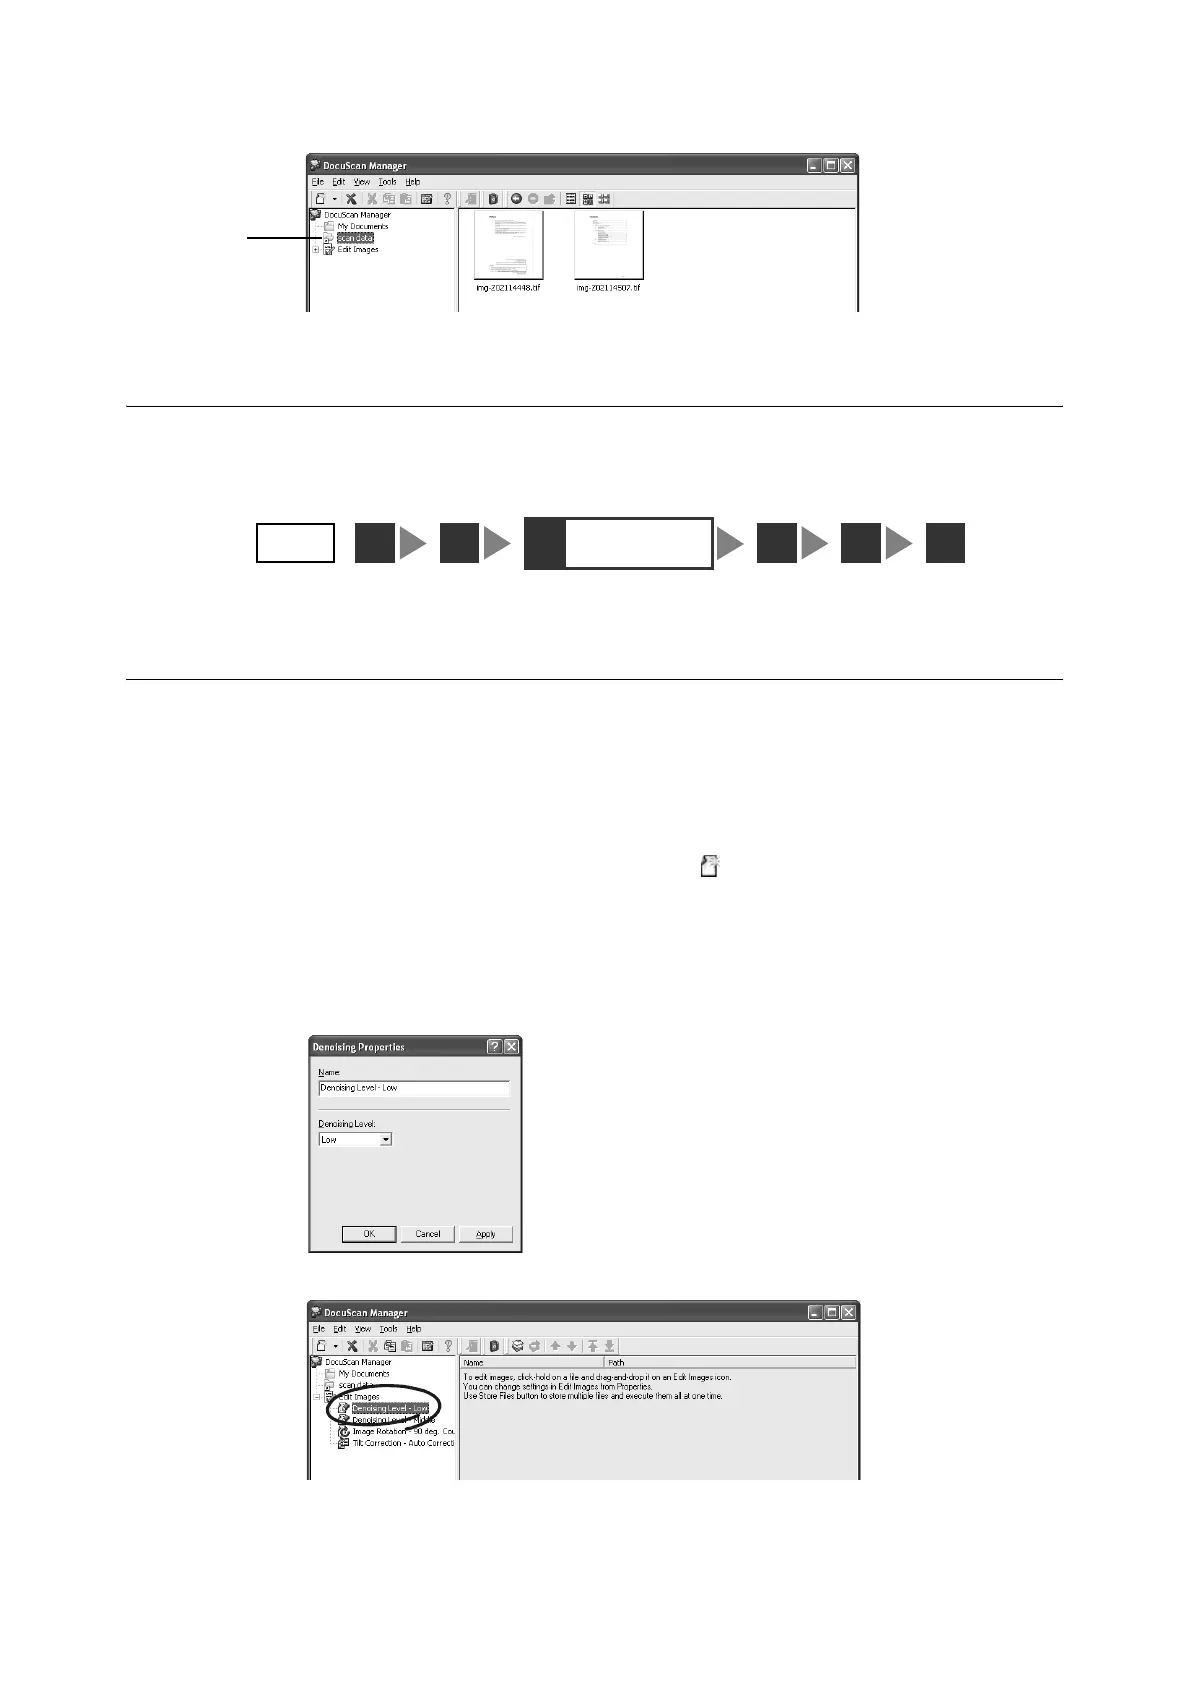
2. Enter the name to be displayed in the Tree View area in [Name], set parameters, and
then click [OK]. In this example, we will set the denoising level to [Low].
The Edit Images icon is created under the Edit Images toolbox in the Tree View area.
2
STEP
1
3
Edit images
simultaneously
42 5 6
 Loading...