2.1 Scanning Procedure 31
Refer to
• For instructions on how to load documents, refer to "1.5 Loading Documents (P. 23)".
• For instructions on connecting a USB flash memory to the scanner, refer to "2.6 Using Scan to Media (P.
58)".
Step 3 Select the scan type
Select the type of the scan job from the [All Services] screen depending on where you want
to save the scanned data. The following types of scan jobs are available:
Scan to E-mail
Sends the scanned data by e-mail.
Refer to
• For more information, refer to "2.4 Using Scan to E-mail (P. 40)".
Scan to PC
Transfers the scanned data to a network-connected computer using an FTP or SMB
protocol.
Refer to
• For more information, refer to "2.5 Using Scan to PC (P. 49)".
Scan to Media
Saves the scanned data on the USB flash memory.
Refer to
• For more information, refer to "2.6 Using Scan to Media (P. 58)".
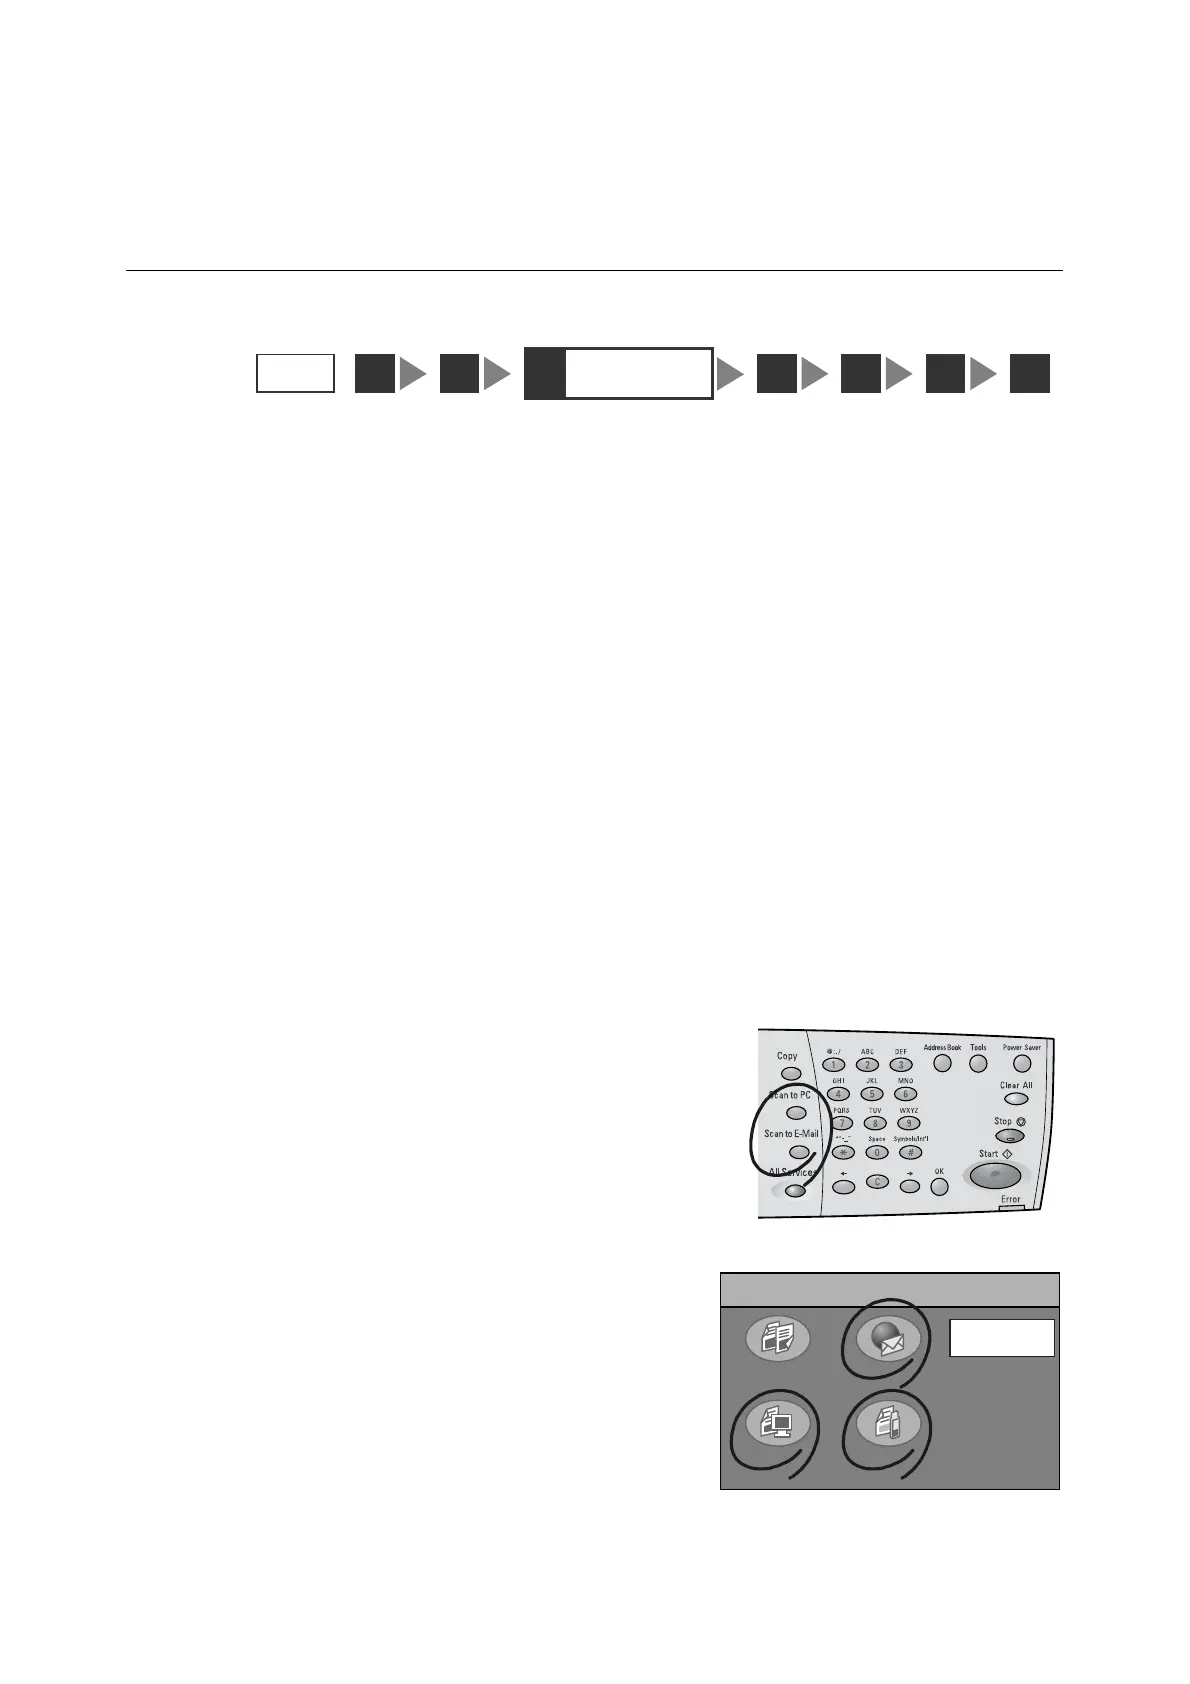
1. Push the <Scan to E-mail>/<Scan to PC>
button on the control panel. Or, select
[Scan to E-mail]/[Scan to PC]/[Scan to
Media] on the [All Services] screen.
Note
• The features assigned to the custom buttons can be
changed. For more information, refer to "Custom
Buttons 1 - 3 (P. 141)".
• When a password is set for the feature selected, a
screen prompting you to enter the password appears.
When prompted, enter the password using the
numeric keypad and select [Confirm]. For information
on how to set passwords, refer to "Service Login (P.
145)".
• If the feature selected is disabled, a message
informing you of this appears. To enable or disable
each feature, refer to "Service Availability (P. 143)".
2. Set the required settings such as the “Save
In” location.
When [Scan to E-mail] is selected, set the
STEP
1
3
Select the scan
type
42 5 6 7
All Services
Copy
Scan to PC Scan to Media
Scan to E-mail
Job Status
 Loading...