7.5 Editing Images One by One 191
Editing an Image
Saving or Deleting a Selected Area on the Image
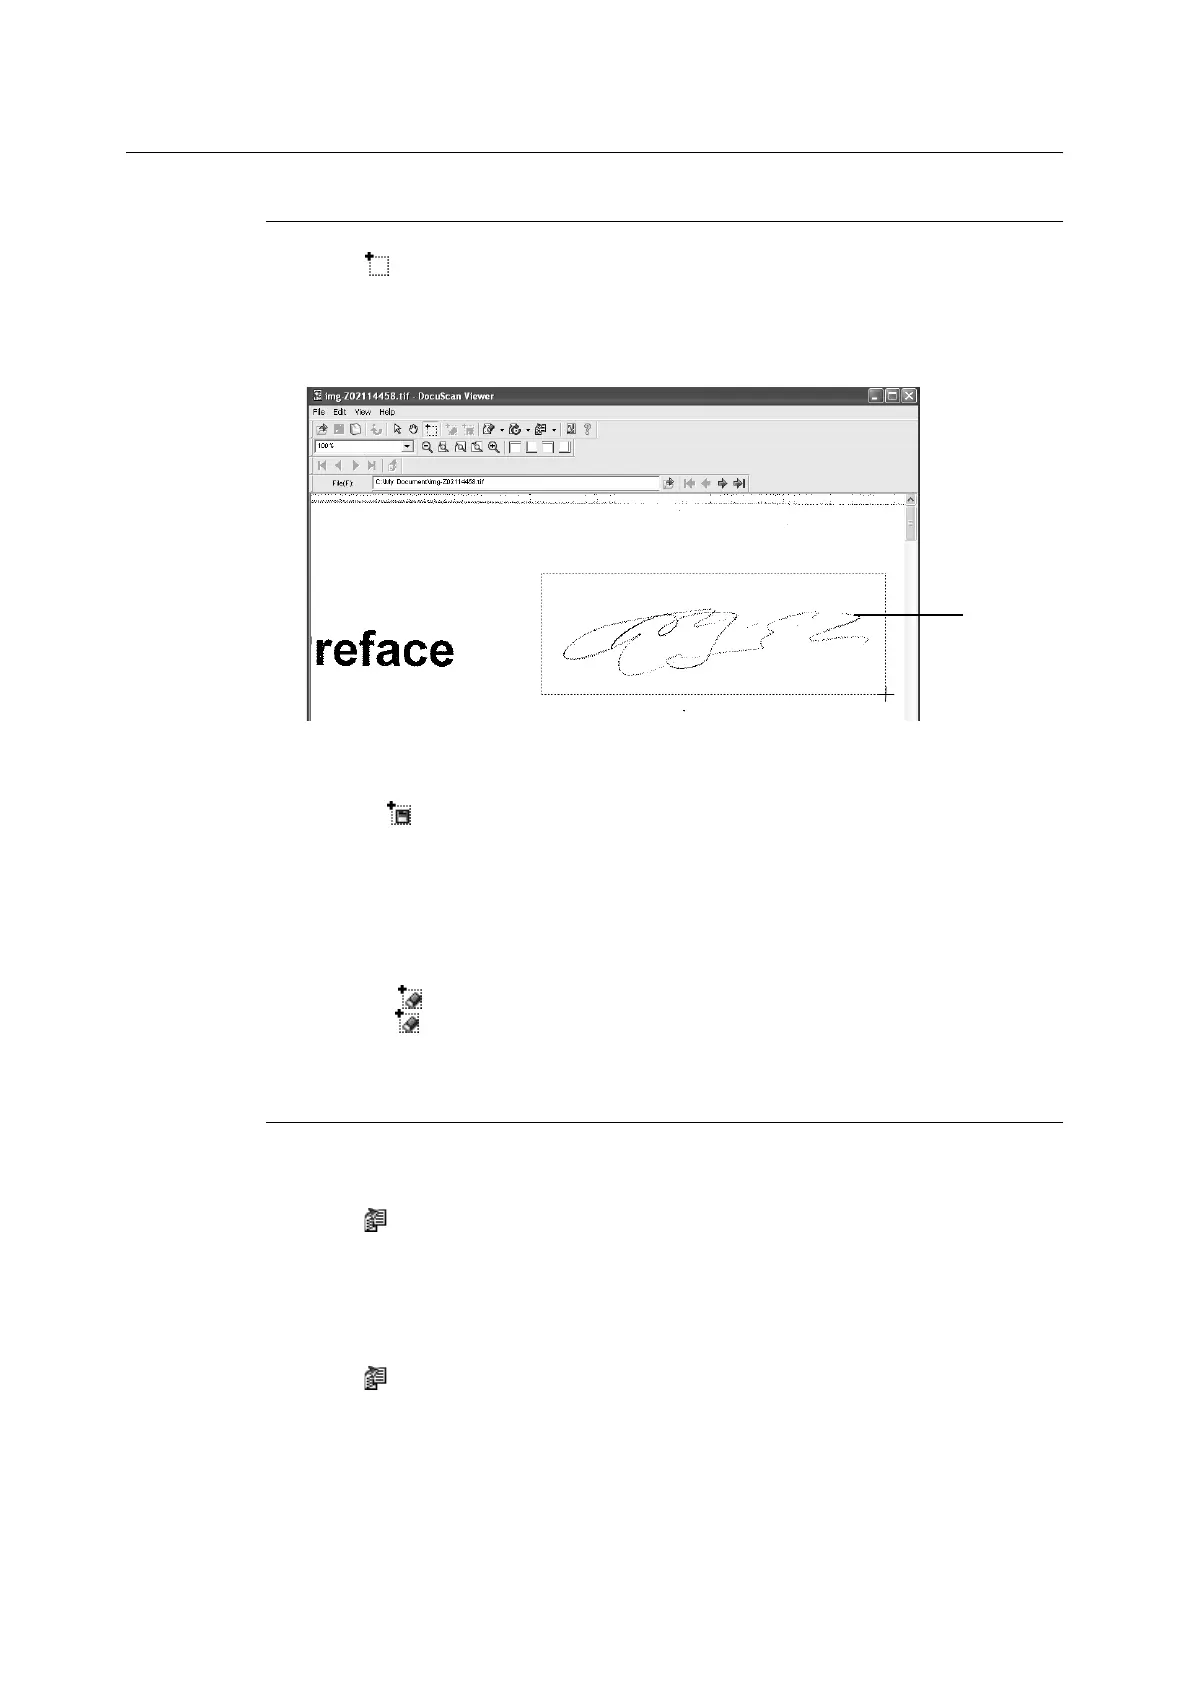
1. Click [ (Area Mode)] on the toolbar, or select the [View] menu > [Mode] > [Area
Mode].
The shape of your mouse pointer changes to "+".
2. By dragging your mouse, select the area to be saved or deleted.
The area selected is outlined with a border.
3. To save a selected area:
1) Click [ (Save Selected Area)] on the toolbar, or select [Save Selected Area] from
the [Edit] menu.
2)Specify the file name and location to save the file, and click [Save].
The area selected is saved on a file.
To delete a selected area:
Click the [ (Delete Selected Area)] on the toolbar, or select [Delete Selected Area]
from the [ (Edit)] menu.
The area selected is deleted.
Correcting the Tilt of the Image
To automatically correct the tilt
1. Click [ (Tilt Correction)] on the toolbar, or select the [Edit] menu > [Tilt Correction] >
[Auto Correction].
The tilt of the image is corrected automatically.
To correct the tilt by tilting the image with a specified angle
1. Click [ (Tilt Correction)] on the toolbar, or select the [Edit] menu > [Tilt Correction] >
[Specify Angle].
The [Tilt Correction] dialog box appears.
2
 Loading...