52 2 Scan
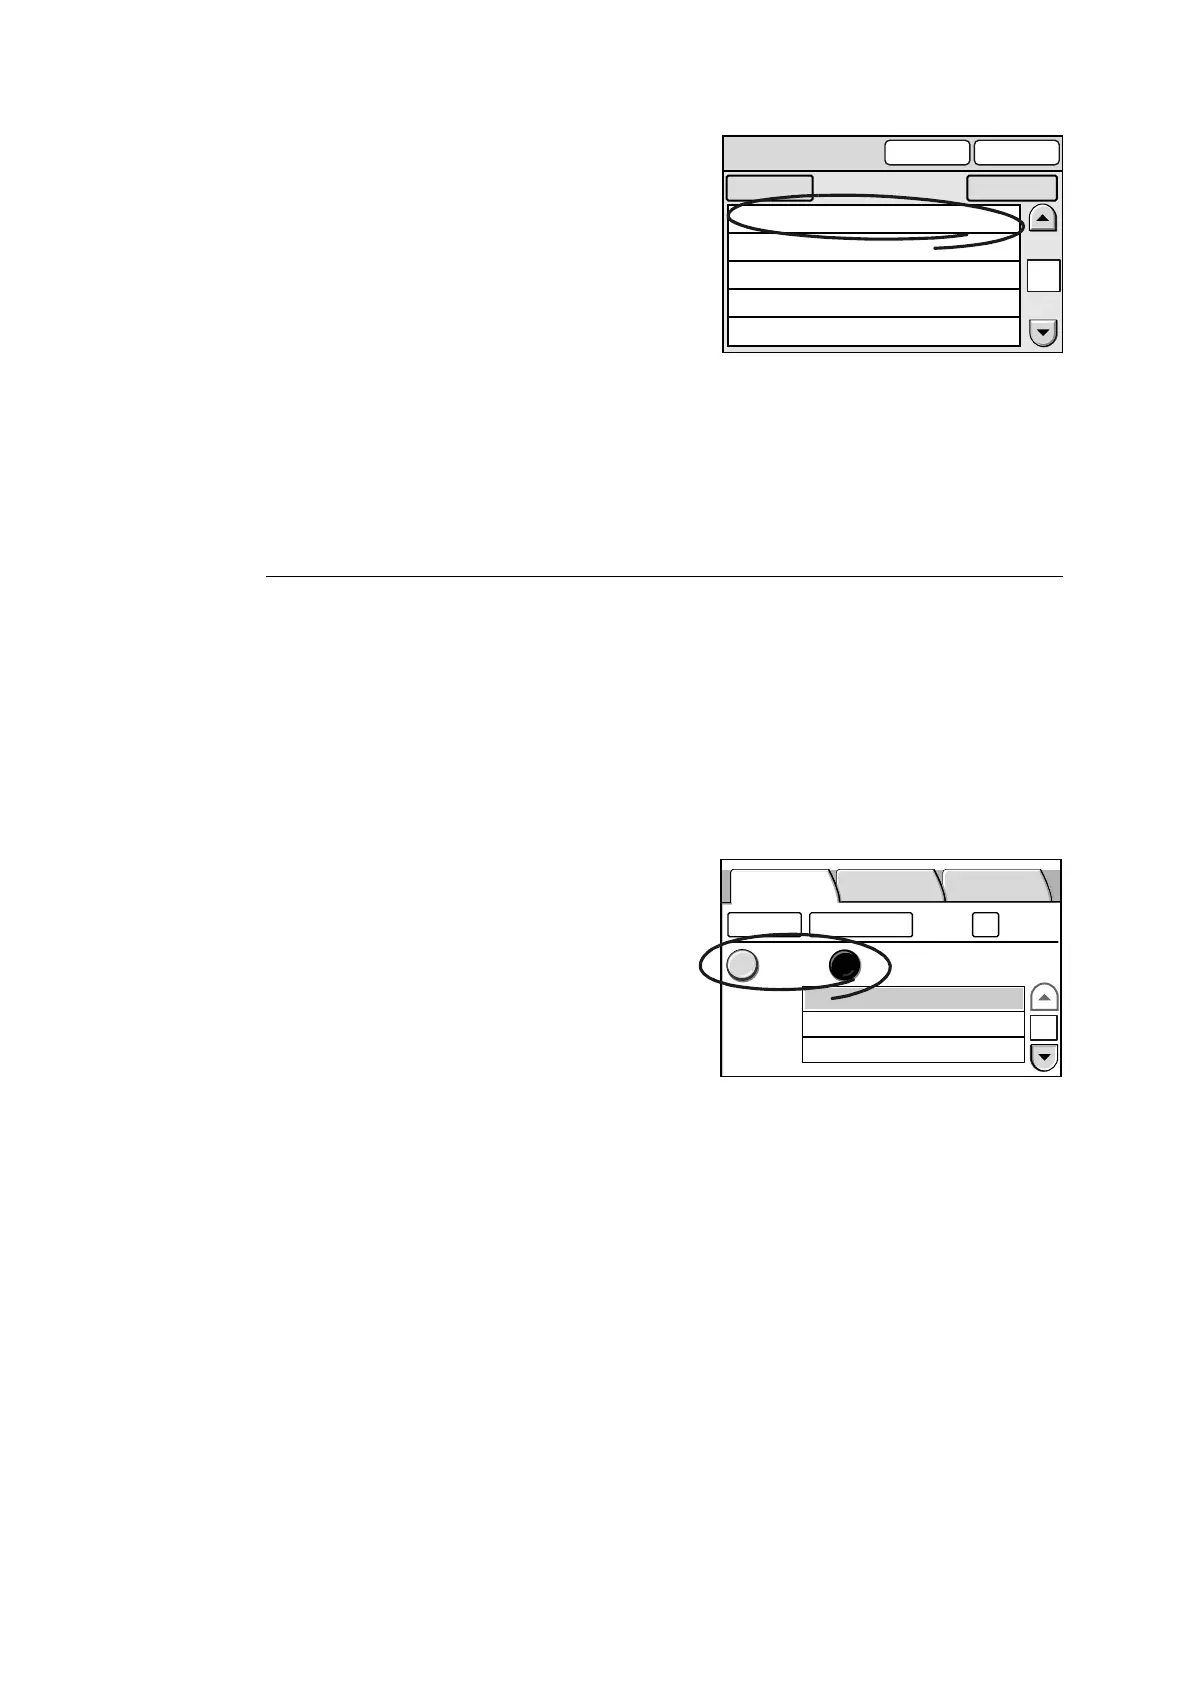
3. On the [Address Book] screen, select the
desired “Save In” location.
Note
• Select [Search...] button to search for an address.
Select the [Details...] button to display the details of
the address selected. For more information, refer to "4
Address Book and Subject/Comment List (P. 113)".
• The [To Folder] button cancels the selection and takes
you back to the [Address Book Folder] screen.
4. Select [Close].
5. The [Save In] screen appears.
Note
• The address selected from Address Book can be
altered using the control panel.
Setting the “Save In” Location Using the Control Panel
Use the following procedure also when altering a “Save In” location that is already set.
Note
• Altering addresses on the control panel does not alter the contents of Address Book.
Transfer Protocol
Select a method to be used when transferring the scanned data from the scanner.
If saving the scanned data in a Windows shared folder, select [SMB].
If saving it on an FTP server, select [FTP].
1. Select [SMB] or [FTP].
Server
Set the computer on which the scanned data is to be saved.
This setting is mandatory.
When entering the server, follow the guidelines below:
• Enter it in one of the following formats:
FQDN format
Example: pcname.example.com
Computer Name (NetBIOS name)
Example: pcname
DNS Host Name
Example: pcname
IP Address
001 SMB Exterior Designs
002 FTP Design Concept
003 SMB Minutes
004 FTP Software Specifications
005 FTP Hardware Specifications
1
Address Book [01]
To Folder Close
Search... Details...
1/2
User Name
Address Book...
Change File Name...
Preview
SMB FTP
Save In Basic Scanning
More Scan
Features
Server
Save In
 Loading...