[2] Creating an I/O table
[a] Launch CX-Programmer (Version 7.0).
[b] Connect CX-Programmer to the PLC.
You can connect CX-Programmer to the PLC by setting the network type, baud rate and other necessary
items in an offline state, or by selecting a connection port to automatically bring the connection online.
[c] Set the PLC operation mode to “Program.”
[d] Double-clicking “I/O Table/Unit Settings” in the workspace window opens the I/O table dialog box. From the
Options (O) menu, select Create I/O Table (R) and manually create an I/O table.
z The CJ series PLC has been shipped with the “Automatic generation upon power ON” setting enabled. Accordingly,
channel numbers (I/Os) are assigned automatically to the basic I/O units that are mounted when the power is
turned on, even when an I/O table is not yet registered. Take note that unit numbers must be set in advance for
high-function CPU units and high-function units such as serial communication units.
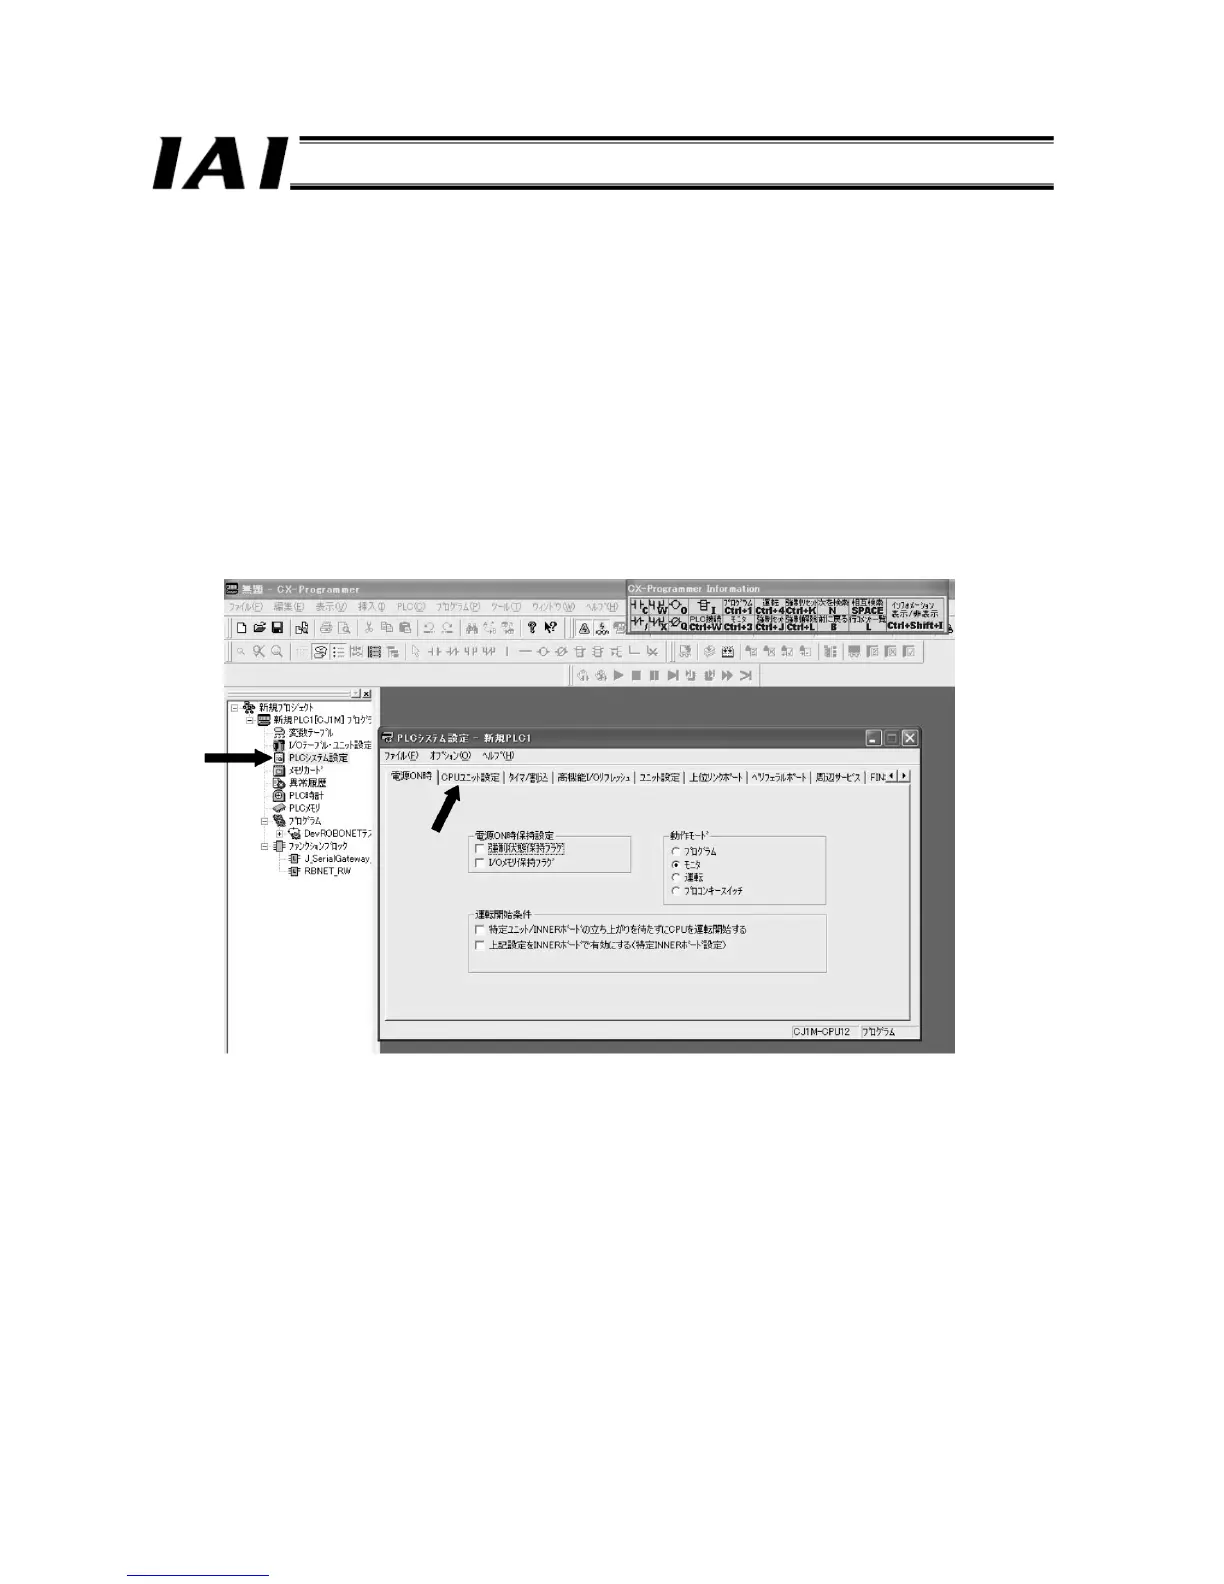
[3] Setting up the PLC system
Set the CPU operation.
[a] Bring the CX-Programmer and PLC connection online and set the PLC operation mode to “Program.”
[b] Double-click “PLC System Settings” in the workspace window to open the PLC System Settings dialog box.
 Loading...