Model 250
Printer Applicator
Operators/Technical Manual Section Four
Section 4 Page 6 of 6
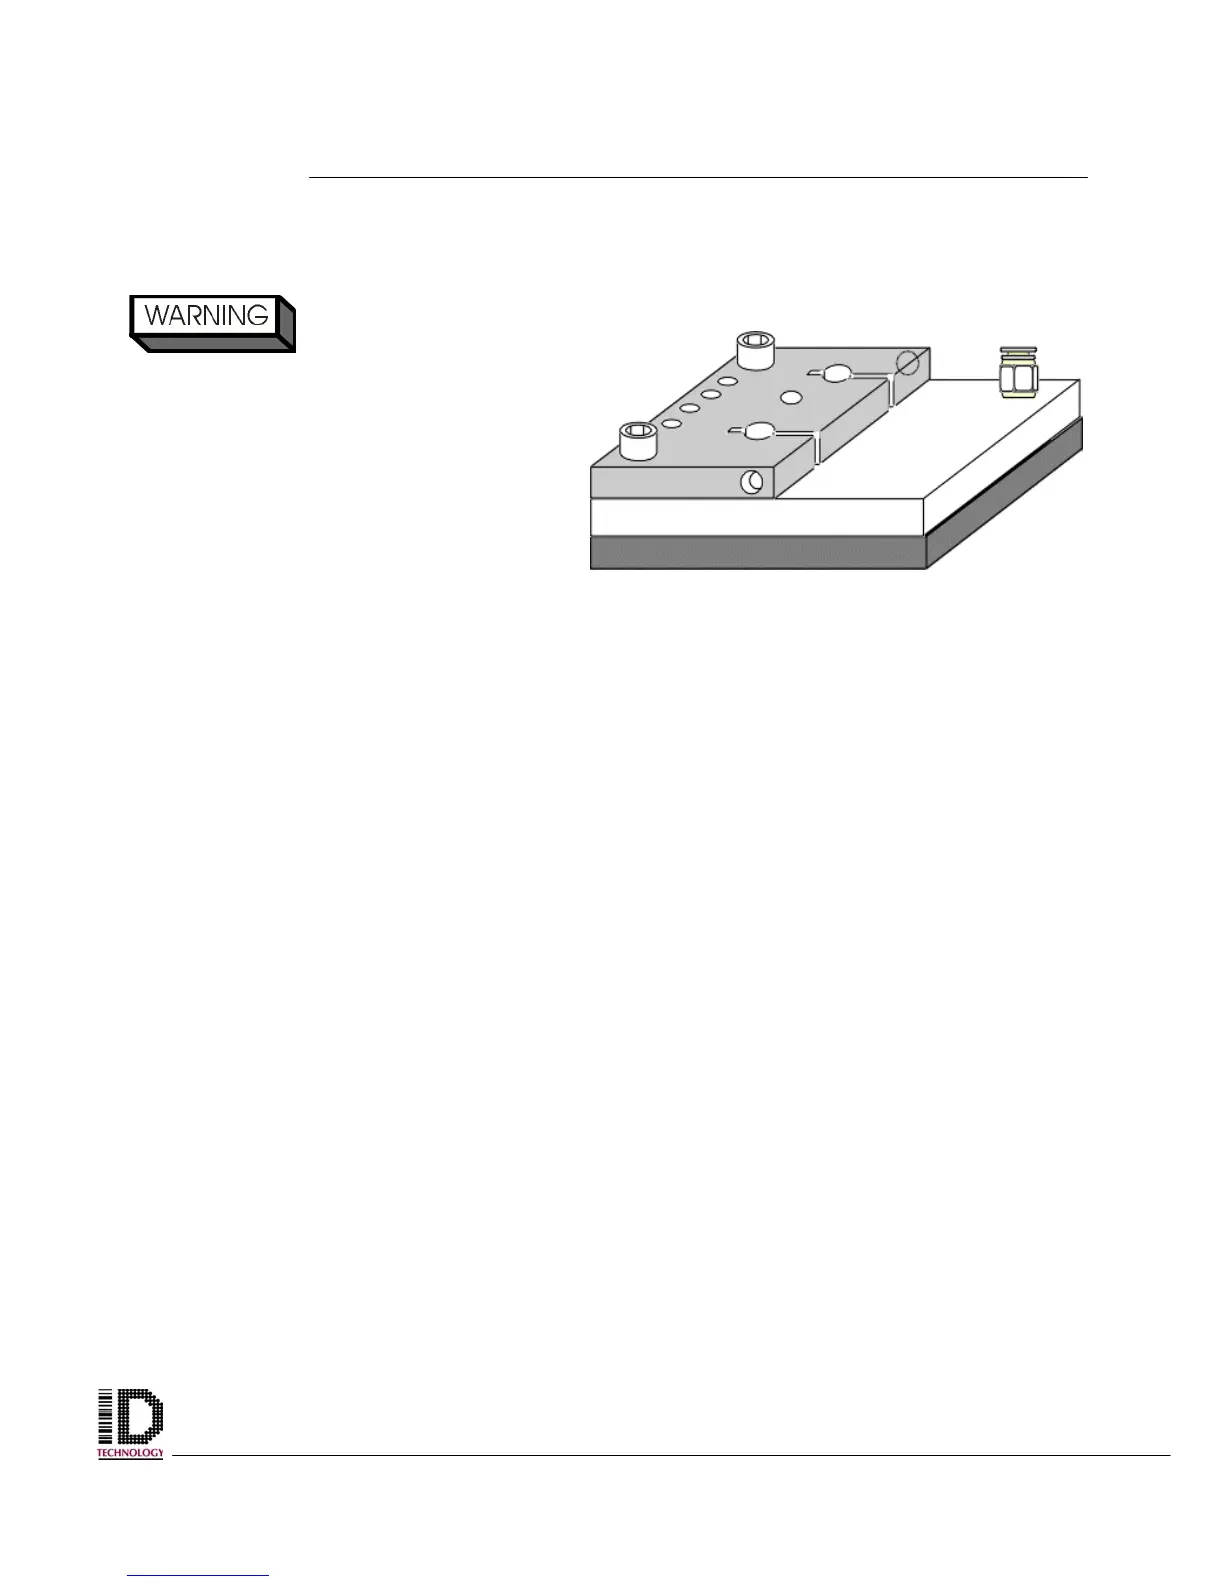
To Change Tamp Pads:
1. Turn OFF the applicator.
2. Remove the plant air hose from
the applicators air connection
(filter unit).
3. Cycle the tamp cylinder by
blocking the photocell used to
detect the product. This will
extend the cylinder if there is air left in the lines.
4. Manually extend the cylinder to the bottom of the tamp stroke.
5. With a 5mm size Allen wrench remove the two socket head bolts on the top of the
tamp pad mounting bracket.
6. Remove the Tamp pad and replace with the new one.
7. Re-install the two socket head bolts through the mounting bracket.
8. Reconnect the plant air hose.
9. Return the applicator to the operating setup.
STAY CLEAR OF
MOVING PARTS, INJURY CAN
RESULT FROM MOVEMENT OF
TAMP CYLINDER
Figure 4-11 Tamp pad mounted to
mounting bracket.