Model 250
Printer Applicator
Operators/Technical Manual Section Three
Section 3 Page 6 of 19
Label Threading (SATO)
Threading Labels through the applicator can be
accomplished in under 30 seconds once you have
loaded labels a few times and got the hang of it.
The roll of labels you use should be stored in a
cool dry climate. Humidity and heat can ruin the
roll of labels and cause many problems during
printing and application. Labels kept in a hot and
or humid environment tend to bleed. That is, the
adhesive begins to soften and seep out the sides.
This causes labels to stick together or not
separate from the liner. The labels won’t dispense
onto the tamp pad or curl around the peel tip and
flounder on the air assist tube.
First remove the outer flange of the unwind. The
inner flange should be mounted with the hub facing
out, or towards you. Slide the labels (Wound out on
a 3” core) over the unwind shaft and onto the 3”
diameter hub of the inner flange. Ensure the core is
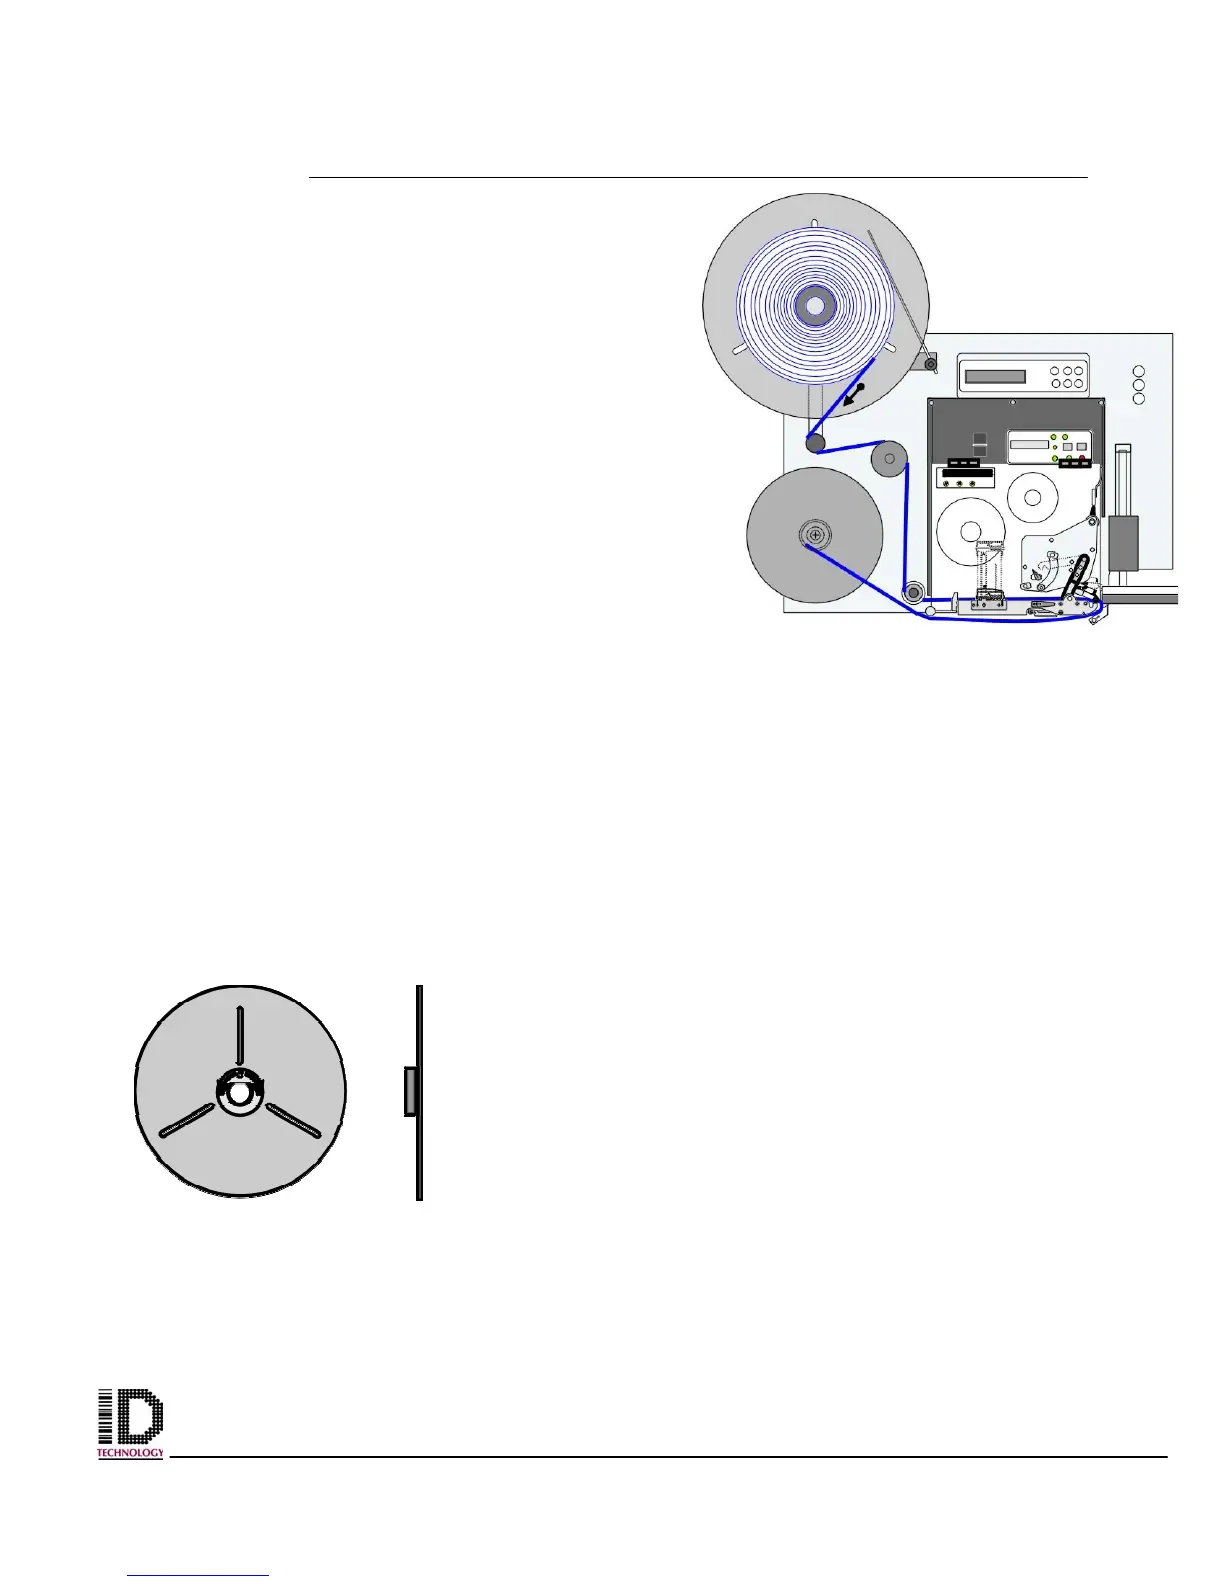
snug on the hub and flush with the back flange. Re-install the outer flange with the flat of
the shafted lined up with the flat of the decal on the outer hub. Once you have the outer
flange on, twist flange a quarter turn in either direction to tighten onto shaft. There is a
setscrew through the hub that can be adjusted to give more or less pressure against the
shaft. (a 4 mm Allen wrench is required)
The label roll should not rotate easily at this point. To allow for freewheeling of the
unwind, move the dancer arm toward the center of the machine. (refer to section one
figure one part identified as #16) This releases tension on the brake and will allow you to
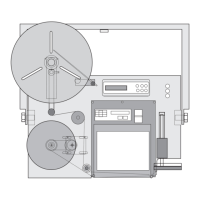
unwind labels from the roll. About 3 feet is required to
complete the threading. Take the labels to the outside of the
dancer arm, around the bottom and over the roller to the right
of the dancer roller. (see figure 3-10 above)
The web should now be hanging vertical to the floor or
parallel to the print engine. As you are facing the applicator
the web will go around the left side of the roller directly to the
left of the print engine and about an inch from the bottom of
the faceplate. The web should now be heading to the right
and into the print engine itself. Referring to the applicable
printer manual for more concise directions is advised. Figures
3-12 and 3-13 show examples of a Sato print engine with the
label threaded through.
The print engine is equipped with web guides at the extreme
left. These are adjustable to accommodate the different
Figure 3-11 Outer Flange
with Hub Decal in center
Figure 3-10 Web Path through the
applicator and Printer