- 190 - - 191 -
Setting the network from the web browser Setting the network from the web browser
5
1
2
4
3
5
1
2
4
3
Convenient print
functions
Appendix Index
Checking and
Changing Printer
Settings Using
the Control Panel
Network
Setup
Matching
Colors
Using Utility
Software
Convenient print
functions
Appendix Index
Checking and
Changing Printer
Settings Using
the Control Panel
Network
Setup
Matching
Colors
Using Utility
Software
8
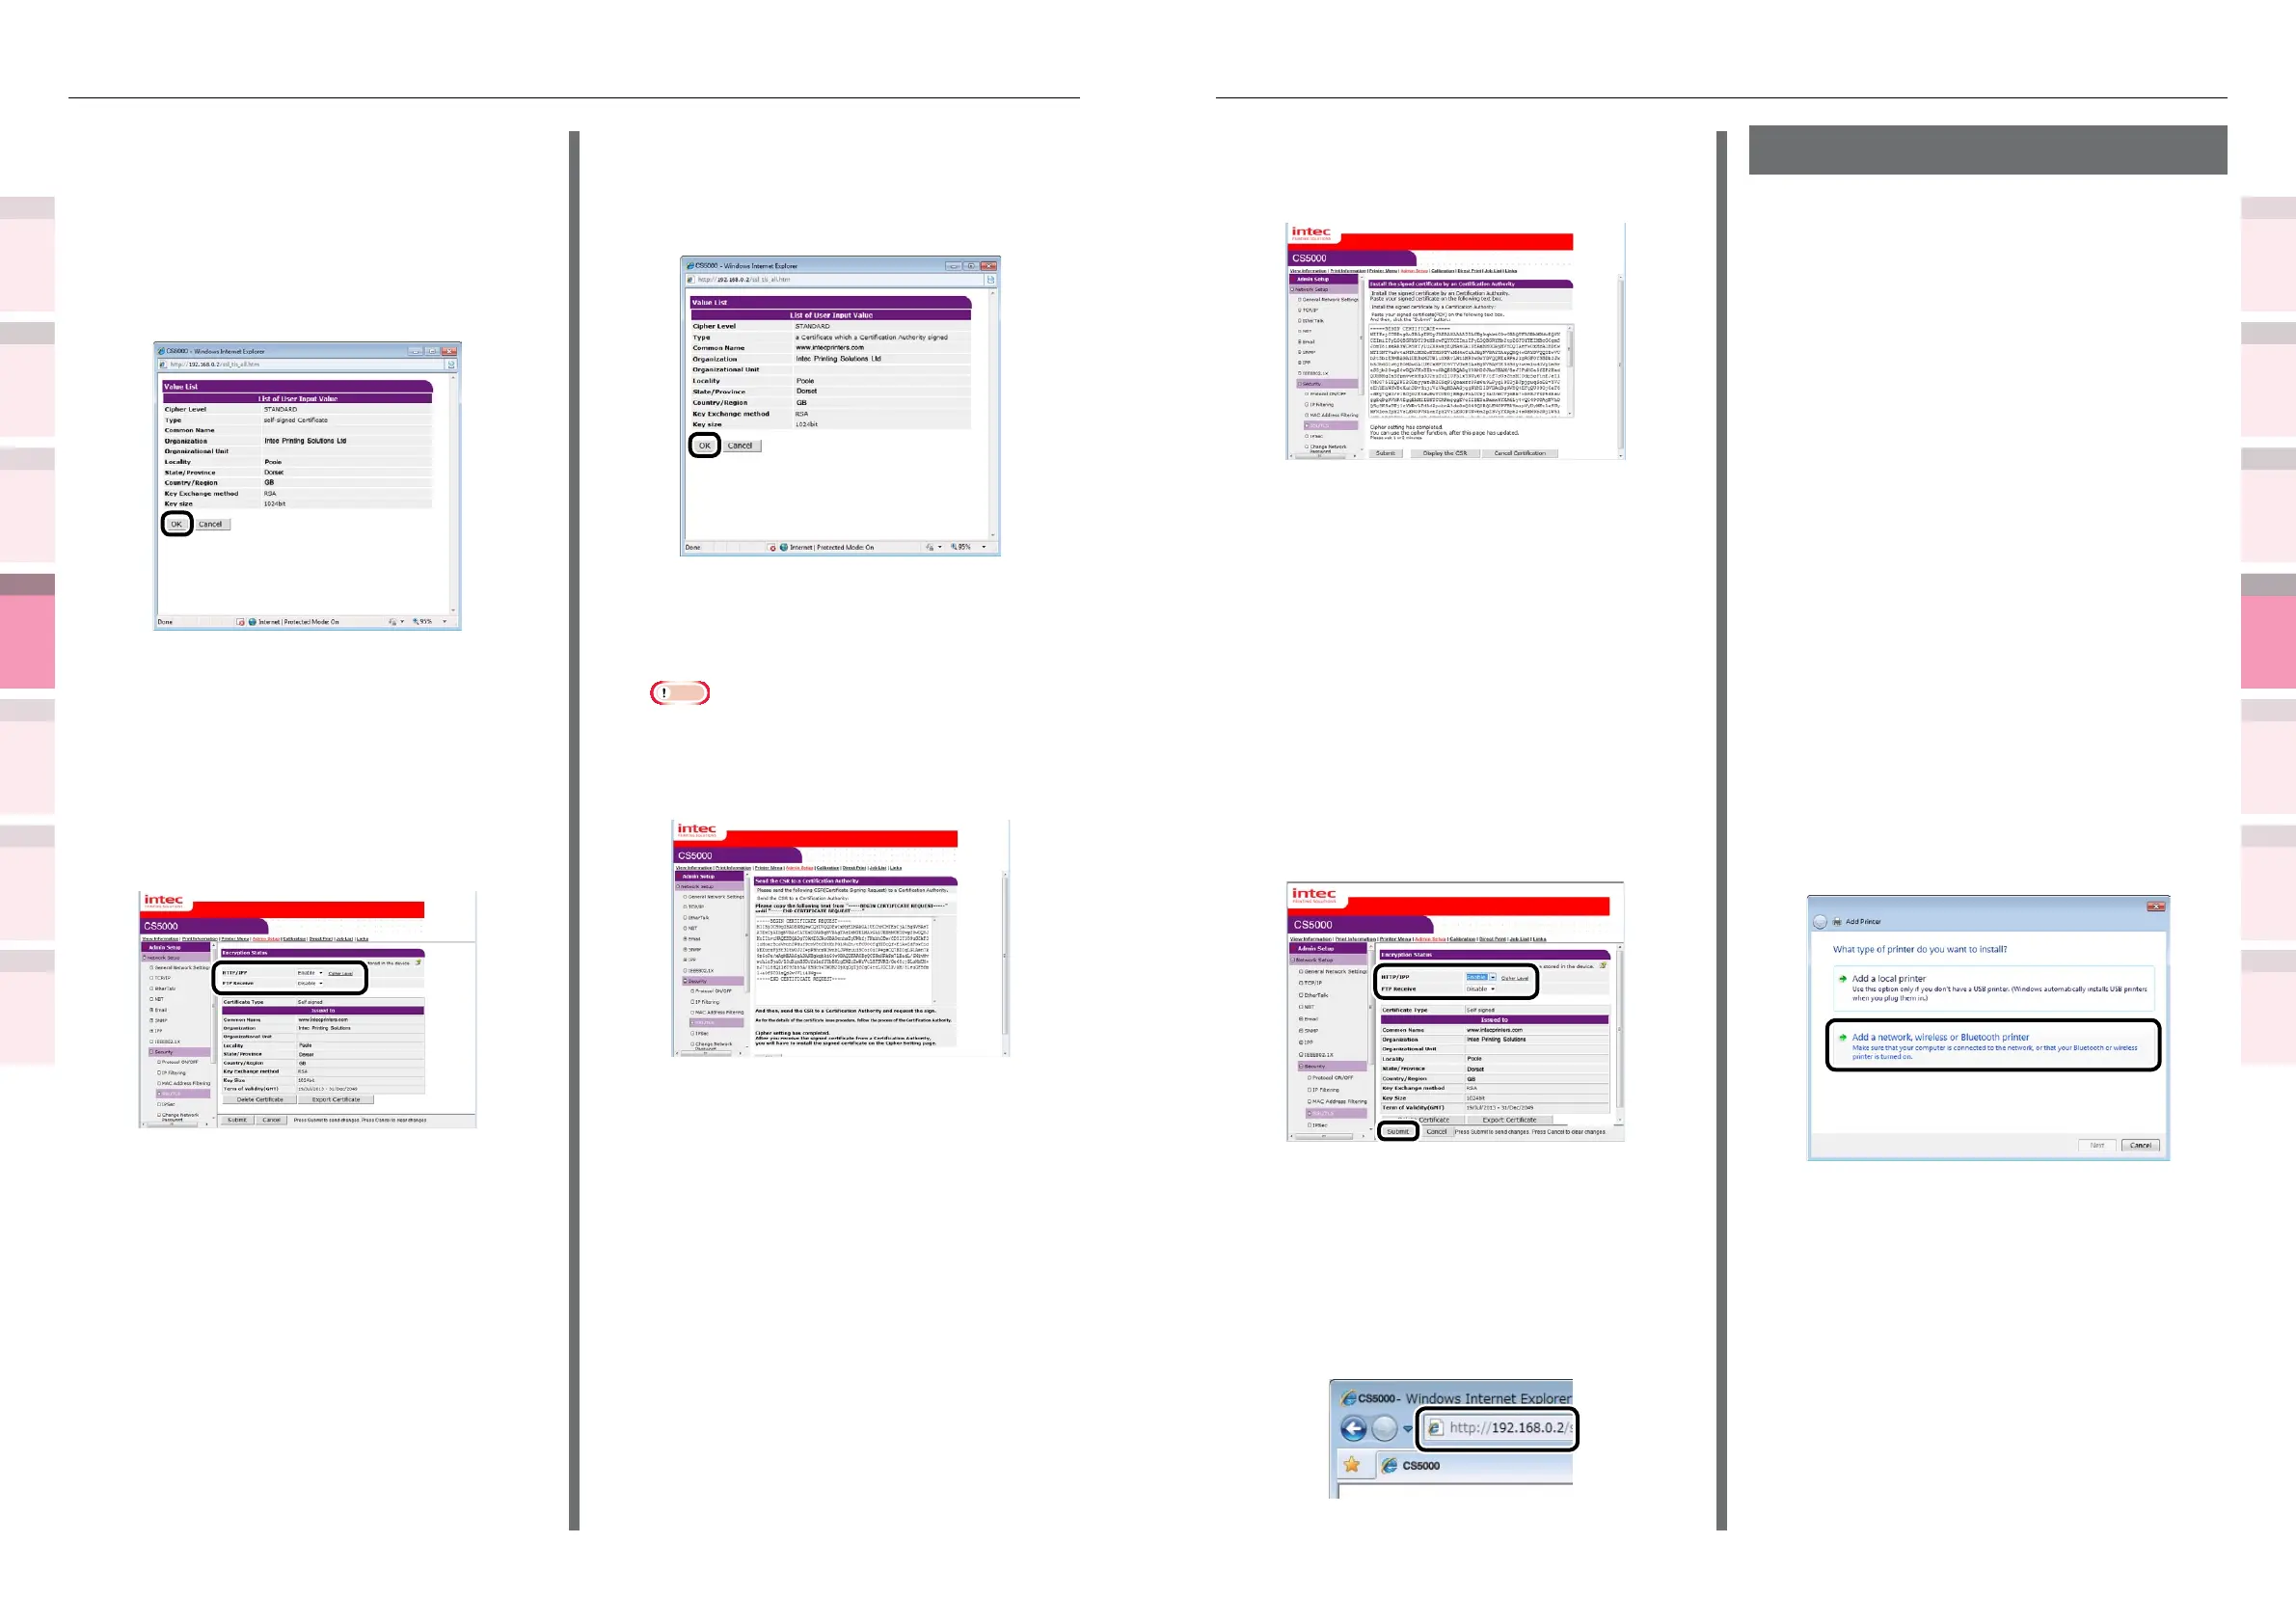
Install the certicate issued by the
authenticator (using the web). (For
authenticator certicates.)
Follow steps 1 to 3 to display the encryption
(SSL/TLS) setup screen.
Paste the issued certicate from "-----
BEGIN CERTIFICATE -----" to "----- END
CERTIFICATE -----" to the text box, and
click [Submit].
This completes the authenticator signed
certicate creation.
The settings will be save in the printer, and
the network functions will restart.
9
Follow Steps 1 to 3 to display the
encrypted (SSL/TLS) setup screen,
and set the protocols to enable the
encryption.
10
Click [Submit].
Usage methods
1
Start the web browser, and enter
"https://printer IP address" in the
adress eld to connect.
Printing using IPP
You can print using IPP.
Enabling IPP Communications
1
Access the device web page, and log in
as an administrator.
2
Select [Admin Setup].
3
Select [Network Setup]>[IPP]>[Setup].
4
Implement advanced setup by following
the on-screen instructions.
5
Click [Submit].
Setting up the device as an IPP
printer (Windows)
1
Click [Start], and then select [Devices
and Printers]>[Add printer].
2
Use the [Add printer] wizard to select
[Add a network, wireless or Bluetooth
printer].
3
Select [The printer that I want isn’t
listed] from the table of usable printers.
Personal certicates
If creating an authenticator certicate, go to
“Authenticator certicates”.
6
The input details will be displayed.
Check the details, and click [OK]. Create
the certicate.
This completes the personal signed
certicate creation.
The settings will be save in the printer, and
the network functions will restart.
7
Follow Steps 1 to 3 to display the
encrypted (SSL/TLS) setup screen,
and set the protocols to enable the
encryption.
8
Click [Submit].
Go to “Usage methods” (P.191).
Authenticator certicates
6
The input details will be displayed.
Check the details, and click [OK].
7
Extract and send the CSR to the
authenticator. (For authenticator
certicates.)
Note
z
Copy from "----- BEGIN CERTIFICATE REQUEST -----"
to "----- END CERTIFICATE REQUEST -----" in the text
box. CSR send method may be for the authenticator
to paste to the web page, send as a le, or attach to
an e-mail.