- 38 - - 39 -
Printing on various papers Printing on various papers
4
1
2
3
5
4
1
2
3
5
Convenient print
functions
Appendix Index
Checking and
Changing Printer
Settings Using
the Control Panel
Network
Setup
Matching
Colors
Using Utility
Software
Convenient print
functions
Appendix Index
Checking and
Changing Printer
Settings Using
the Control Panel
Network
Setup
Matching
Colors
Using Utility
Software
7
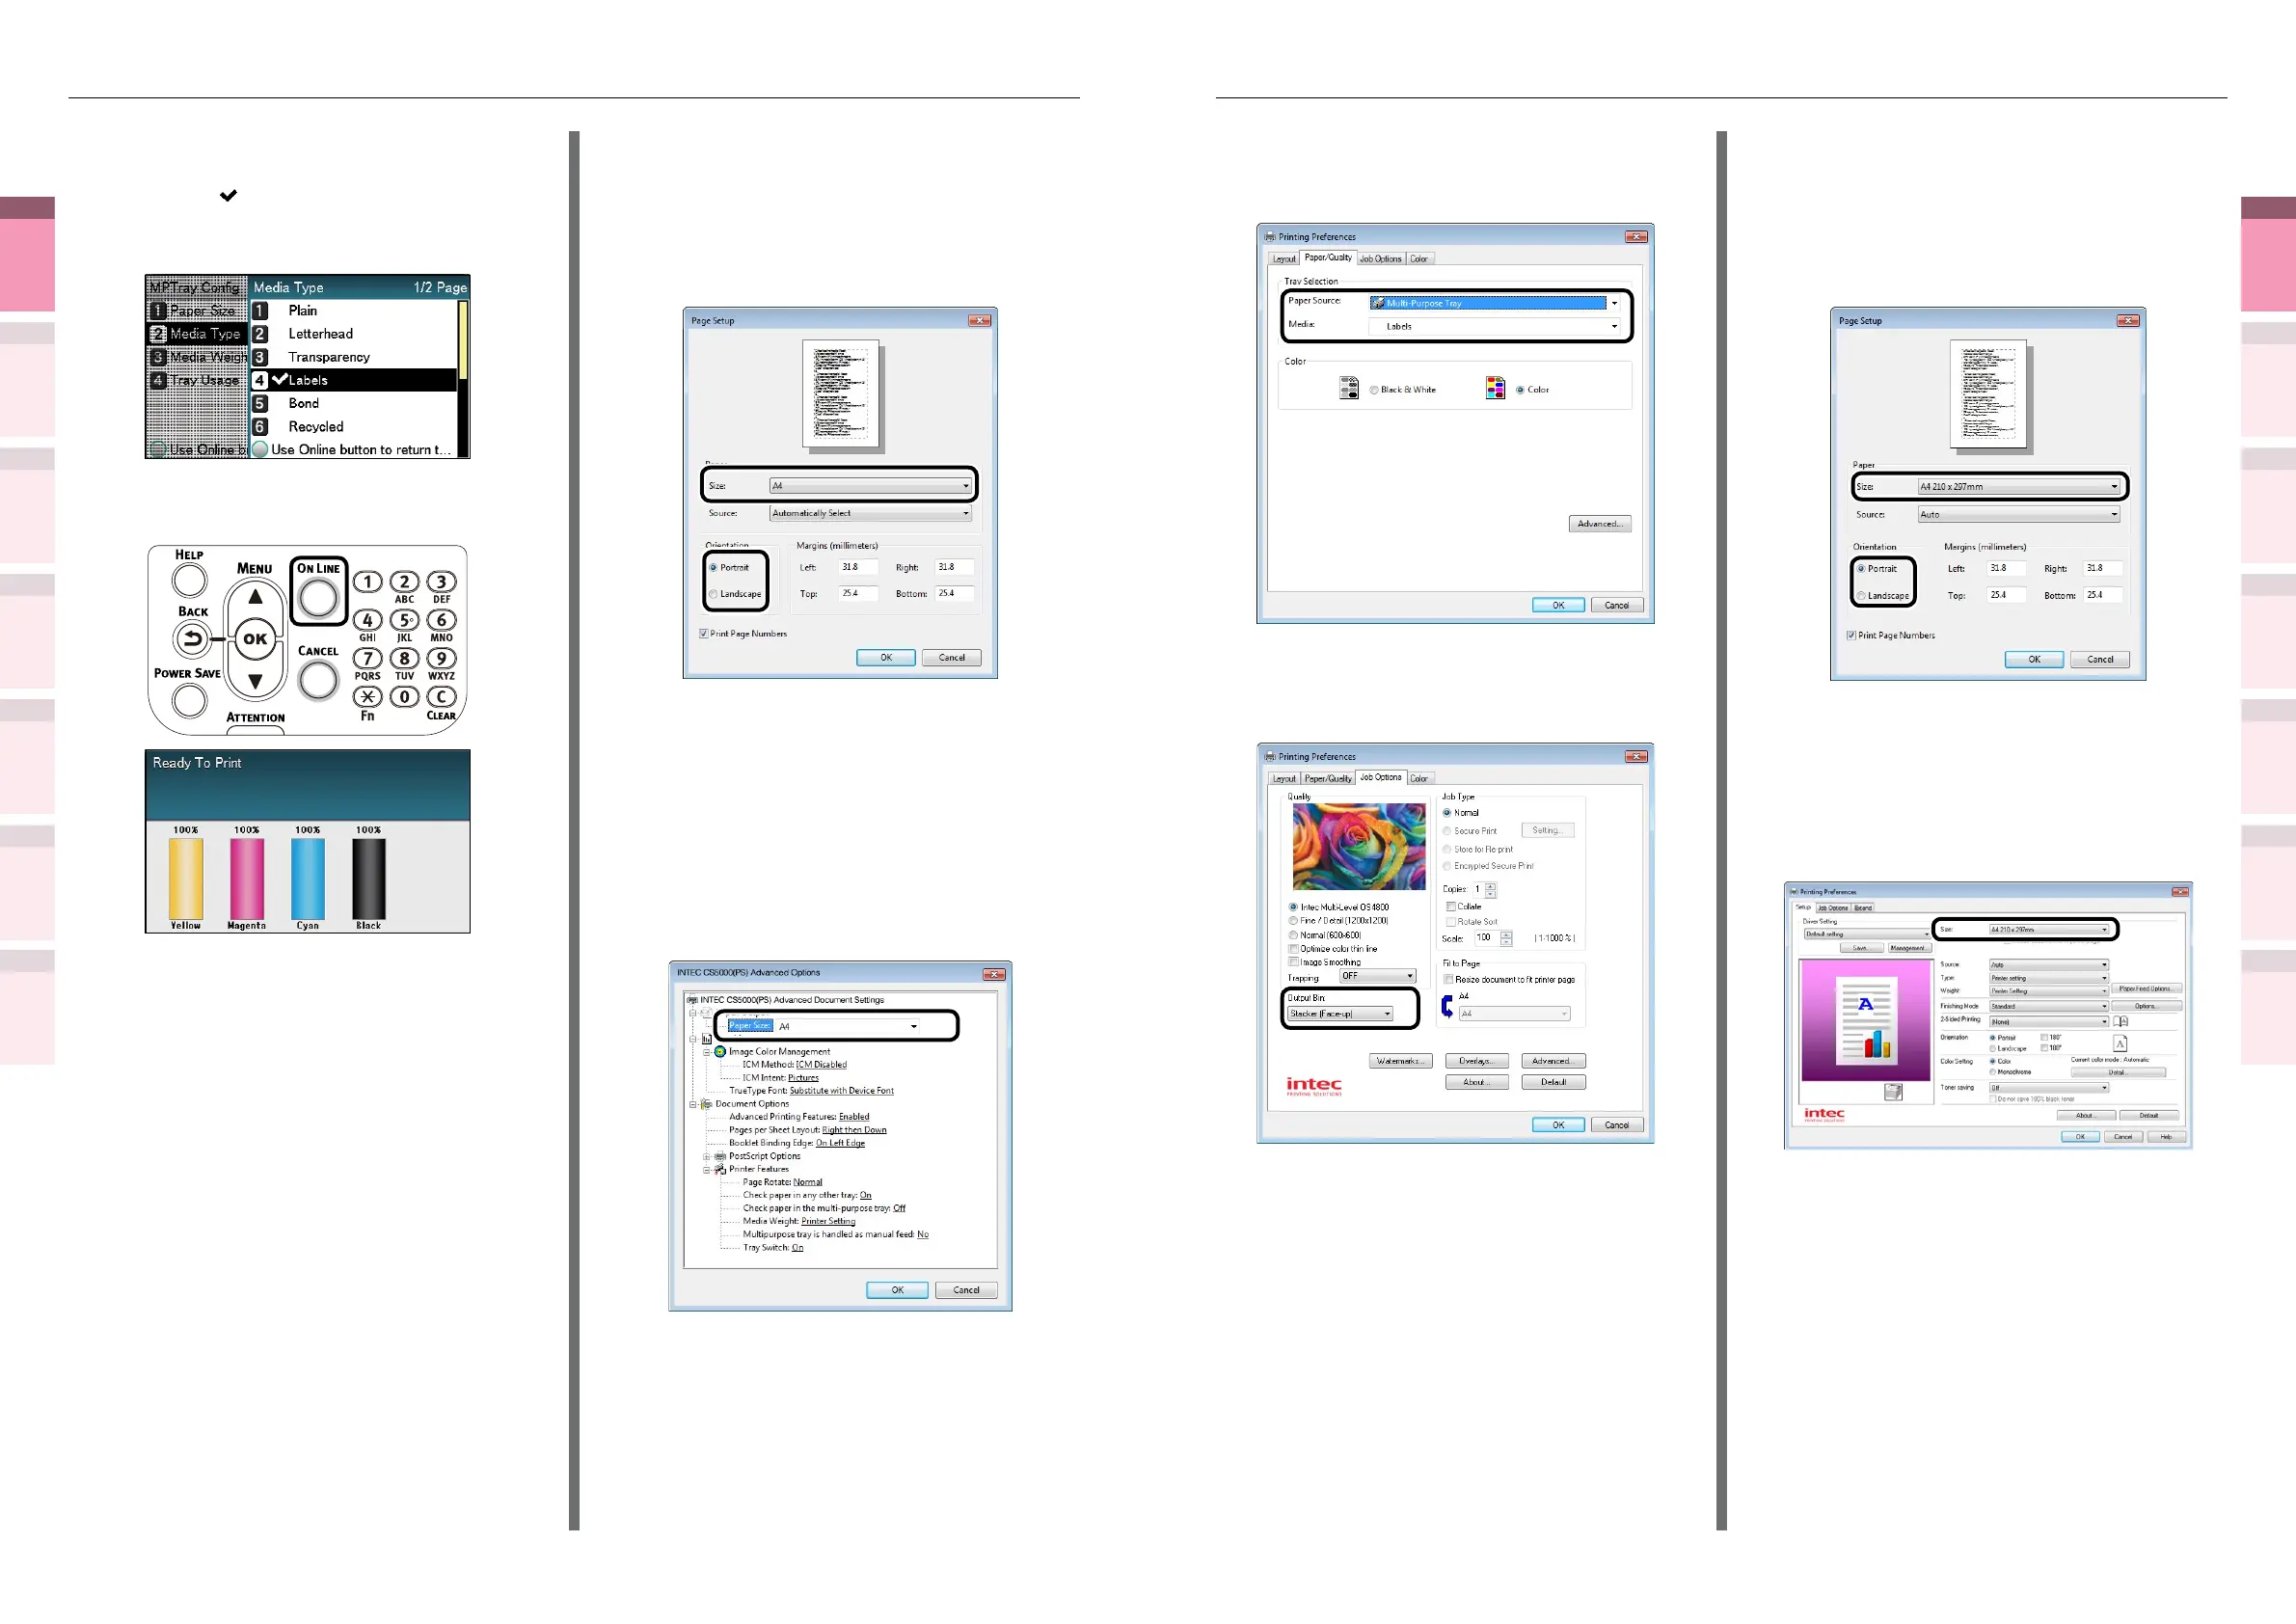
Select [Labels] or [Transparency] in
[Media]. Select the paper tray in [Paper
Source].
8
Select [Stacker (Face-up)] in [Output
Bin] in the [Job Options] tab, and click
[OK].
9
Click [Print] in the "Print" screen to
print.
Using Windows PCL printer drivers
1
Select [Page Setup] in the [File] menu.
2
Select [Portrait] or [Landscape] in
[Orientation], and click the [OK] button.
3
Select [Print] in the [File] menu.
4
Click [Advanced] (or [Preferences]).
5
Select the paper size in [Size] in the
[Setup] tab.
(6)
Select [Labels] or [Transparency],
and press the [OK] button. Check
that
is displayed to the left of
[Labels] or [Transparency], and
press the [BACK] button.
(7)
Press the [ON LINE] button to
return to the standby screen.
4
Open the le to be printed.
5
Select [Size], [Source], and [Output
Bin] in the printer drivers to print.
Using Windows PS printer drivers
1
Select [Page Setup] in the [File] menu.
2
Select [Portrait] or [Landscape] in
[Orientation], and click the [OK] button.
3
Select [Print] in the [File] menu.
4
Click [Advanced] (or [Preferences]).
5
Click [Advanced] in the [Paper/Quality]
tab.
6
Select the paper size in [Paper Size] in
the "Advanced Options" screen.