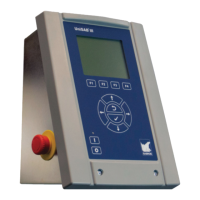
8. Unisab III (boot) and communication set-up
8.1. Introduction
Sections 8.2. to 8.4. describe the boot set-up menus in Unisab III. In the boot menus you can
set up Ethernet communication and contrast, you can upload and download software and you
can find information about internal and external flash memory. The boot loader in Unisab III
is equivalent to the BIOS in a PC.
Section 8.5. contains a communication overview and instructions on how to configure the Uni-
sab III ports for Ethernet, RS485/Danbus and Profibus/DP.
Section 8.6. discusses how to use a PC browser to connect to Unisab III. You can upload and
download software with a normal browser.
Section 8.7. describes the PC tool for remote HMI control and supervision UniHMI, and the
software simulator tool UniSim.
8.2. Enter boot loader
There are two methods of entering the Unisab III boot loader menu system:
1.
Power off Unisab III and power it on again while pressing the
and keys for 5-10
seconds.
2.
Make a software reset by pressing at the same time the three keys
F2
,
F3
and
F4
.
While Unisab III is resetting, press
and for 5-10 seconds.
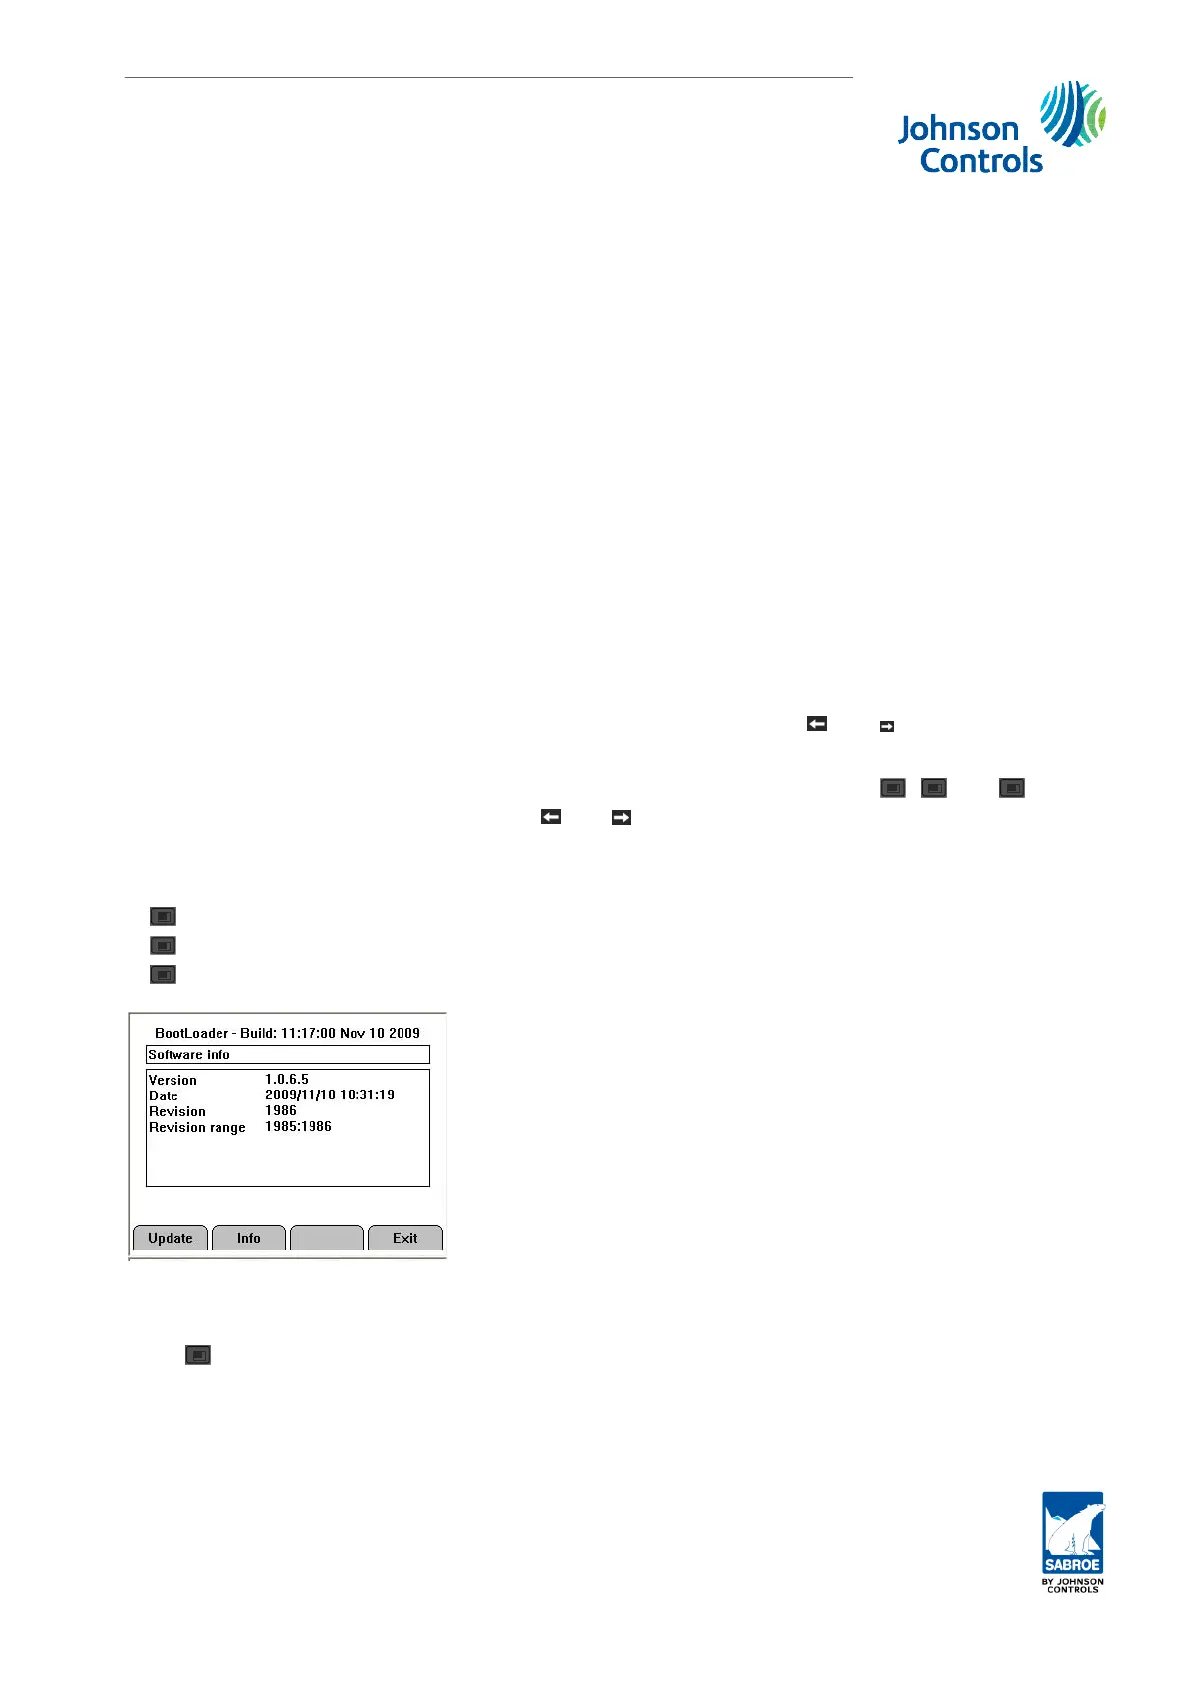
The entry picture for the boot loader menu is shown below. It shows Unisab III software infor-
mation and three menu options:
1.
F1
/Update - of controller software, languages and configuration.
2.
F2
/Info - about flash/file system, Ethernet and contrast setting.
3.
F4
/Exit - to exit the boot loader and start up the Unisab III controller software.
8.3. Update
Press
F1
/Update to update Unisab III controller software, language and configuration from
the SD flash card.
If you have inserted an SD card with a valid software path in the card socket on top of the
print cassette, the picture below will appear. It shows the software information for the inser-
ted SD card.
Unisab III (boot) and communication set-up
Engineering manual - Unisab III 1.10
001930 en 2014.09
251/319
 Loading...