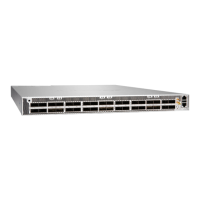
2. Decide whether to place the front (port) end or the back (FRU) end of the PTX10001-36MR at the
front of the rack. Posion the PTX10001-36MR in such a manner that the AIR OUT labels on
components are next to the hot aisle.
3. Align the hooks and the screw holes on the mounng bracket with the screw holes on the side of the
chassis. See Figure 26 on page 84 to see the proper alignment for the PTX10001-36MR.
Figure 26: Aach the Two Post Mounng Brackets to the PTX10001-36MR
4. Aach the mounng bracket to the device using the mounng screws. Tighten the screws.
5. Repeat Step 3 and Step 4 on the opposite side of the device.
6. Have one person grasp both sides of the device, li it, and posion it in the rack so that the bracket is
aligned with the rack holes.
7. Have a second person secure the device to the rack by using the appropriate mounng screws (and
cage nuts and washers if your rack requires them). Tighten the screws. See Figure 27 on page 84.
Figure 27: Aach the PTX10001-36MR to a Two-Post Rack
84

 Loading...