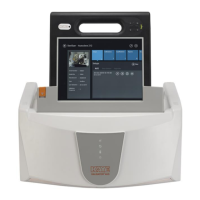
Chapter 1. The Kaye Validator AVS
Kaye Validator AVS User’s Manual 13
1.6 Using the Validator AVS System
The Validator AVS system allows you the flexibility to design your qualification
procedures to fit your workplace requirements. To perform a typical qualification study,
it is recommended to follow the following steps in order:
1. Use the Validator AVS software to define an Asset
An asset is the equipment that is validated in its specifications. This could be an
autoclave, a freezer, an incubator or any other device that validated. It is entered into the
AVS software with all relevant data including serial number, validation frequency,
manufacturer and even pictures and wiring diagrams.
2. Use the Validator AVS software to create a setup.
A setup defines the type of sensors and the validation parameters specific to your asset. If
you have pre-wired SIMs, assign your sensor locations according to the SIM
configuration.
3. Generate the Setup Report.
Use the Setup Report to verify your validation parameters and as a reference for
connecting your sensors.
4. If you do not have pre-wired sensors, wire your thermocouples and auxiliary sensors
to the SIMs as based on the Setup Report.
5. Connect the hardware and confirm connections.
Once the hardware is connected, use the Validator AVS software to display a graphical
representation of your validation equipment to verify hardware and communications
connections.
6. Load the setup into the Validator AVS to calibrate sensors and run your study.
IMPORTANT: During sensor calibration and the qualification study, you can use the
Console to view data and track your progress.
7. With your hardware configured for the validation study:
• Calibrate sensors against the temperature standard
• Run the qualification study
• Run post-qualification calibration verification