4 Retrofitting Options
210 Keysight 53210A/53220A/53230A Assembly Level Service Guide
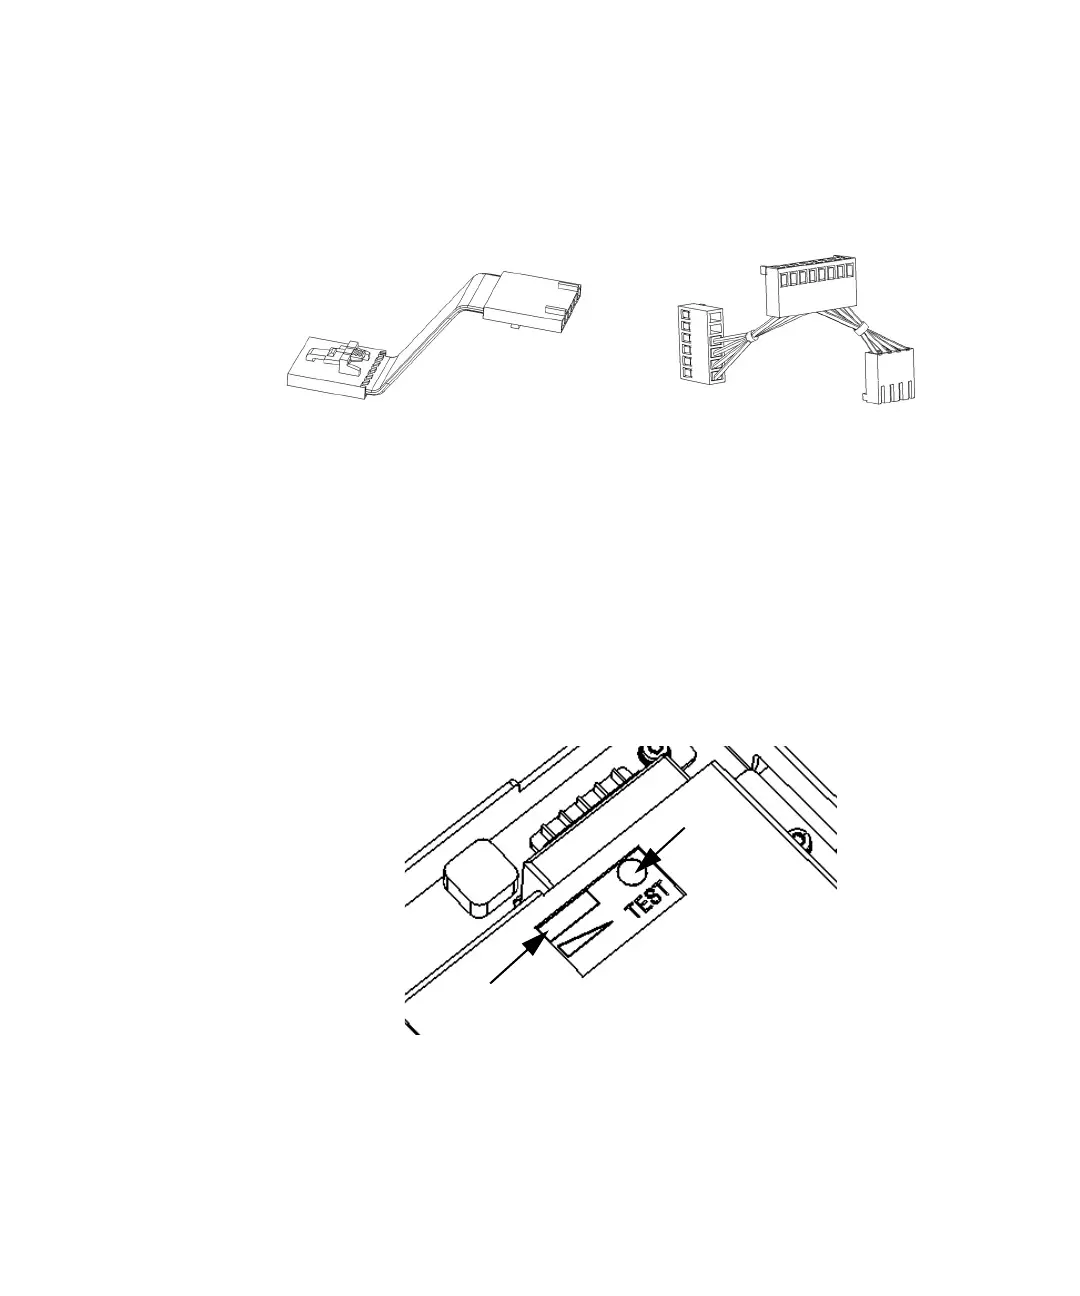
Figure 4-3 Digital and Y-cables.
6 Connect one end of the supplied (digital) 6-pin ribbon cable (Figure 4-3) to the
6-pin connector J1200 (next to the 4-pin connector J1000 on the
motherboard).
7 Push and hold the white test button on the battery while observing the
charge-level indicator (Figure 4-4). The charge level should be at least 25%. It
should charge to between 75% and 100% after installation when AC power is
applied to the counter.
Figure 4-4 Test button and charge indicator