Retrofitting Options 4
Keysight 53210A/53220A/53230A Assembly Level Service Guide 225
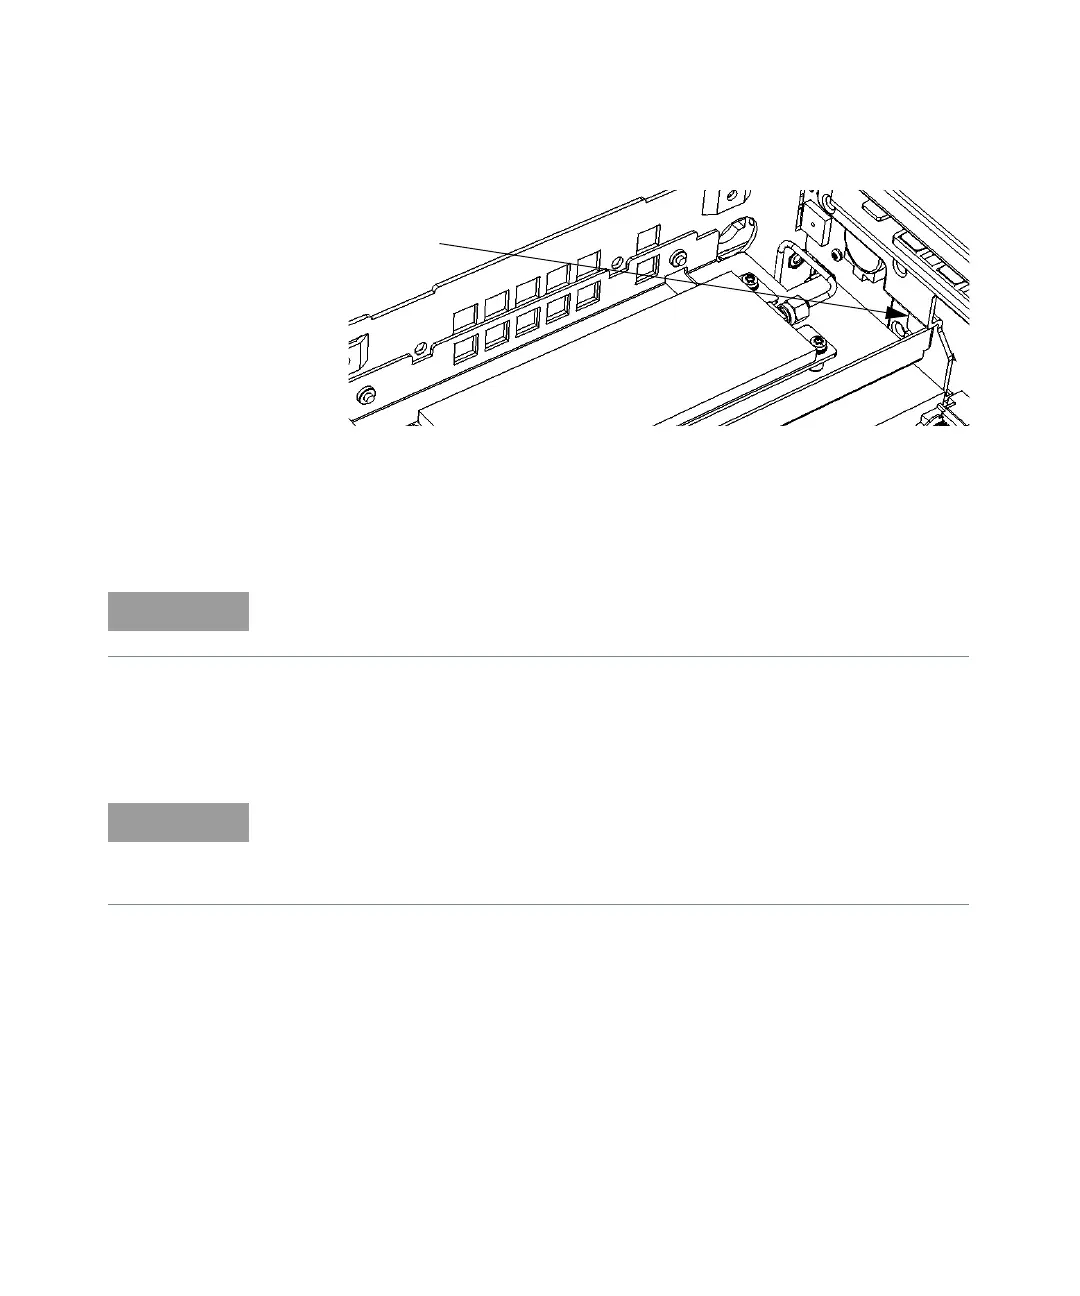
Figure 4-13 Front flange resting on plastic tab
23 Line up the semi-rigid SMA cable male connector and the Channel 2 assembly
SMA female edge connector, connect them together and loosely tighten the
SMA connector.
24 Re-install the T20 TORX screw removed in step 19 above, securing the rear
flange on the Channel 2 bracket to the motherboard with the screw. Do not
tighten the screw all the way down at this time.
25 Use a 5/16" open-end wrench to secure the two SMA connectors at each end
of the semi-rigid cable. Do not overtighten.
26 Install the two supplied flathead screws through the holes in the left-hand
aluminum side panel into the embedded nuts on the bracket of the Channel 2
assembly.
27 Tighten the T20 TORX screw (step 23 above).
Front
Flange
Option 106
or 115
Be sure the flange on the front of the Channel 2 assembly remains positioned
over the tab on the front panel assembly.
If necessary, turn the chassis over and, through the open area provided, loosen
the SMA connector on the semi-rigid cable where it connects to the front panel
and gently re-position the cable until it is positioned to connect the assembly to
the front panel, with no stress on the semi-rigid cable.