4 Retrofitting Options
222 Keysight 53210A/53220A/53230A Assembly Level Service Guide
8 On the middle front right-hand side of the front panel, pull the plastic tab (Y
on Figure 4-10) carefully toward the rear of the chassis and simultaneously
press in the right side panel of the aluminum chassis until the front panel is
partially released. The right front standoffs should now be free of their holes.
9 Using gentle pressure on both sides of the front panel, push the front panel
away from the motherboard to release the edge connector and free the front
panel completely.
10 Insert the typeN-to-SMA connector-adapter into the Channel 2 hole on the
front panel (remove the hole-plug, if necessary), so that the typeN connector
is on the front side of the front panel.
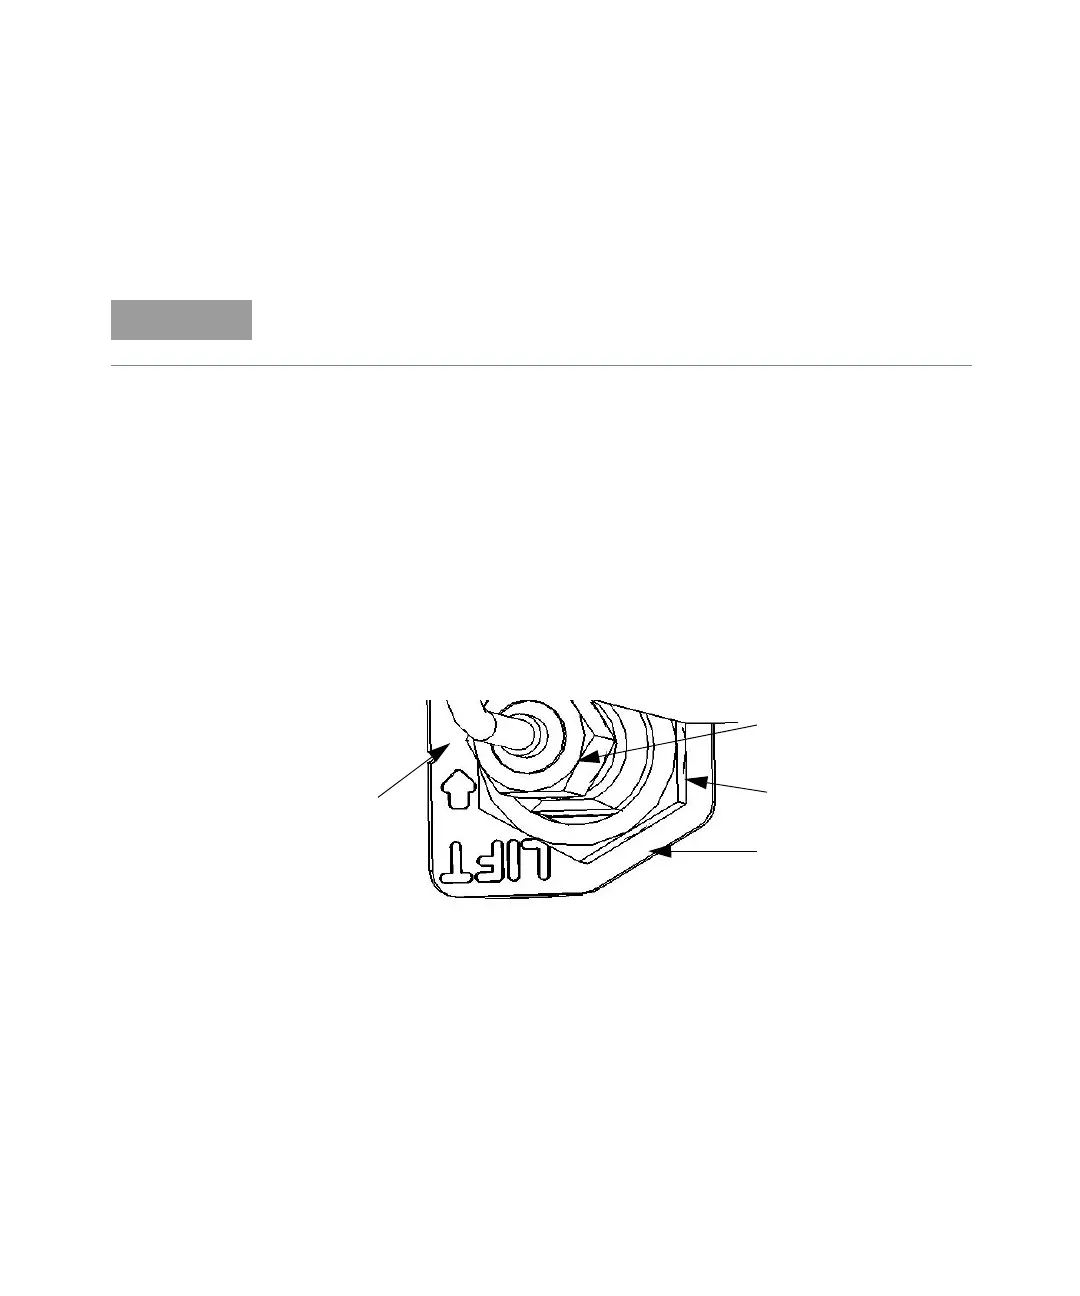
11 On the back side of the connector-adapter, place the washer plate and the
14mm hex nut over the SMA connector and secure. See Figure 4-11.
12 Make sure the word "LIFT" is visible on the washer-plate and that the "LIFT"
tab on the washer-plate is not underneath the hex nut.
Figure 4-11 Connector-adapter installation
13 Pull up slightly on the "LIFT" tab on the washer-plate so that the tab blocks the
hex nut from coming unscrewed after installation.
14 Connect the supplied semi-rigid cable to the SMA connector on the
connector-adapter. Finger-tighten the connector so that the cable is
positioned to connect to the Channel 3 assembly as shown in Figure 4-8 and
Figure 4-12. Do not tighten the nut with a wrench yet.
At this point, the front panel is only held to the motherboard by an edge
connector.
LIFT
TAB
CONNECTOR
ADAPTER
14mm HEX NUT
WASHER
PLATE