55
LeeBoy 6150 Conveyor Paver 5-17
Maintenance
Use the following procedures to change the hydraulic oil
and lter:
1. Stop the engine.
2. Allow the hydraulic oil to cool until it is at a warm
temperature.
3. Slowly remove the hydraulic oil strainer ll cap. Do
not remove the strainer portion under the cap.
4. Place a clean, lint-free cloth over the reservoir ll
tube opening and secure in place with tape.
5. Place a container sufcient to hold the hydraulic oil
as it drains under the hydraulic tank.
6. Attach a hose to the tank drain on the back right
corner of the hydraulic oil tank (behind right rear
tire). Place container under the hose and open the
drain valve.
7. Allow all the hydraulic oil to drain from the hydraulic
tank into the container.
8. Reinstall the hydraulic oil drain plug on the drain
hose and tighten securely. Close valve.
9. Change the hydraulic oil lter by turning lter coun-
terclockwise, then replace with new lter turning
clockwise until snug (by hand only).
10. Carefully remove the cloth from the hydraulic oil
reservoir ll tube opening.
11. Remove (and replace) the strainer if necessary.
DO NOT ll the hydraulic oil reservoir
with new hydraulic oil unless the strainer is in place.
12. Fill the hydraulic oil tank with ltered hydraulic oil.
The cold oil level should be about 1/2-inch below the
ll level black line on the sight gauge. (Figure 5-16)
13. Reinstall the hydraulic oil ller cap.
14. Start the engine and check the hydraulic system for
possible leaks.
Stop the engine immediately if any
hydraulic leak is noted. DO NOT start the engine until
any problem noted has been corrected.
Electrical System
The electrical system is a 12-volt negative ground
system. Connect the positive (+) cable to the positive
(+) post of the battery. Connect the ground cable to
the negative (-) post of the battery. It is advisable to
disconnect the negative (-) cable rst and connect it last.
Reversed polarity can damage the electrical system.
Fire and Explosion Hazard! Always
observe battery polarity when connecting a battery
charger or jumper cables to the battery: negative (-)
to negative (-), positive (+) to positive (+). Failure to
do so can produce sparks.
When connecting a booster battery, connect one end
of the rst jumper cable to the positive (+) terminal of
the dead battery and the other end to the positive (+)
terminal of the booster battery. Connect one end of the
second jumper cable to the negative (-) terminal of the
booster battery and the other end to the frame of the
paver with the dead battery.
Fire and Explosion Hazard! Be sure
that the battery charger is in the OFF position before
connecting it to the battery.
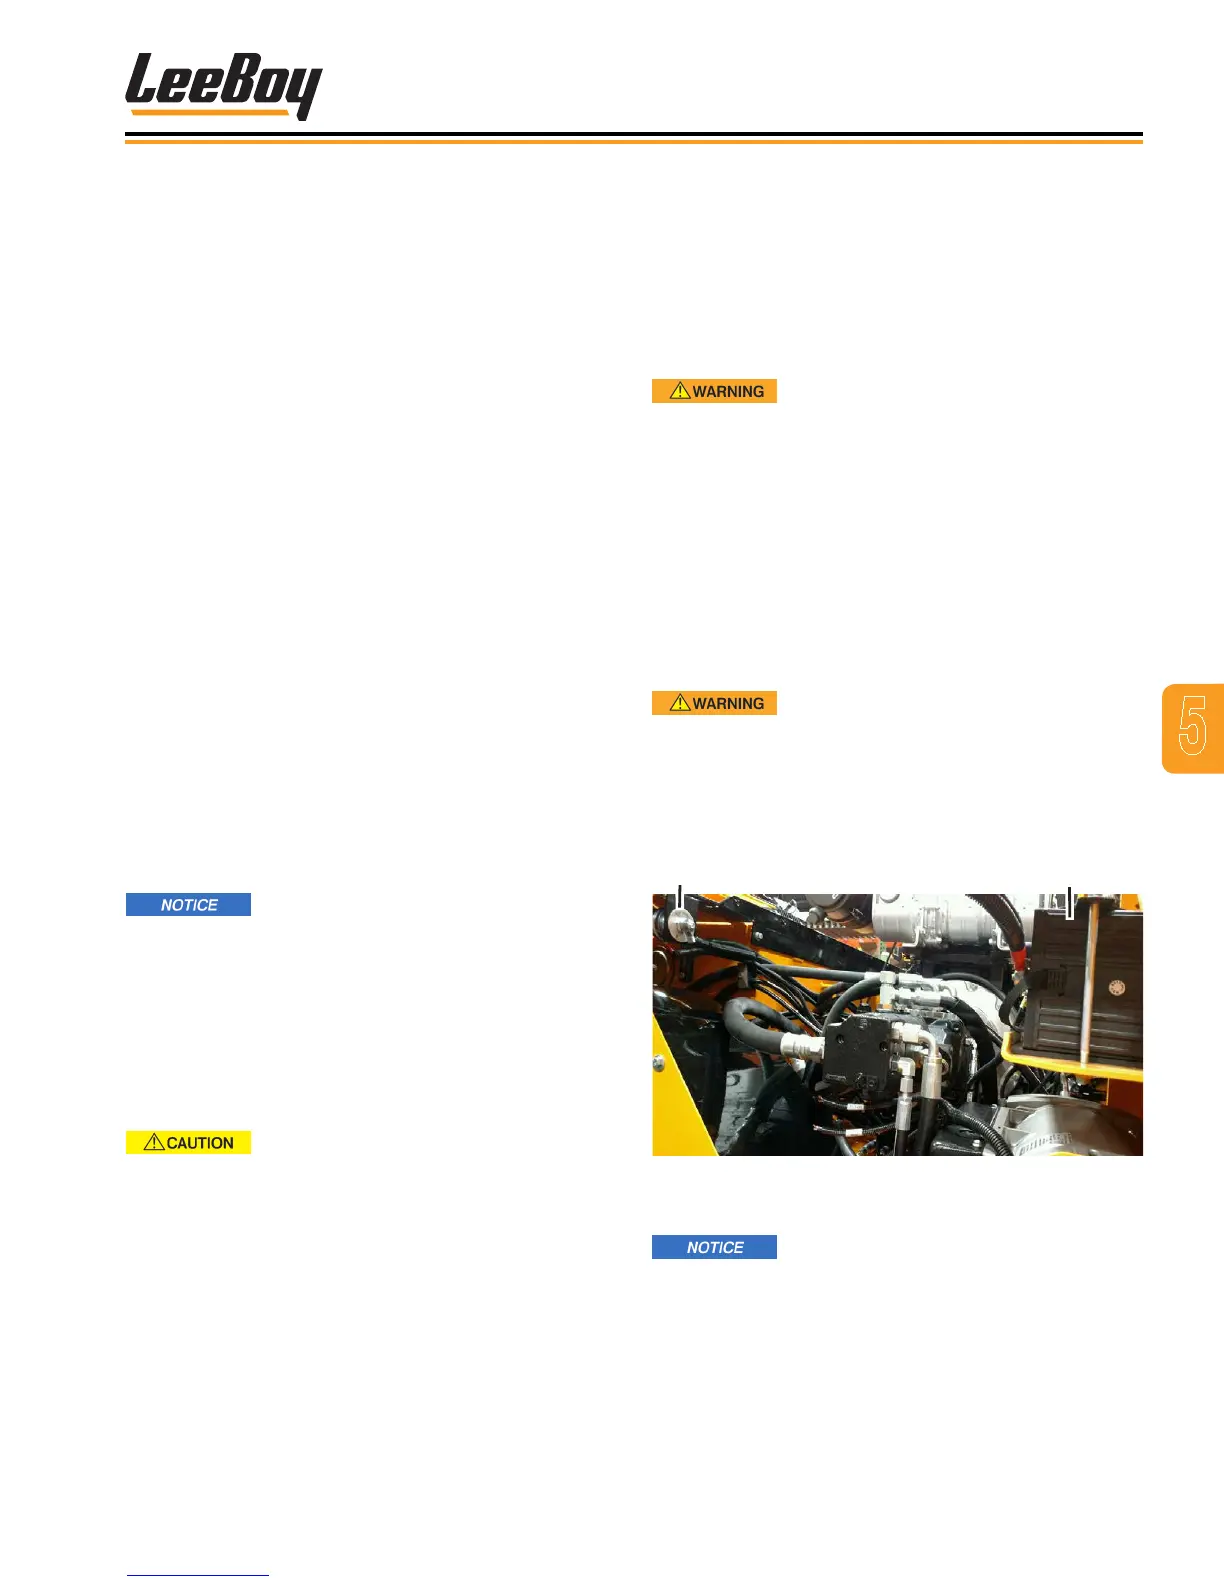
Be sure to keep the battery fully charged during cold
weather to keep it from freezing. Freezing weather has
little effect on a fully-charged battery. (Figure 5-17)
Figure 5-17. Battery and Master Battery Switch
Locations
ALWAYS turn the master battery
switch off when working on the electrical system
or welding anywhere on the machine. Damage to
electrical components could result.
 Loading...


