Page 72
Step 5: Assign the relays to this input. Typically, there are several menu items
associated with this process: ADD, EDIT, DELETE, & EXIT. This menus
items are implemented in the next section.
Step 6: Save your changes and proceed to other configuration tasks.
Relay assignment to inputs
The process of assigning relays to inputs is the same regardless of the type of input
selected. This section details the process by which relays are assigned to an input.
ADD RELAY/GROUP:
This selection allows a relay, relay range or group number to be added to the input’s
control.
Step 1: Press or to select relay or group.
Step 2: If relay is selected, press to move to the first relay number field.
Step 3: Use and to select the relay number.
Step 4: Press to move to the second relay numeric field.
Step 5: Use and to select the second relay number. This number
cannot be larger than the first relay number. If only the first relay
number is desired, make the second number the same as the first. If a
range is desired, make the second relay number the last number of the
range.
Step 6: If group is selected, press to move to the group number field.
Step 7: Use and to select the group number desired.
Step 8: Once the relay/group number(s) have been entered, press Select/Save.
The menu will be returned to the point where more relay/group
management can be initiated.
Up to 32 relay/group entries can be assigned to each input.
EDIT RELAY/GROUP:
This menu allows previously programed Relay/Group items to be edited.
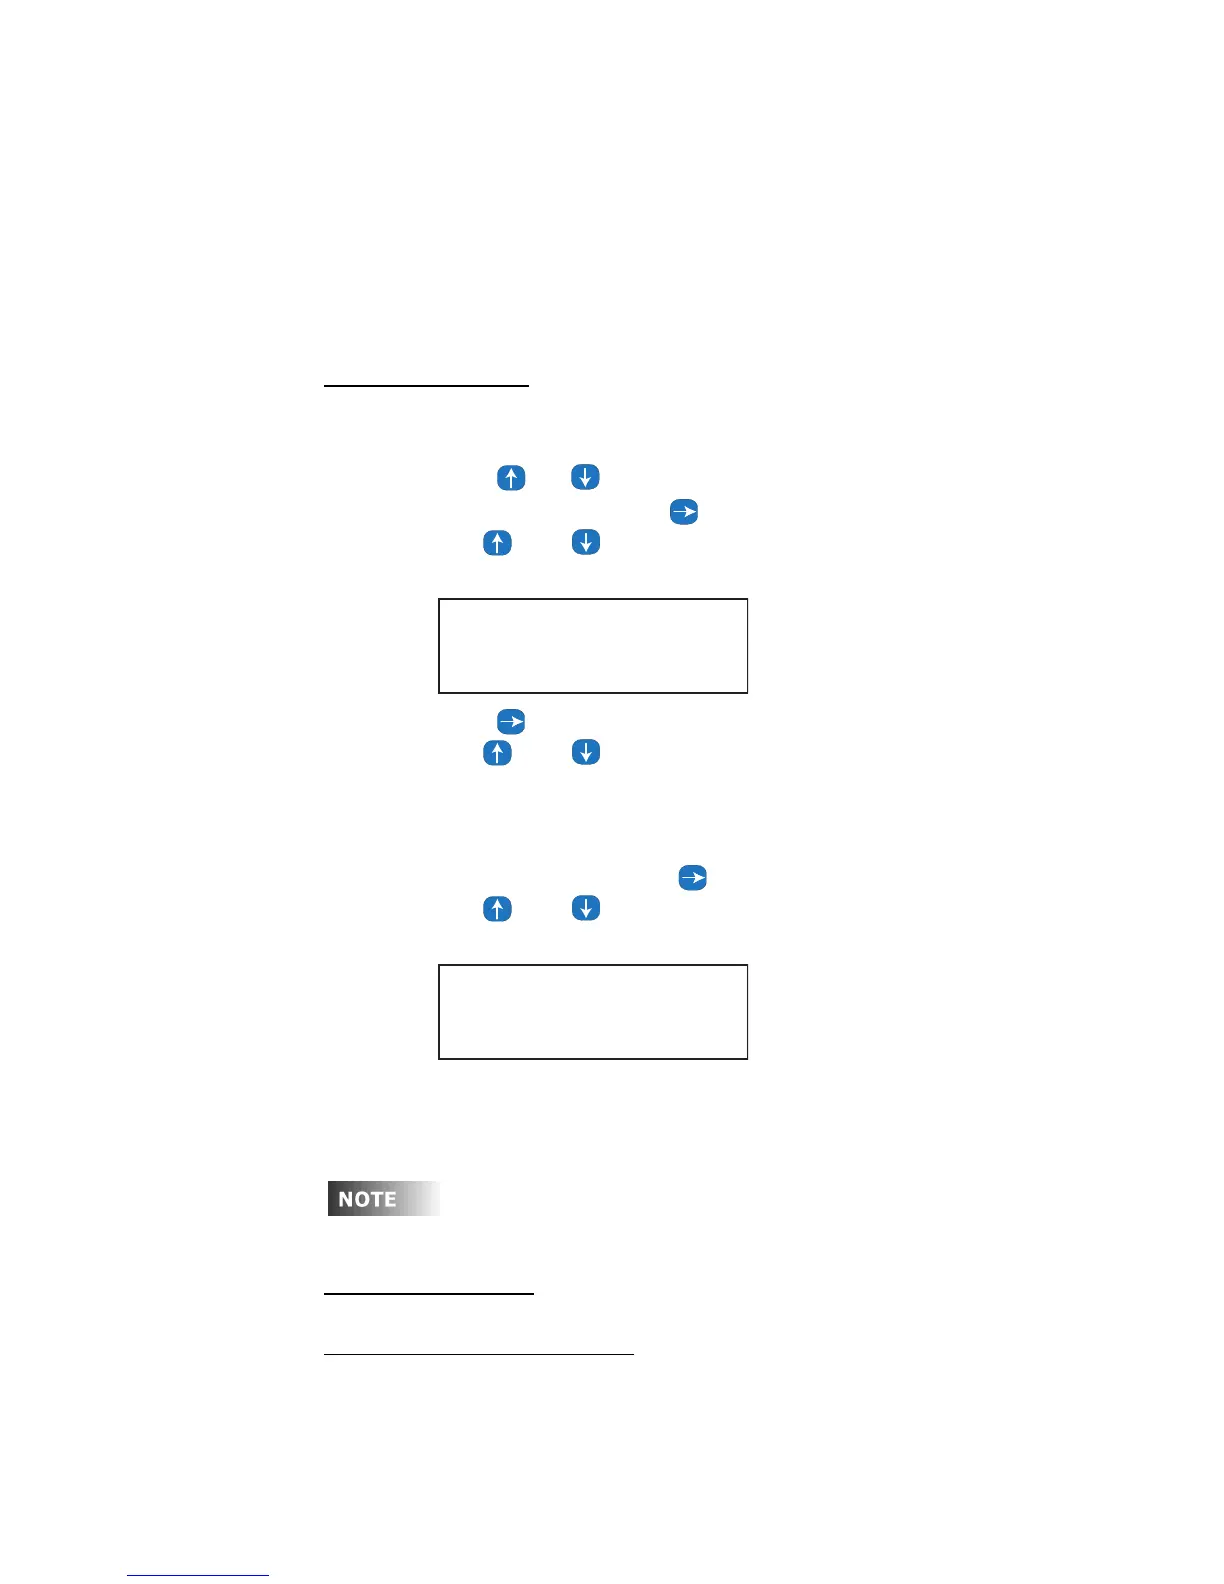
From the end of the previous Step:
SWITCH:006 LOCAL
Add 1:RLY 01-01
SWITCH:006 LOCAL
Add 2:GRP 1