4-11
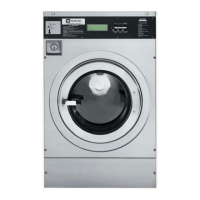
To remove the coin vault, disconnect the
red, blue, short green and long green wire
connectors from the optical coin sensor
terminals. The short green wire connector is
for coin two, so in this case, it has nothing
going to it.
Use a flat blade screwdriver to release the
sensor wires from the wire terminals.
Disconnect the red and purple coin box
switch connectors.
1.
2.
3.
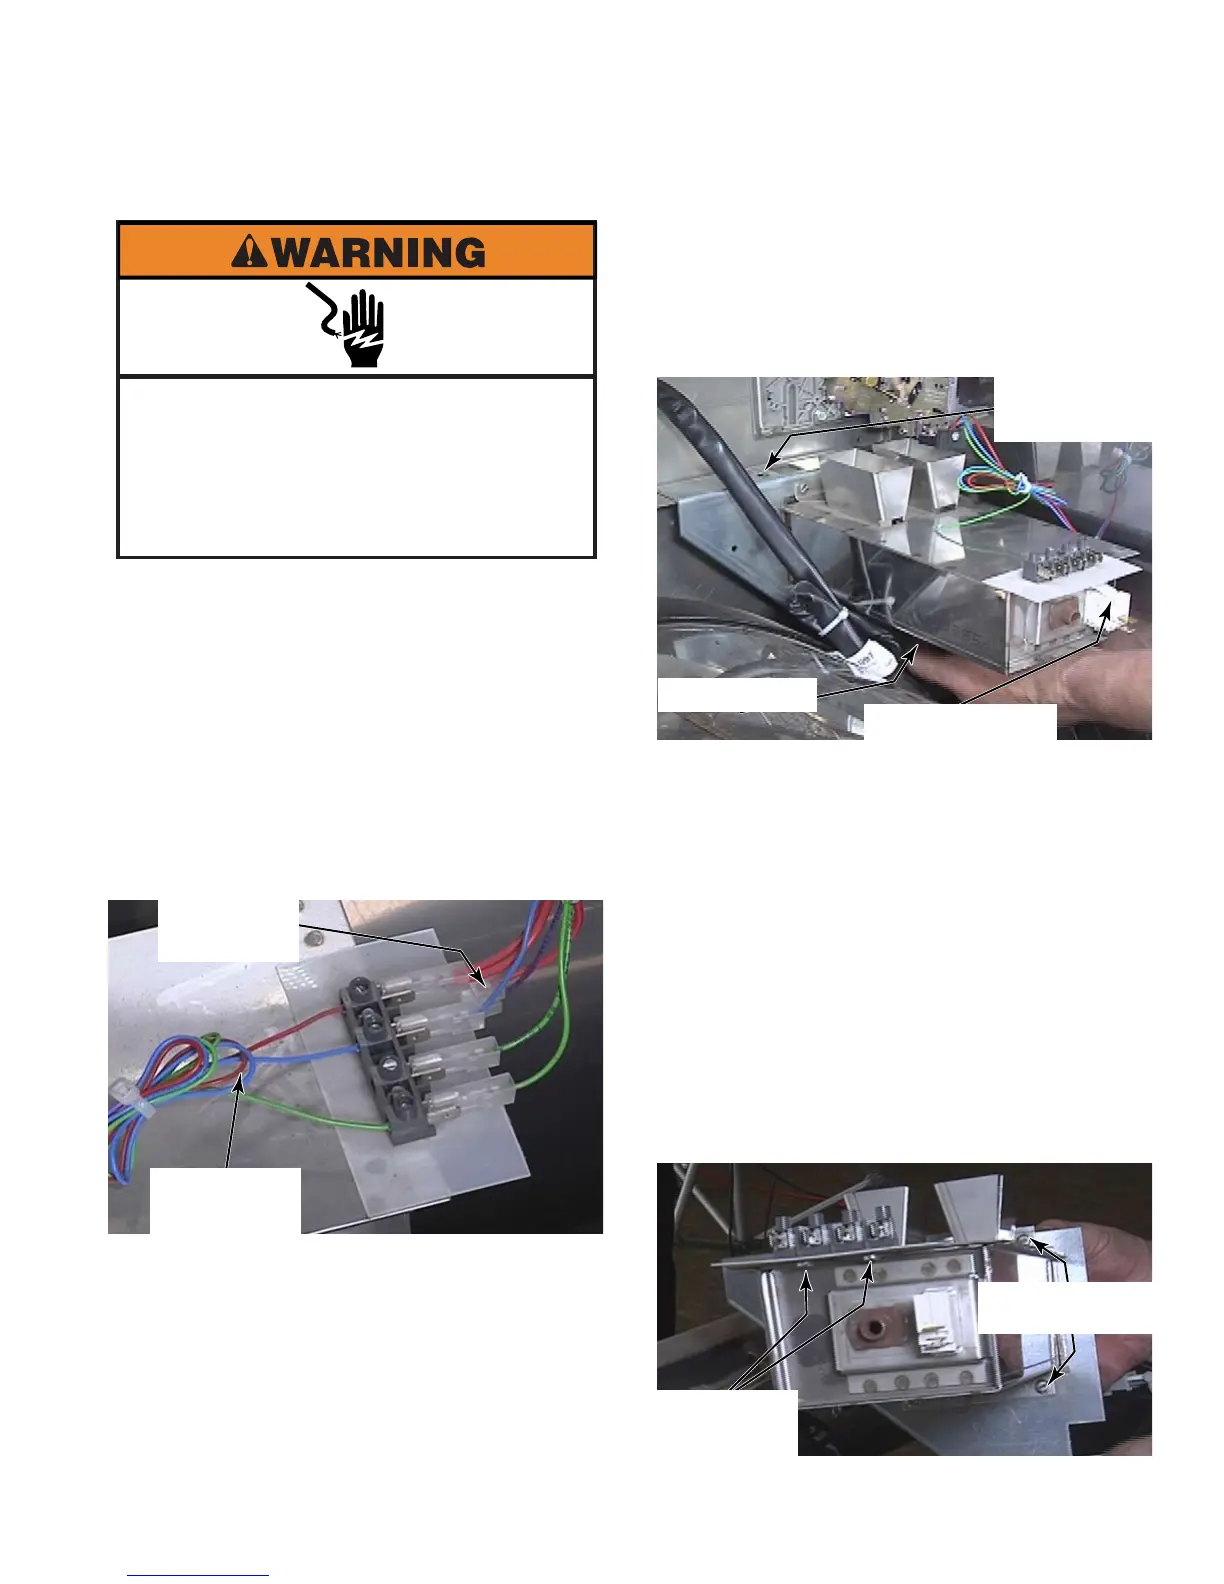
REMOVE COIN VAULT
Remove the 7mm nut, flat washer and star
washer near the side panel, under the coin
vault.
Remove the 5/16” hex head bolt from the
top edge of the coin vault mounting bracket.
Cut the wire tie secured to the coin vault
bracket.
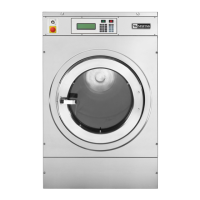
Remove coin box switch by pressing tabs
on both sides and pushing the switch into
the coin vault, remove switch from the front.
To remove the terminal strip for the optical
coin sensor, remove two screws from the
bottom side of the terminal strip.
To remove the mounting bracket from the
coin vault, remove two screws from the top
and two screws from the bottom of the coin
vault.
4.
5.
6.
7.
8.
9.
Electrical Shock Hazard
Disconnect power before servicing.
Failure to do so can result in death or
electrical shock.
Replace all parts and panels before
operating.
Coin Box
Switch Wires
Optical Coin
Sensor Wires
5/16” Hex
Head Bolt
7mm Nut
Coin Box Switch
Terminal
Strip Screws
Mounting
Bracket Screws