– 4.18 –
4-2-7. Replacement of S-pump assy and cap slider assy (Periodical replacement)
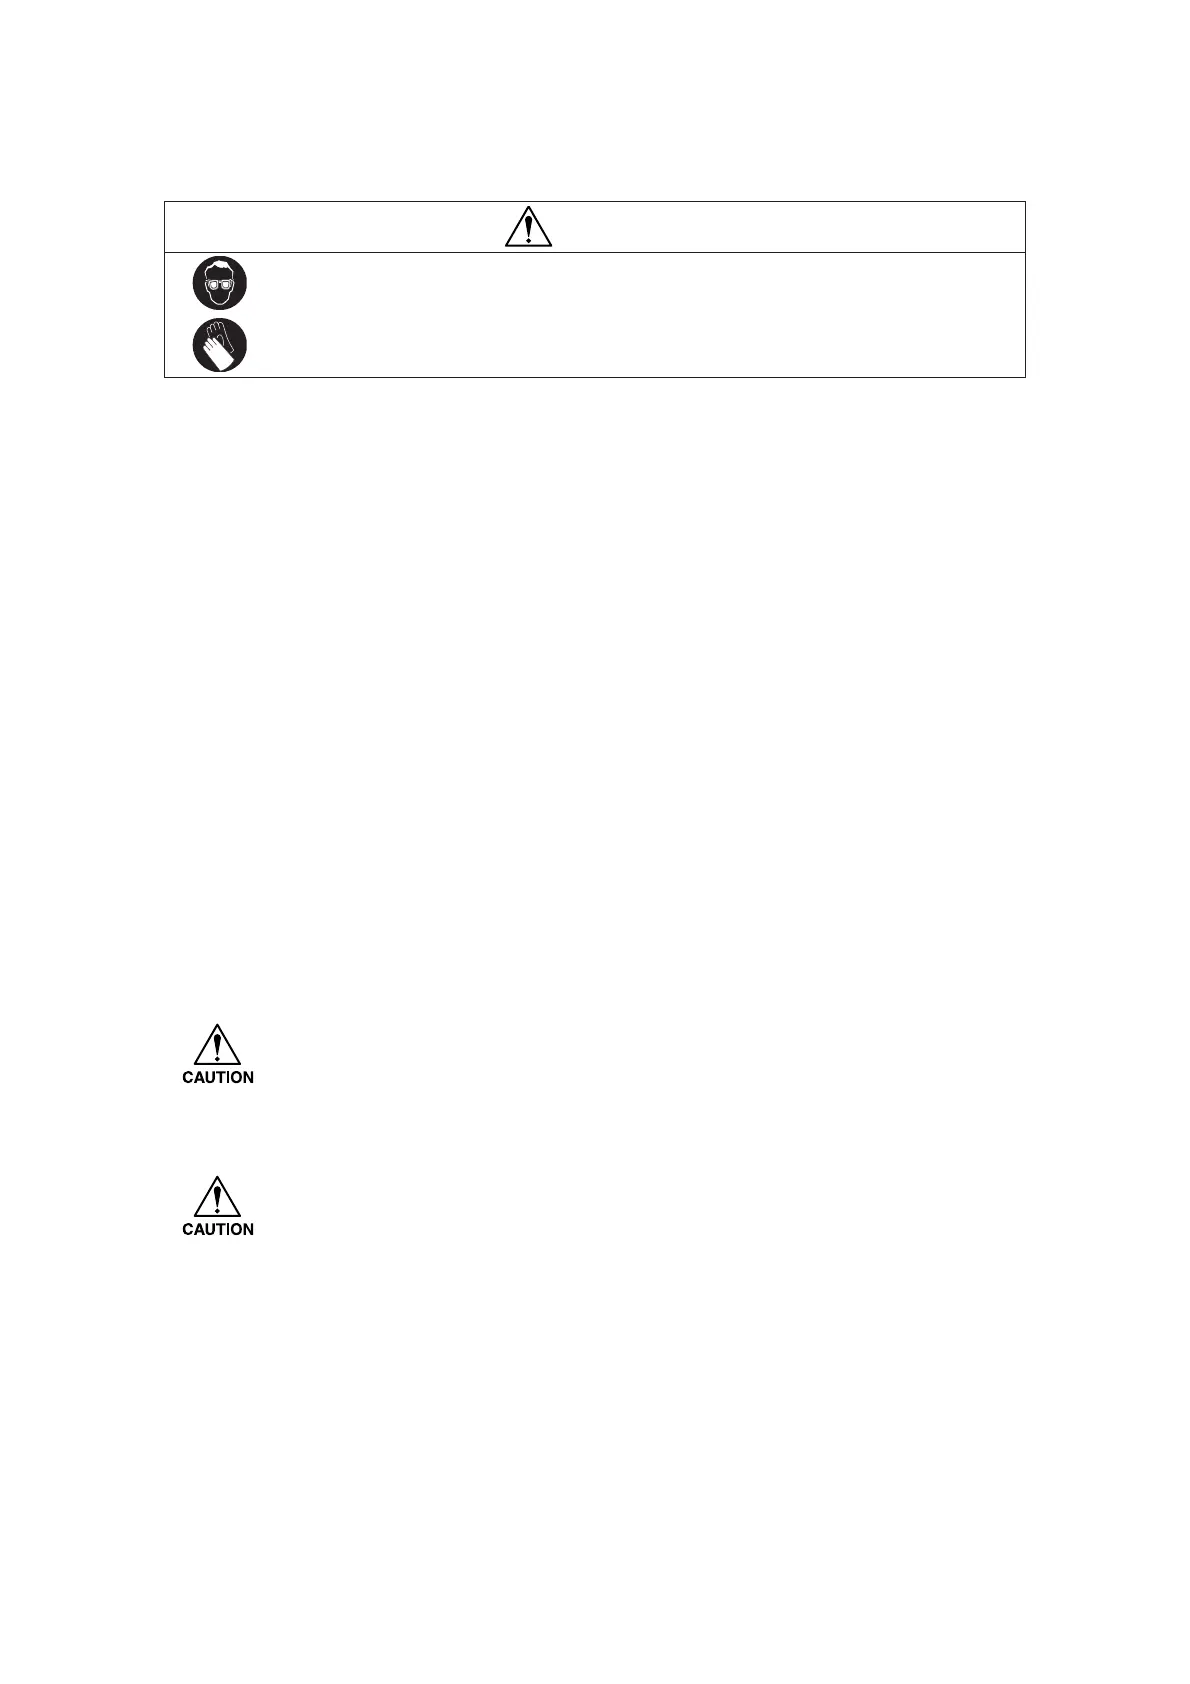
WARNING
• Be sure to wear protection glasses, or you may get ink in your eyes.
• Avoid touching ink with bare hands, or you may damage your skin.
• Both parts are strongly recommended to replace at a time.
[Parts to be used]
• S- pump assy (M004868) x2
• Cap slider 4H assy (M005248) x1
(cap SP assy (M005540)
[Adjusting procedure]
1) Remove electrial box cover CR at the back of the main unit.
2) Remove the station cover F.
S-pump assy replacement
3) Remove the Pump guard fixing screws(3pcs) in the electrical box, and then pull it off.
4) Remove the connecting part of vaccum side tube of the pump.
5) Romove the S-pump assy.
6) Attach the new assy. (onfirm the exhaust side is longer.)
7) With reference to the drawing in the right, cut the pump tube and connect with cap tube.
Cap slider replacement
8) Remove the cap slider.
9) Remove the cap slider U from the Cap slider.
• Be careful with the popping up of the cap SP from the device.
10) Attach the Cap SP ASSY to the Cap slider U, then attach the cap slider D.
• Make sure to set the Cap SP on the level.
11) Attach the Cap slider to the main device.
12) Put the tube of cap slider ASSY into the electrical box.
13) Connect the cap for Bk/M to the upperpump. Connect the cap for C/Y to the lower
pump.
 Loading...