165
WT07627X03
(6) To receive an e-mail alarm when the temperature or the humidity exceeds certain predetermined values, set
the ON- and OFF-thresholds for both the upper and lower limit temperatures.
Note: To avoid frequent ON/OFF cycling, the minimum differential between the ON- and OFF-threshold values should be
1ºC (2ºF).
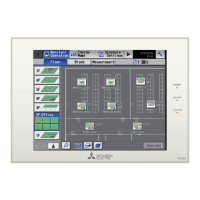
[2] Offsetting the measured temperature/humidity values
To set the offset value for the measured values, follow the instructions below.
Note: The actual measurement values or the adjusted measurement values are not displayed until the connection settings of the
AI controller are completed.
When the AI controller is registered for the first time, click [Save Settings] to send the settings data, and click [Functions
1]-[Measurement] to refresh the measurement settings screen.
(1) Click [Set offset] in the [Setting details] section.
(2) Select the offset value in the [Offset] pulldown menu, or
select the desired value in the [Modified value] pulldown
menu.
The settable offset value range for temperature sensor is
between -10.0ºC (-18.0ºF) and +10.0ºC (+18.0ºF), and
for the humidity sensor is between -10.0% and +10.0%.
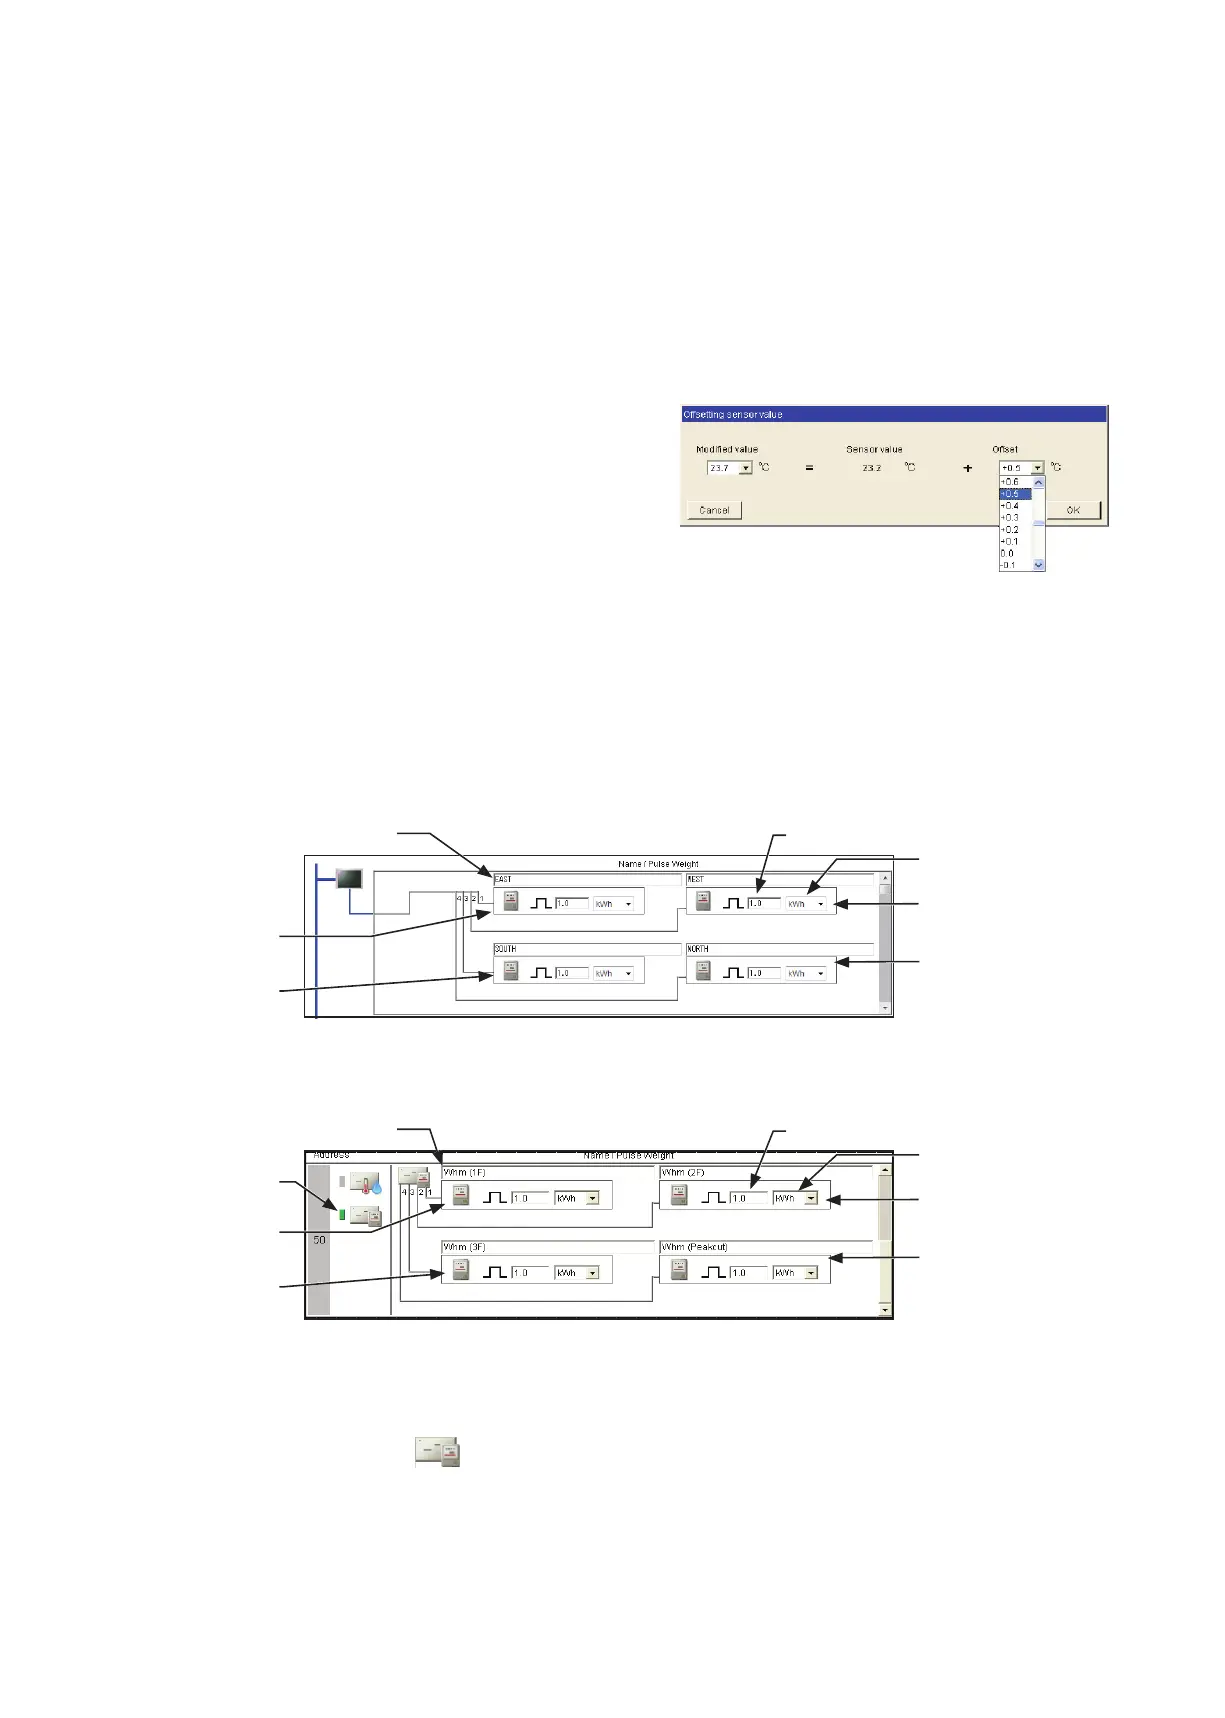
[3] Registering PI controllers and metering devices
Follow the instructions below to make the system settings of the metering devices. Up to four metering devices can
be connected to a PI controller (PAC-YG60MCA) or CN7 of AE-200/AE-50/EW-50.
Note: Although the maximum settable total number of built-in Pulse Input (PI) and PI controllers (PAC-YG60MCA) for each
AE-200/AE-50/EW-50 is 15, the number of them in a system with connection to one or more AE-50/EW-50 controllers must
be 20 or less. (Each built-in Pulse Input (PI) counts as one unit.)
<When a built-in Pulse Input (PI) is used>
<When a PI controller (PAC-YG60MCA) is used>
(1) Using the scroll bar, display the address to which the PI controller (PAC-YG60MCA) will be connected or to
display the settings area for a built-in Pulse Input (PI) at the top.
(2)
Select the PI controller icon (
).
When a built-in Pulse Input (PI) is used, the top row shows the setting area for the built-in Pulse Input (PI)
and there is no need to select an icon.
Note: Click again to deselect.
(3) In the [Metering device name] field, enter the name of the metering device.
Metering device name
Setting details of
metering device 1
Setting details of
metering device 3
Pulse value
Measurement unit
Setting details of
metering device 2
Setting details of
metering device 4
Metering device name
PI controller icon
Setting details of
metering device 1
Setting details of
metering device 3
Pulse value
Measurement unit
Setting details of
metering device 2
Setting details of
metering device 4
 Loading...