39/128
Step2: Set Up the KeypadRFID Access Module
© MOBOTIX AG • Security-Vision-Systems • Made in Germany
www.mobotix.com • sales@mobotix.com
If your door station is not connected to the Internet, you still need to manually set the
time and date.
Note
After the time zone has been displayed, you remain in KeypadRFID Configuration mode
for 60 seconds, before this mode switches o automatically (if you do not press any
more buttons). Press the ESC/ALARM button to exit the mode immediately.
Set Time:
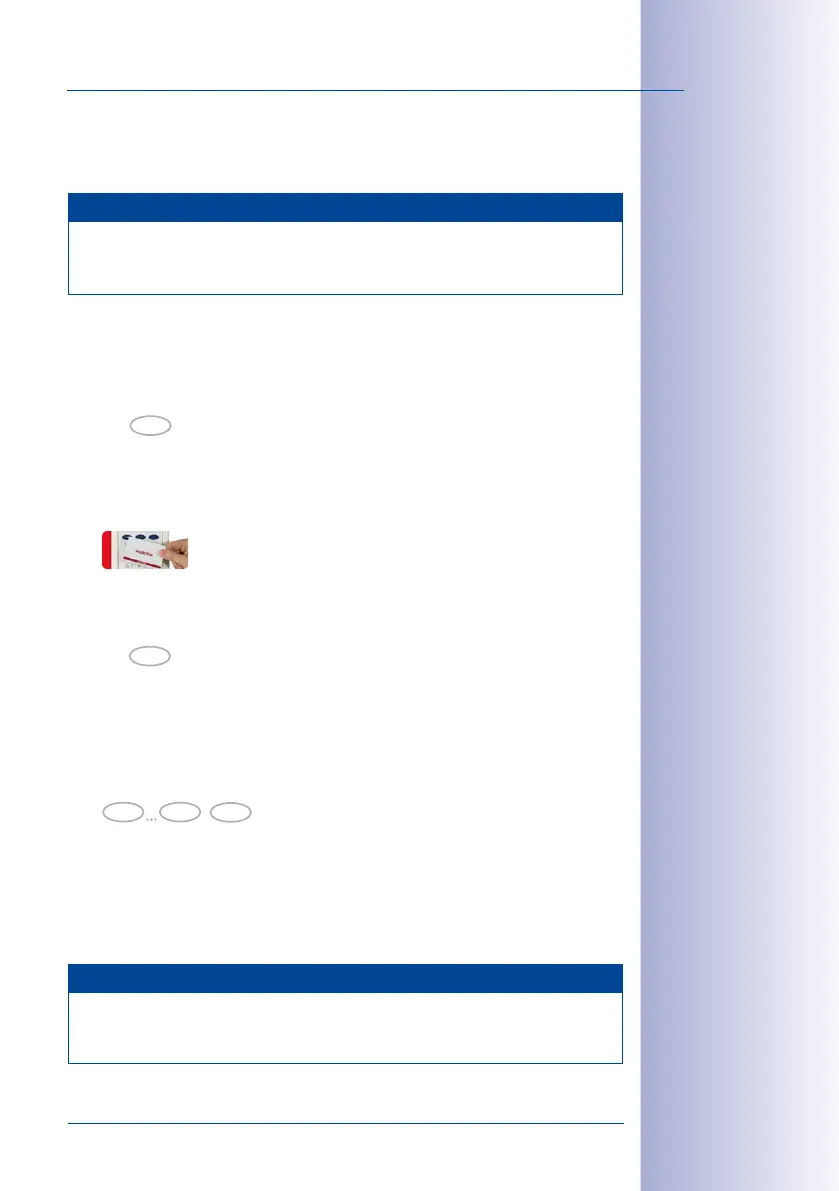
1. Switch on Configuration mode (again, if necessary): Press the OK/MENU button until
you hear the second beep (button flashes blue).
2.
Hold your admin card up to the KeypadRFID buttons until the OK/MENU button lights
up blue continuously.
3. Switch on Time mode: Press 8 until you hear the second beep and it flashes (reminder:
The letter “t“ on the button stands for “time“).
4. Now enter the current time in the format hhmm (always four digits long): The first
two digits indicate the hour and the next two digits indicate the minutes (for exam
-
ple, 0804 = 8:04 a.m. and 2259 = 22:59 p.m.) Confirm your entry by pressing the
OK/MENU button.
5. The respective number buttons on the KeypadRFID light up to show the time (hhmm)
that you have set. The time is also shown on the video phone display after several
minutes.
If you made a mistake when entering the time, repeat steps 1–5.
Note
After the time has been displayed, you remain in KeypadRFID Configuration mode for
60seconds, before this mode switches o automatically (if you do not press any more
buttons). Press the ESC/ALARM button to exit the mode immediately.
hold (2nd beep)
OK
hold (2nd beep)
8
OK
0 9
Time Code